4.3. Cleaning the Rollers
When ink or dust from paper is stuck on the imprinter feed roller surfaces, documents may not feed smoothly. To prevent feed problems, clean the rollers’ surfaces regularly.
4.4. Removing the Imprinter
When removing the imprinter from the scanner, refer to “2.1. Installing the Imprinter” and remove as follows:
1. Remove the Stacker from the Imprinter. |
HINT
Recommended cleaning cycle is every 5,000 sheets. Actual cleaning cycle may be shorter depending on usage and documents.
2. | Remove the black cover under the Stacker from |
| the Imprinter. |
3. | Disconnect the EXT cable from the EXT |
1.Open the imprinter cover.
2.With a
To clean the lower rubber rollers (total eight), rotate the rollers by holding down the [Scan] button and [Send to] button on the front panel of the scanner.
Imprinter Cover
ATTENTIONWhen cleaning, be careful not to touch the ![]() metal wheels located behind the upper rollers on the print cartridge holder cover.
metal wheels located behind the upper rollers on the print cartridge holder cover.
3.Cleaning the Plastic Rollers.
Also, clean the two black plastic rollers on the inner side of the Imprinter cover.
Imprinter Cover
Rotate the rollers with your fingers gently and wipe off any dirt or dust from the roller surface with a
4.Confirm that all dirt and dust have been removed from the rollers. Close the Imprinter Cover.
| connector of the Scanner. |
4. | Remove the screw that connects the scanner to |
| the imprinter. |
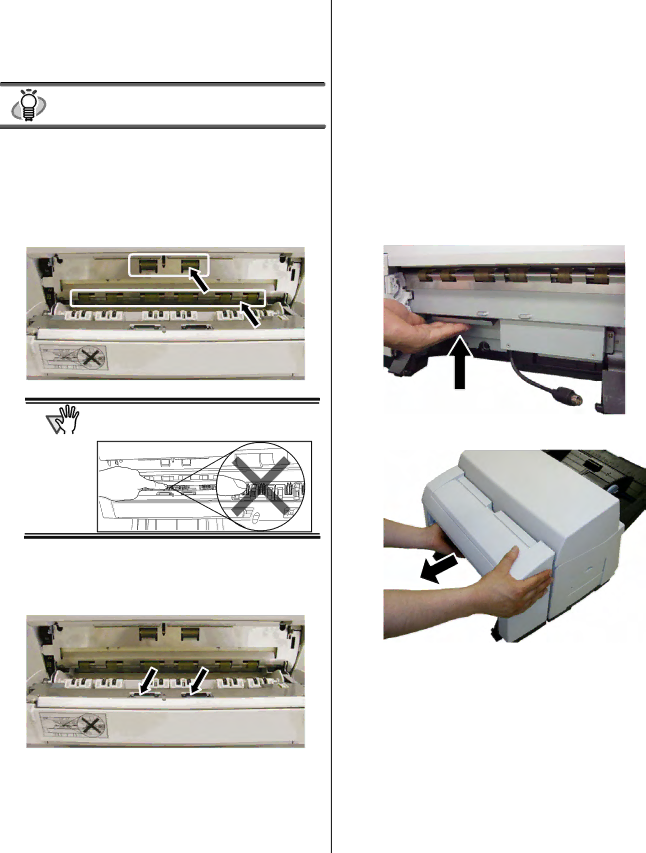
5. | Push up the lever located at bottom left of the |
| imprinter. |
6.Remove the Imprinter as shown below.
7.Remove the Attachment Guide from the Scanner.
(Refer to “How to remove the Attachment Guide”(P.6))
8.Replace the black cover, removed in procedure 2, to the Scanner.
9.Replace the Stacker, removed in procedure 1, to the Scanner.
