4. Daily Care
4.1. Cleaning the Print Cartridge
Poor quality prints can occur due to blocked ink emission holes in the nozzle. Leaving the imprinter unused for long periods can also cause emission holes to become blocked. When the emission holes are blocked, clean the nozzle surface of the print cartridge.
ATTENTION | For cleaning, use a dry |
| tissue), and gently wipe any dirt and stains off the |
| nozzle’s surface. |
1.Turn off the Scanner.
2.Remove the Print Cartridge.
(Refer to “3.4. Replacing the Print Cartridge”)
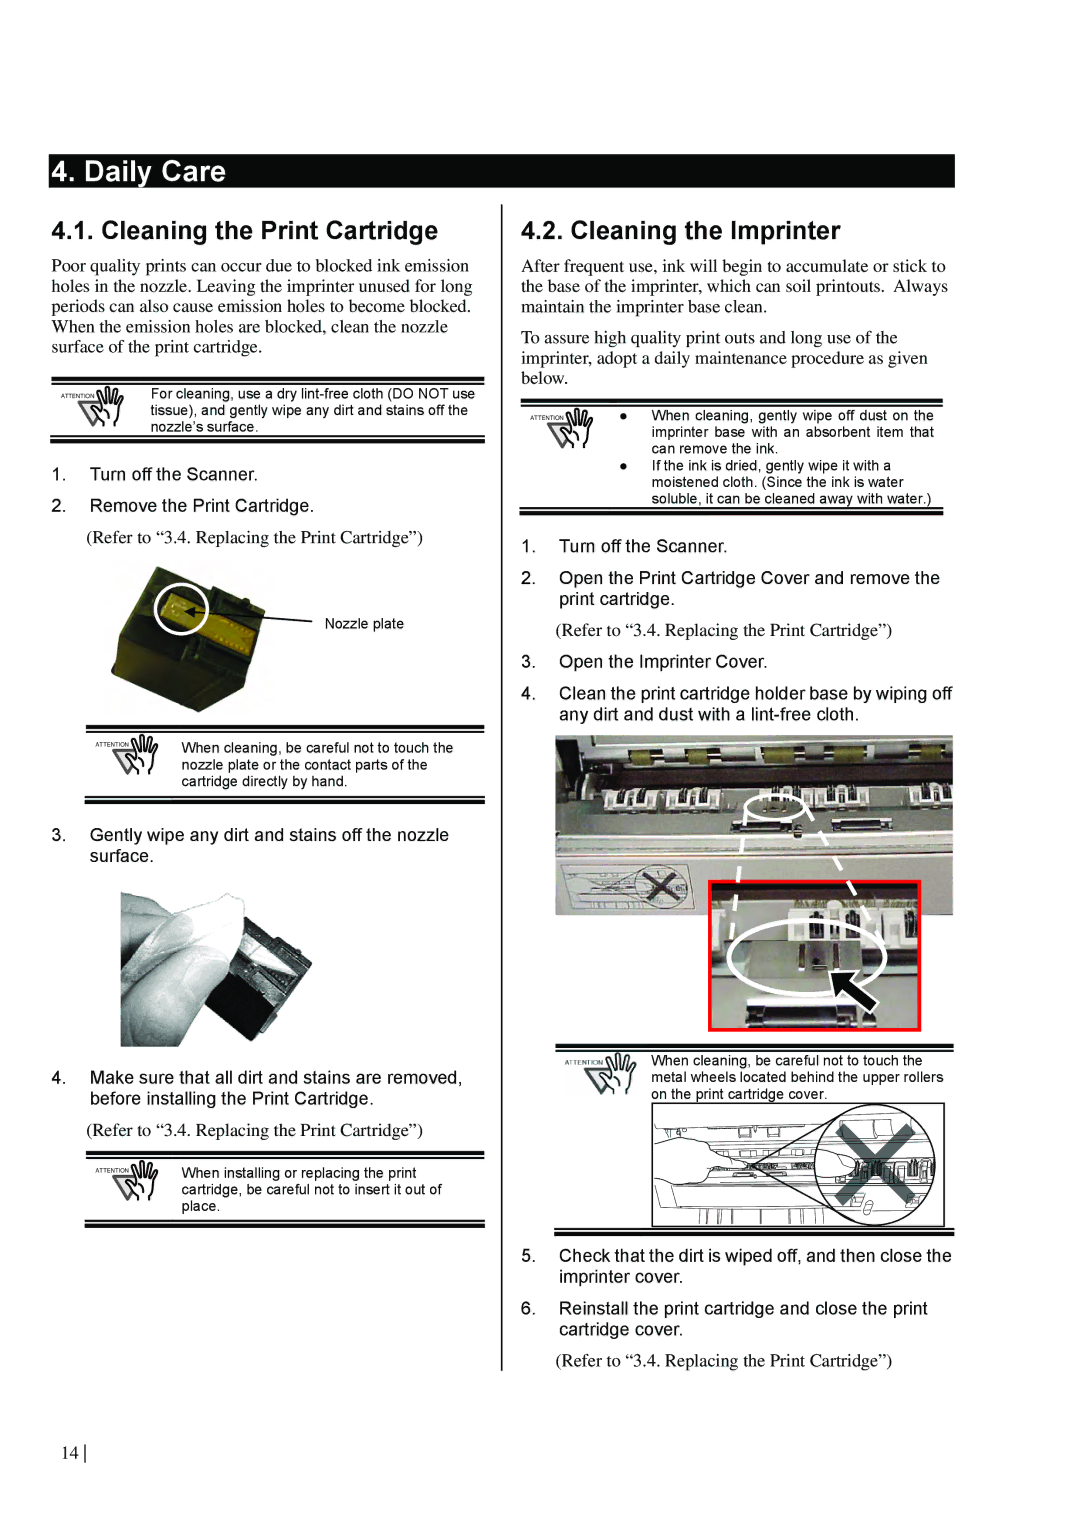
Nozzle plate
ATTENTION | When cleaning, be careful not to touch the |
| nozzle plate or the contact parts of the |
| cartridge directly by hand. |
3.Gently wipe any dirt and stains off the nozzle surface.
4.Make sure that all dirt and stains are removed, before installing the Print Cartridge.
(Refer to “3.4. Replacing the Print Cartridge”)
ATTENTION | When installing or replacing the print |
| cartridge, be careful not to insert it out of |
| place. |
4.2. Cleaning the Imprinter
After frequent use, ink will begin to accumulate or stick to the base of the imprinter, which can soil printouts. Always maintain the imprinter base clean.
To assure high quality print outs and long use of the imprinter, adopt a daily maintenance procedure as given below.
ATTENTION | ● When cleaning, gently wipe off dust on the |
| imprinter base with an absorbent item that |
| can remove the ink. |
●If the ink is dried, gently wipe it with a moistened cloth. (Since the ink is water soluble, it can be cleaned away with water.)
1.Turn off the Scanner.
2.Open the Print Cartridge Cover and remove the print cartridge.
(Refer to “3.4. Replacing the Print Cartridge”)
3.Open the Imprinter Cover.
4.Clean the print cartridge holder base by wiping off any dirt and dust with a
When cleaning, be careful not to touch the metal wheels located behind the upper rollers on the print cartridge cover.
5.Check that the dirt is wiped off, and then close the imprinter cover.
6.Reinstall the print cartridge and close the print cartridge cover.
(Refer to “3.4. Replacing the Print Cartridge”)
14