Setting Up a Home and Office Network
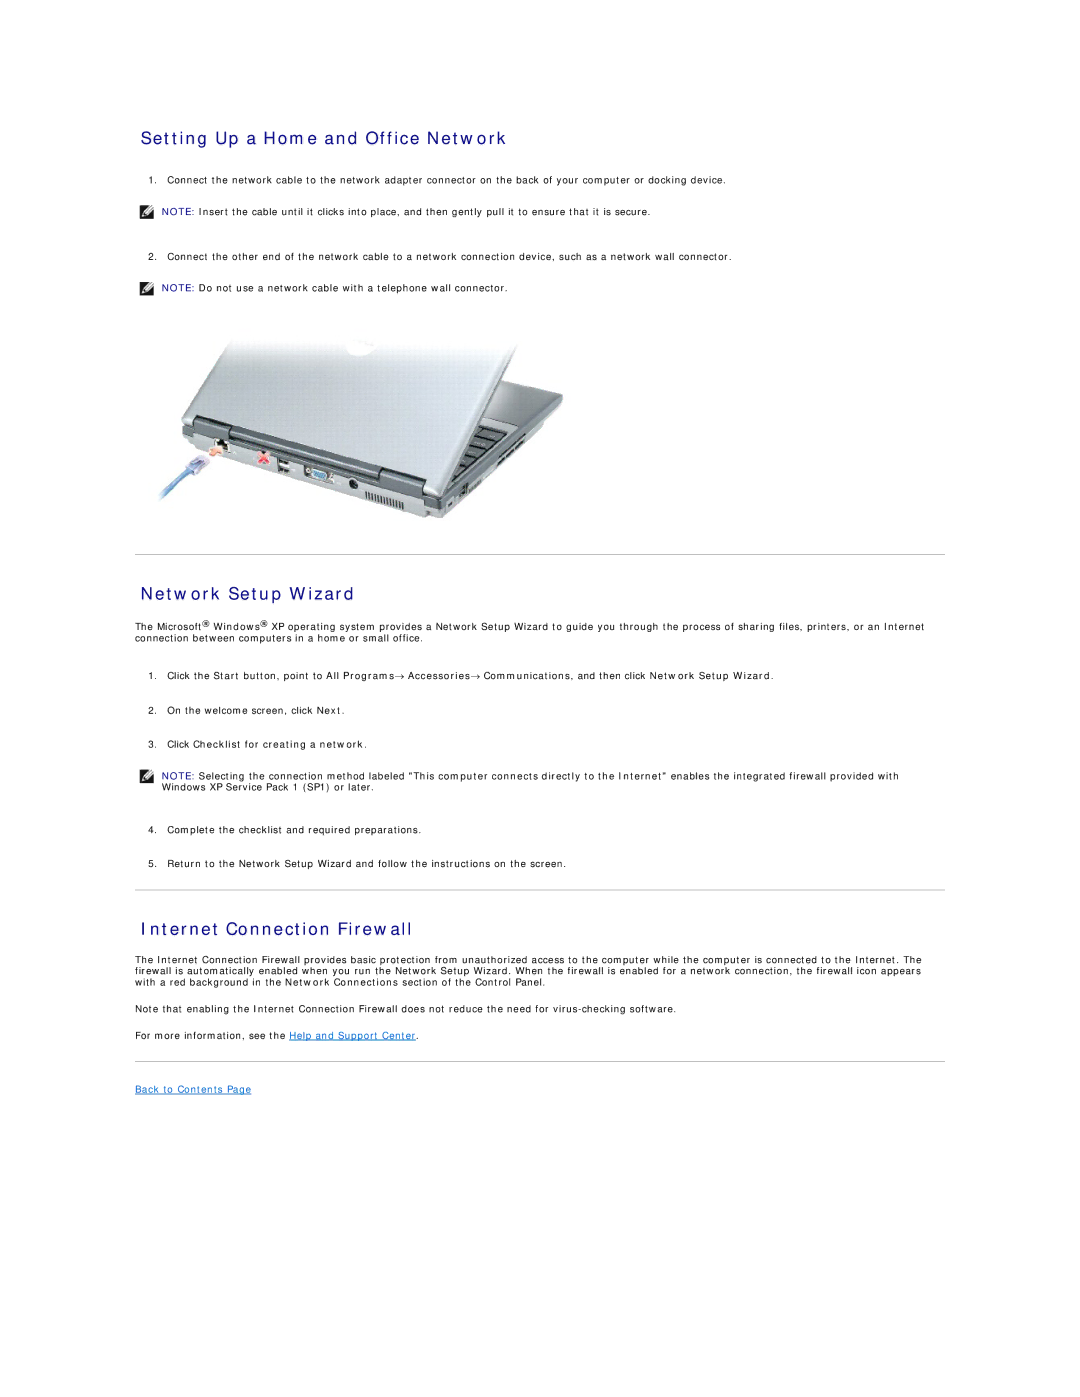
1. Connect the network cable to the network adapter connector on the back of your computer or docking device.
NOTE: Insert the cable until it clicks into place, and then gently pull it to ensure that it is secure.
2. Connect the other end of the network cable to a network connection device, such as a network wall connector.
NOTE: Do not use a network cable with a telephone wall connector.
Network Setup Wizard
The Microsoft® Windows® XP operating system provides a Network Setup Wizard to guide you through the process of sharing files, printers, or an Internet connection between computers in a home or small office.
1.Click the Start button, point to All Programs→ Accessories→ Communications, and then click Network Setup Wizard.
2.On the welcome screen, click Next.
3.Click Checklist for creating a network.
NOTE: Selecting the connection method labeled "This computer connects directly to the Internet" enables the integrated firewall provided with Windows XP Service Pack 1 (SP1) or later.
4.Complete the checklist and required preparations.
5.Return to the Network Setup Wizard and follow the instructions on the screen.
Internet Connection Firewall
The Internet Connection Firewall provides basic protection from unauthorized access to the computer while the computer is connected to the Internet. The firewall is automatically enabled when you run the Network Setup Wizard. When the firewall is enabled for a network connection, the firewall icon appears with a red background in the Network Connections section of the Control Panel.
Note that enabling the Internet Connection Firewall does not reduce the need for
For more information, see the Help and Support Center.
