Back to Contents Page
Using the Dell™ D/Bay
Dell™ Latitude™ D410 User's Guide
About the Dell D/Bay
Removing and Installing Devices When the Computer is Turned Off
Removing and Installing Devices While the Computer Is Running
CAUTION: Before performing any of the procedures in this section, follow the safety instructions in your Product Information Guide.
NOTE: The Dell D/Bay is optional and may not ship with your computer.
About the Dell D/Bay
You can install Dell Latitude™
Removing and Installing Devices When the Computer is Turned Off
NOTICE: To prevent damage to devices, place them in a safe, dry place when they are not installed in the computer. Avoid pressing down on them or placing heavy objects on top of them.
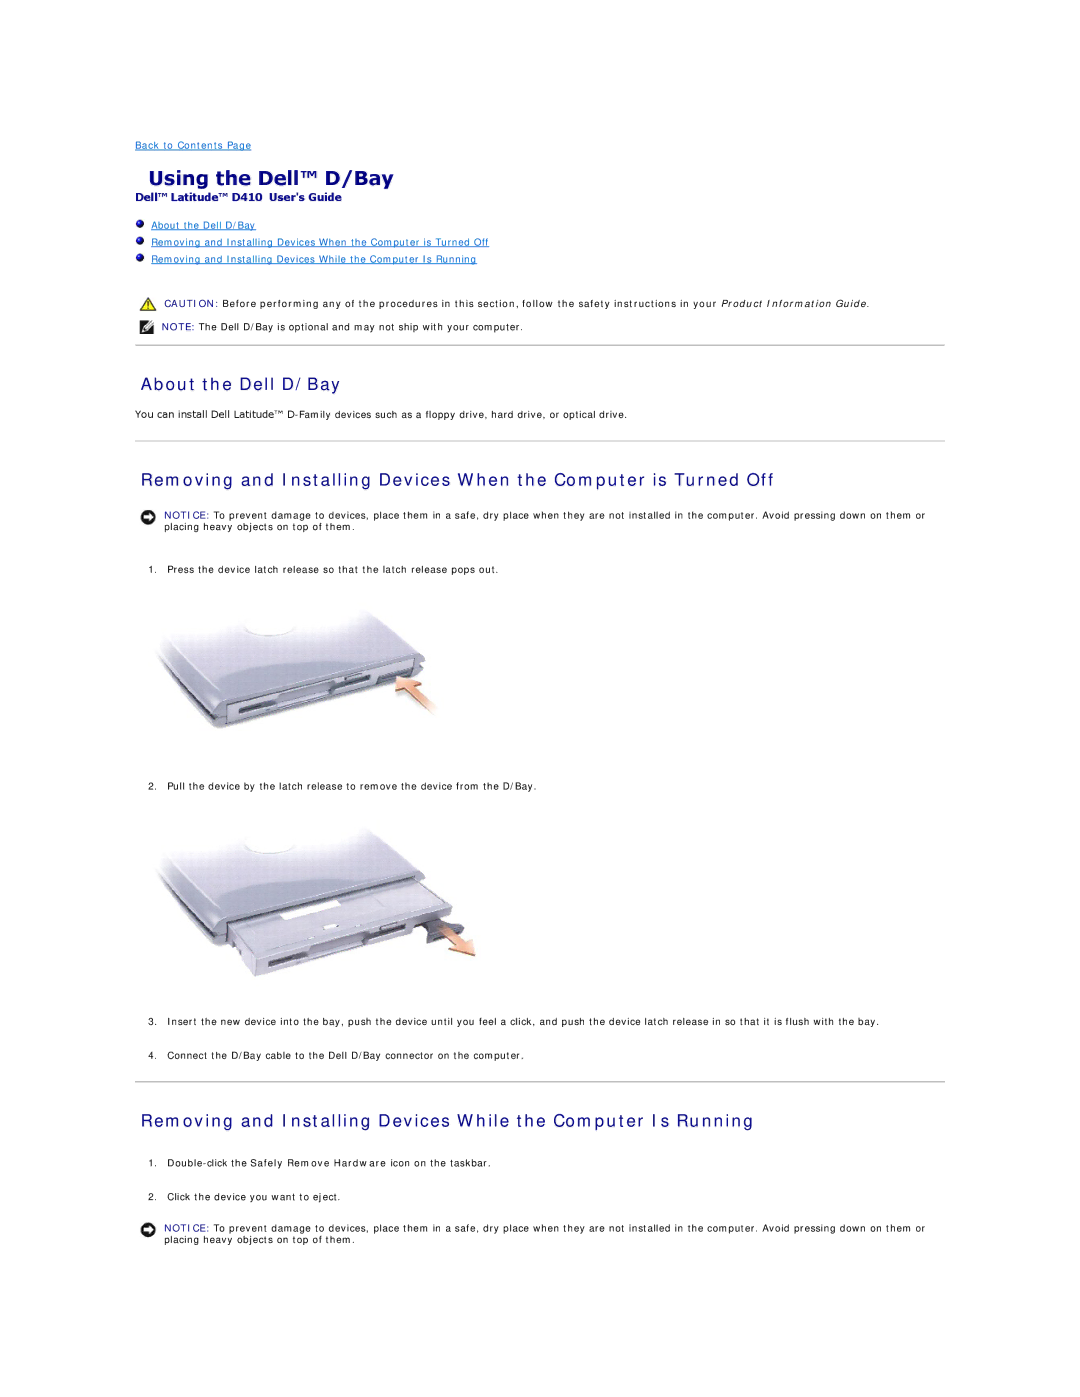
1. Press the device latch release so that the latch release pops out.
2. Pull the device by the latch release to remove the device from the D/Bay.
3.Insert the new device into the bay, push the device until you feel a click, and push the device latch release in so that it is flush with the bay.
4.Connect the D/Bay cable to the Dell D/Bay connector on the computer.
Removing and Installing Devices While the Computer Is Running
1.
2.Click the device you want to eject.
NOTICE: To prevent damage to devices, place them in a safe, dry place when they are not installed in the computer. Avoid pressing down on them or placing heavy objects on top of them.