R710 specifications
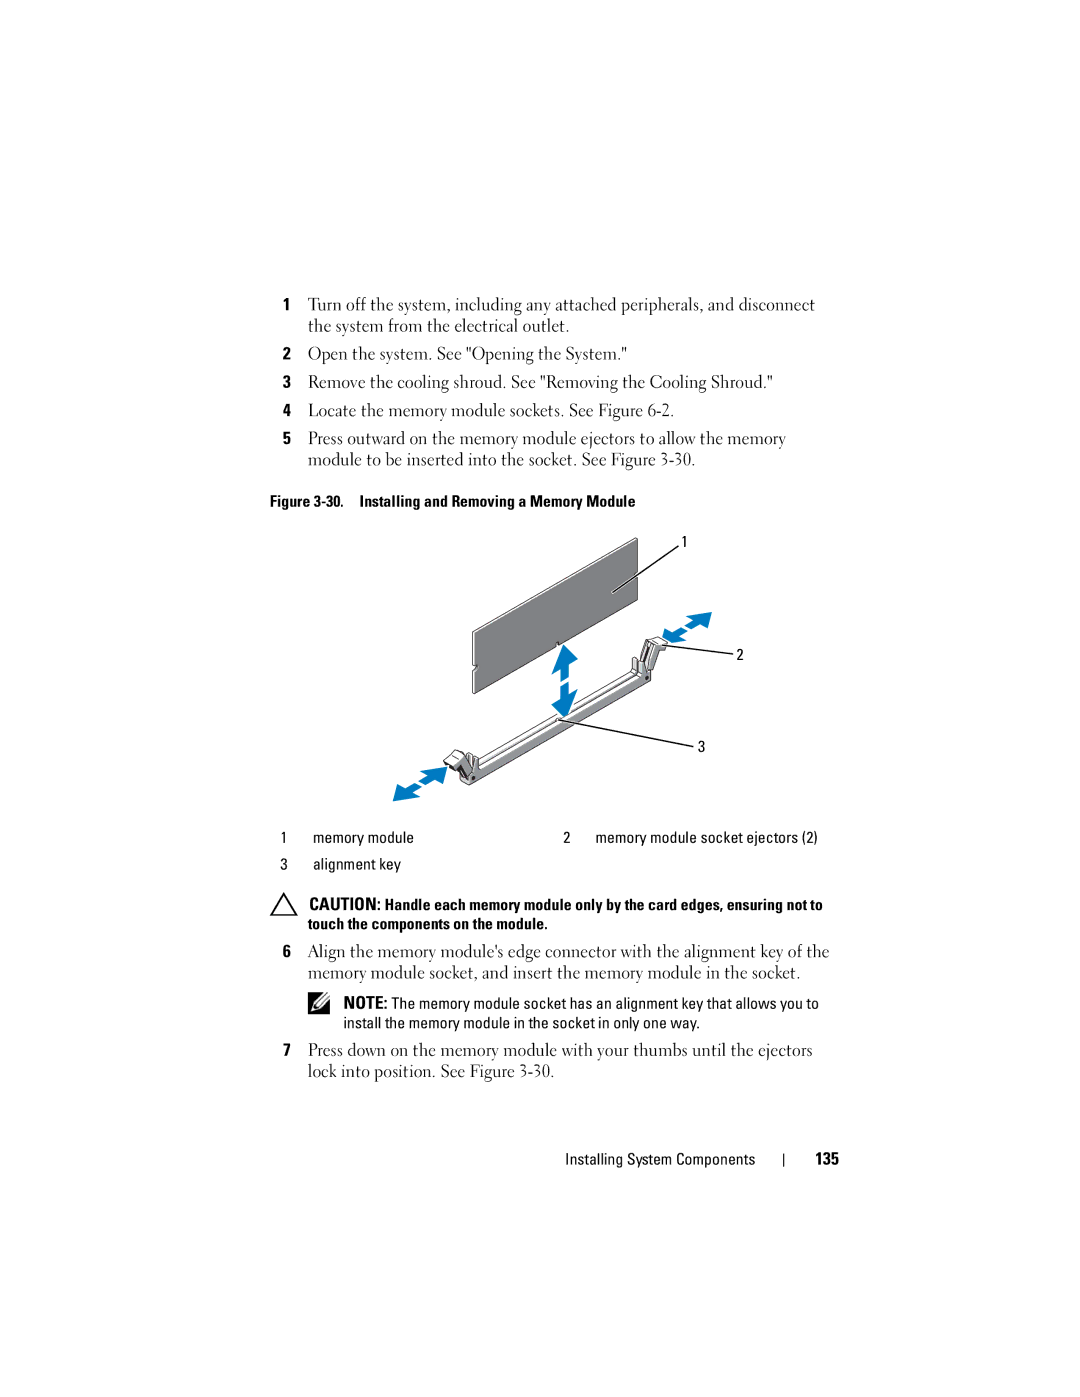
The Dell PowerEdge R710 is a highly versatile and robust server that has been a popular choice for businesses seeking reliable performance and efficient management. Launched as part of Dell’s 11th generation PowerEdge line, the R710 is designed to handle various workloads, making it ideal for virtualization, data analysis, and enterprise applications.One of the standout features of the R710 is its support for dual Intel Xeon 5500 or 5600 series processors. This capability allows for substantial processing power and improved energy efficiency through Intel’s Nehalem architecture. The server can accommodate up to 128GB of DDR3 RAM across its 16 DIMM slots, delivering the memory capacity needed for demanding applications while also providing the performance enhancements of higher memory speeds.
The R710 also boasts an impressive array of storage options. It supports up to eight 2.5-inch or six 3.5-inch hard drives, which can be configured in various RAID levels for enhanced data protection and performance. The server is compatible with both SAS and SATA drives, providing flexibility for different storage needs. Additionally, the optional PERC (PowerEdge RAID Controller) allows for enhanced RAID configurations, ensuring data integrity and performance optimization.
In terms of connectivity, the Dell R710 comes equipped with four Gigabit Ethernet ports for high-speed networking. This connectivity facilitates effective communication in virtualized and clustered environments. The server is also built with optional iDRAC (Integrated Dell Remote Access Controller) technology, which provides administrators with advanced management capabilities, remote control, and monitoring features that simplify server administration, minimize downtime, and enhance overall productivity.
Thermal efficiency is another key characteristic of the R710. Its innovative cooling design features intelligent fans that optimize airflow based on workload demands, ensuring that the system runs at optimal temperatures while minimizing energy consumption. This contributes to reduced operating costs and a smaller environmental footprint.
The modular design of the R710 allows for easy upgrades and maintenance, making it a practical option for IT departments. The server’s support for various operating systems, including Windows Server and various distributions of Linux, ensures compatibility with diverse environments.
In summary, the Dell PowerEdge R710 is an enterprise-class server that balances power, flexibility, and efficient management features. With its dual-processor capability, extensive memory options, robust storage configurations, and advanced management tools, it remains a solid choice for organizations looking to streamline their IT operations and enhance performance.

