TX 4000 PCI SS7 Network Interface Board Installation Manual | Verifying the installation |
Verifying the board installation
Complete the following steps to verify that each board is successfully installed:
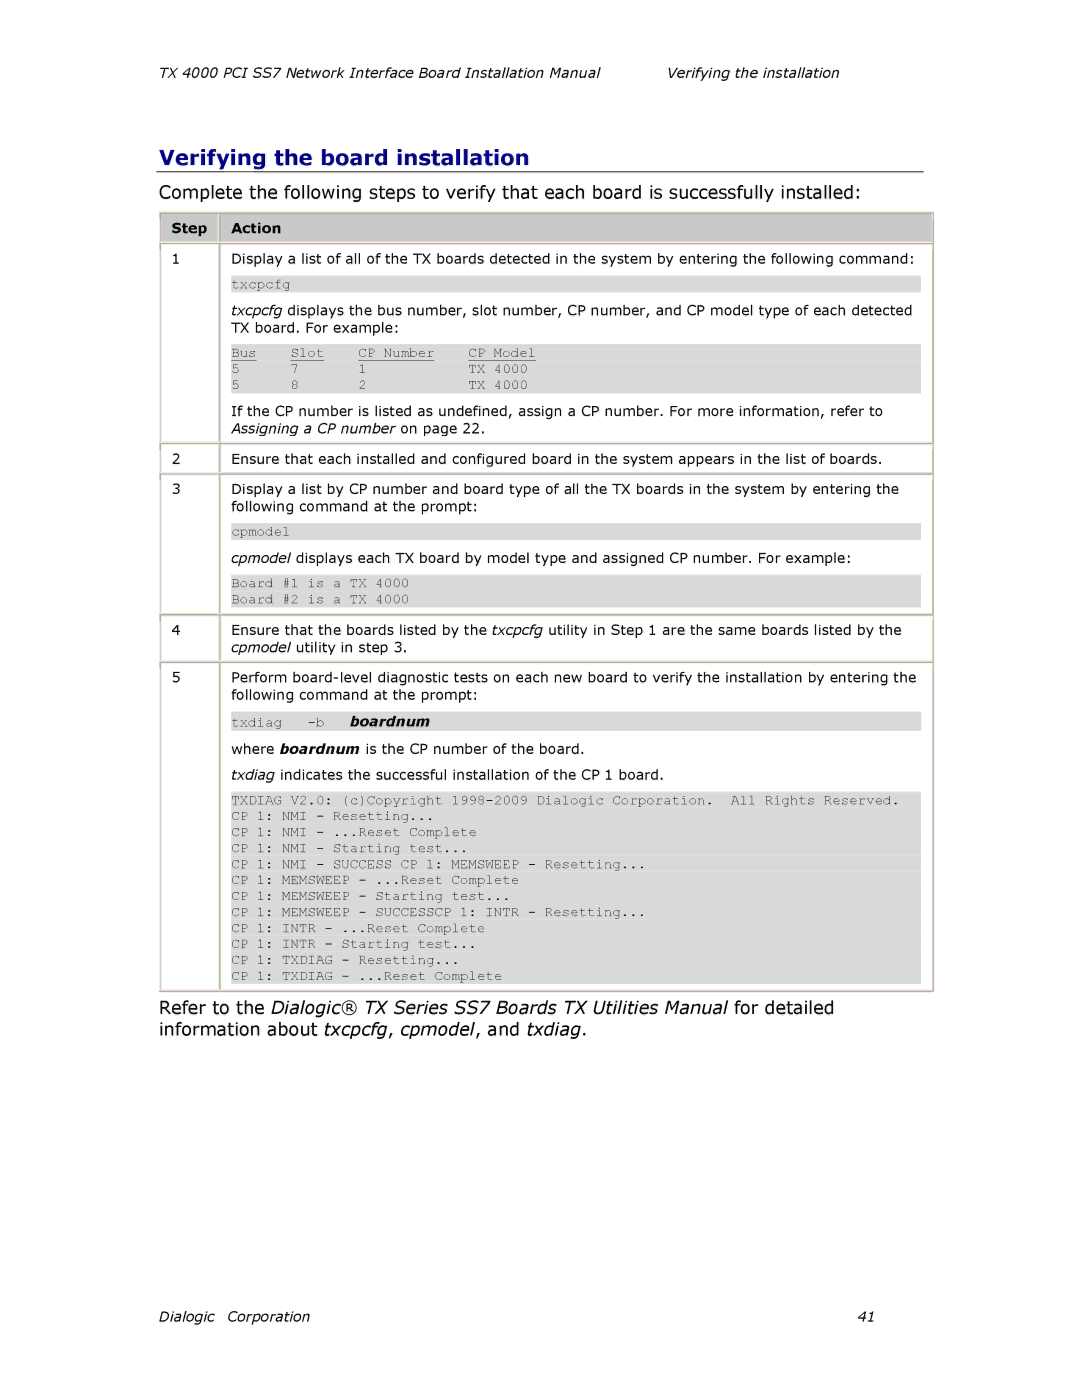
Step
Action
1
2
3
4
Display a list of all of the TX boards detected in the system by entering the following command:
txcpcfg
txcpcfg displays the bus number, slot number, CP number, and CP model type of each detected TX board. For example:
Bus | Slot | CP Number | CP Model | |
5 | 7 | 1 | TX | 4000 |
5 | 8 | 2 | TX | 4000 |
If the CP number is listed as undefined, assign a CP number. For more information, refer to Assigning a CP number on page 22.
Ensure that each installed and configured board in the system appears in the list of boards.
Display a list by CP number and board type of all the TX boards in the system by entering the following command at the prompt:
cpmodel
cpmodel displays each TX board by model type and assigned CP number. For example:
Board #1 is a TX 4000
Board #2 is a TX 4000
Ensure that the boards listed by the txcpcfg utility in Step 1 are the same boards listed by the cpmodel utility in step 3.
5
Perform
txdiag
where boardnum is the CP number of the board.
txdiag indicates the successful installation of the CP 1 board.
TXDIAG V2.0: (c)Copyright
CP 1: NMI - Resetting...
CP 1: NMI
CP 1: NMI - Starting test...
CP 1: NMI - SUCCESS CP 1: MEMSWEEP - Resetting...
CP 1: MEMSWEEP
CP 1: MEMSWEEP - Starting test...
CP 1: MEMSWEEP - SUCCESSCP 1: INTR - Resetting...
CP 1: INTR
CP 1: INTR - Starting test...
CP 1: TXDIAG - Resetting...
CP 1: TXDIAG
Refer to the Dialogic® TX Series SS7 Boards TX Utilities Manual for detailed information about txcpcfg, cpmodel, and txdiag.
Dialogic Corporation | 41 |