POWERMATE3
SPEAKER PROTECTION
This dialog is used to match the maximum continous out- put power of the integrated power amplifiers to the con- nected loudspeakers. By limiting the maximum output power damaging the speakers by thermal overload can be avoided, while the full dynamic of the amplifier is main- tained. Please check the type plate or the technical doc- umentation of your speakers for their rated power. When using external power amplifiers or active speakers the setting in this dialog has of course no affect.
HINT: If different types of passive loudspeakers are connected in parallel you should set the ampli- fier power to the power rating (see type plate of speaker) of the lowest rated speaker in this dialog.
HINT: Check the setting in the Speaker Protection dia- log if the performance of your PowerMate sys- tem is not as expected.
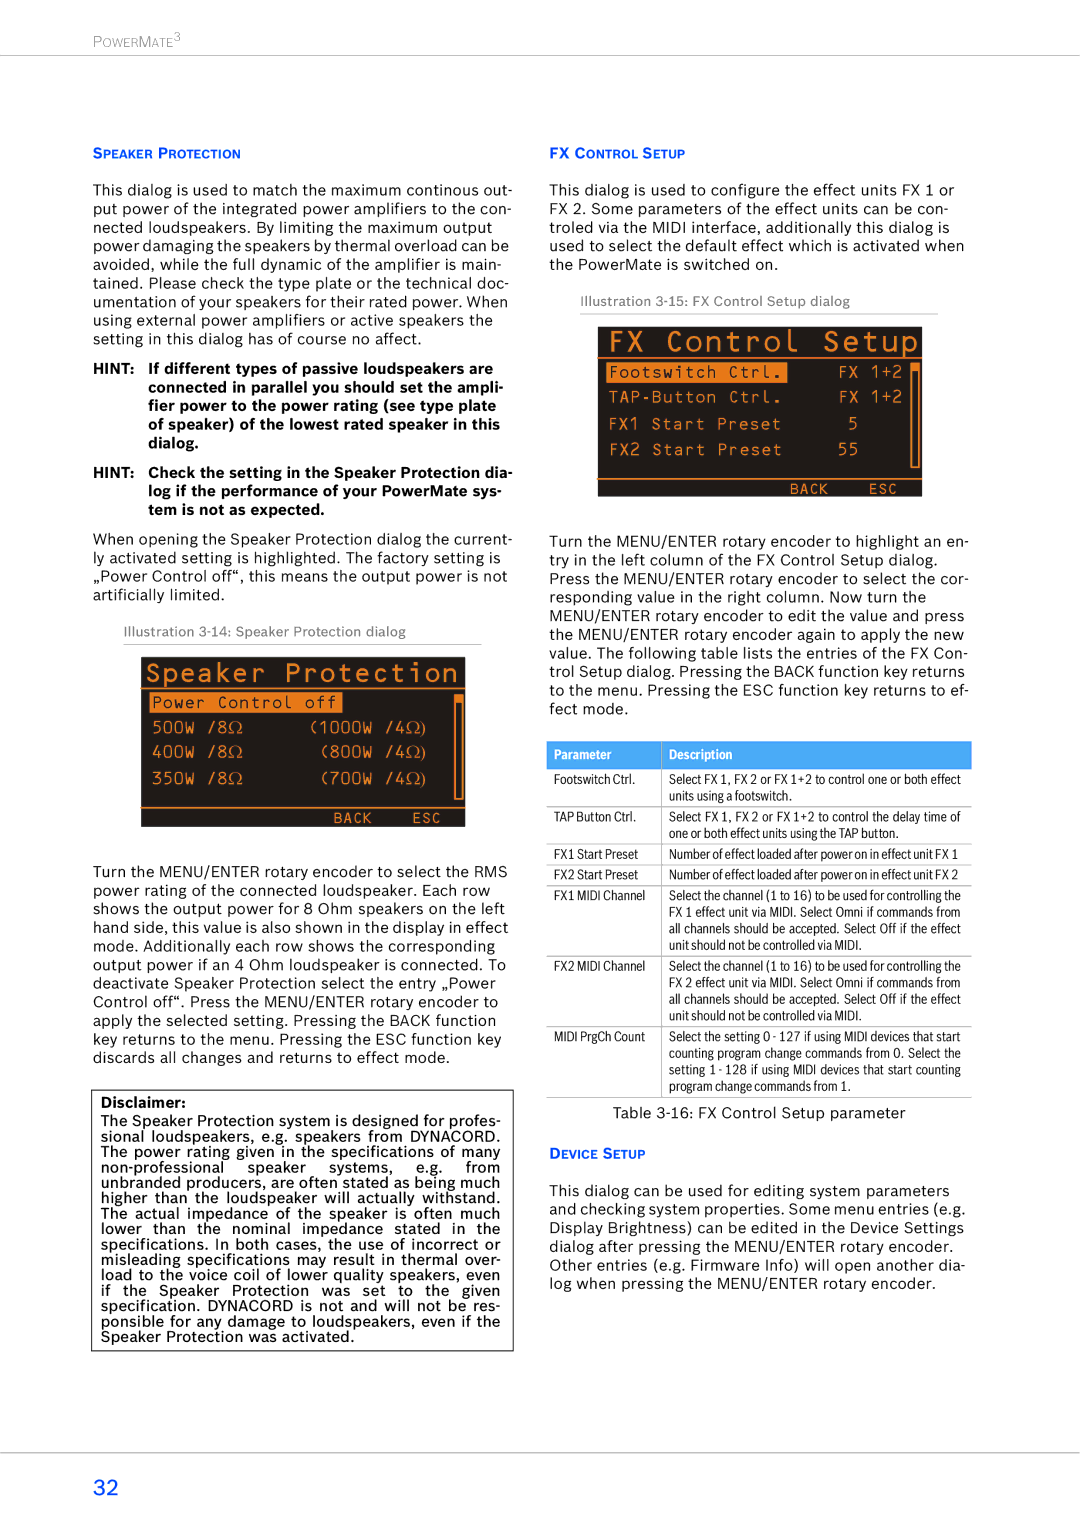
When opening the Speaker Protection dialog the current- ly activated setting is highlighted. The factory setting is „Power Control off“, this means the output power is not artificially limited.
Illustration
Speaker Protection
|
|
|
|
| ||
| Power Control off |
|
|
| ||
|
|
|
| |||
|
| |||||
| 500W | /8Ω | (1000W | /4Ω) |
| |
| 400W | /8Ω | (800W | /4Ω) |
| |
| 350W | /8Ω | (700W | /4Ω) |
| |
|
|
|
|
|
|
|
|
|
|
|
|
|
|
|
|
| BACK | ESC | ||
Turn the MENU/ENTER rotary encoder to select the RMS power rating of the connected loudspeaker. Each row shows the output power for 8 Ohm speakers on the left hand side, this value is also shown in the display in effect mode. Additionally each row shows the corresponding output power if an 4 Ohm loudspeaker is connected. To deactivate Speaker Protection select the entry „Power Control off“. Press the MENU/ENTER rotary encoder to apply the selected setting. Pressing the BACK function key returns to the menu. Pressing the ESC function key discards all changes and returns to effect mode.
Disclaimer:
The Speaker Protection system is designed for profes- sional loudspeakers, e.g. speakers from DYNACORD. The power rating given in the specifications of many
FX CONTROL SETUP
This dialog is used to configure the effect units FX 1 or FX 2. Some parameters of the effect units can be con- troled via the MIDI interface, additionally this dialog is used to select the default effect which is activated when the PowerMate is switched on.
Illustration
FX Control Setup
| Footswitch Ctrl. |
| FX 1+2 |
|
|
| |||||
|
| FX 1+2 |
|
| |
| FX1 Start Preset | 5 |
|
| |
| FX2 Start Preset | 55 |
|
| |
|
|
|
|
|
|
|
|
|
|
|
|
|
| BACK | ESC | ||
Turn the MENU/ENTER rotary encoder to highlight an en- try in the left column of the FX Control Setup dialog. Press the MENU/ENTER rotary encoder to select the cor- responding value in the right column. Now turn the MENU/ENTER rotary encoder to edit the value and press the MENU/ENTER rotary encoder again to apply the new value. The following table lists the entries of the FX Con- trol Setup dialog. Pressing the BACK function key returns to the menu. Pressing the ESC function key returns to ef- fect mode.
Parameter | Description |
|
|
Footswitch Ctrl. | Select FX 1, FX 2 or FX 1+2 to control one or both effect |
| units using a footswitch. |
|
|
TAP Button Ctrl. | Select FX 1, FX 2 or FX 1+2 to control the delay time of |
| one or both effect units using the TAP button. |
|
|
FX1 Start Preset | Number of effect loaded after power on in effect unit FX 1 |
|
|
FX2 Start Preset | Number of effect loaded after power on in effect unit FX 2 |
|
|
FX1 MIDI Channel | Select the channel (1 to 16) to be used for controlling the |
| FX 1 effect unit via MIDI. Select Omni if commands from |
| all channels should be accepted. Select Off if the effect |
| unit should not be controlled via MIDI. |
|
|
FX2 MIDI Channel | Select the channel (1 to 16) to be used for controlling the |
| FX 2 effect unit via MIDI. Select Omni if commands from |
| all channels should be accepted. Select Off if the effect |
| unit should not be controlled via MIDI. |
|
|
MIDI PrgCh Count | Select the setting 0 - 127 if using MIDI devices that start |
| counting program change commands from 0. Select the |
| setting 1 - 128 if using MIDI devices that start counting |
| program change commands from 1. |
|
|
Table
DEVICE SETUP
This dialog can be used for editing system parameters and checking system properties. Some menu entries (e.g. Display Brightness) can be edited in the Device Settings dialog after pressing the MENU/ENTER rotary encoder. Other entries (e.g. Firmware Info) will open another dia- log when pressing the MENU/ENTER rotary encoder.
32