Removing Filler Blades | Hardware Preparation and Installation |
|
|
2.5.2Removing Filler Blades
After a filler blade is removed, place it in the equipment room or other
You should install a blank filler blade in the slot after removing the blade. Otherwise, it may effect the ventilation, heat dissipation, electromagnetic shielding and dust prevention of the shelf.
If this is the first installation for the shelf, the blade is fully configured and the shelf is not powered on, you can remove all the filler blades. Then, install blades in the slots in order. This document takes the first installation as an example.
If you want to install multiple blades in the shelf that is powered on, you can remove a filler blade and then install a blade one by one.
If the slot is occupied with a filler blade you have to remove it first.
To remove the filler blade, proceed as follows:
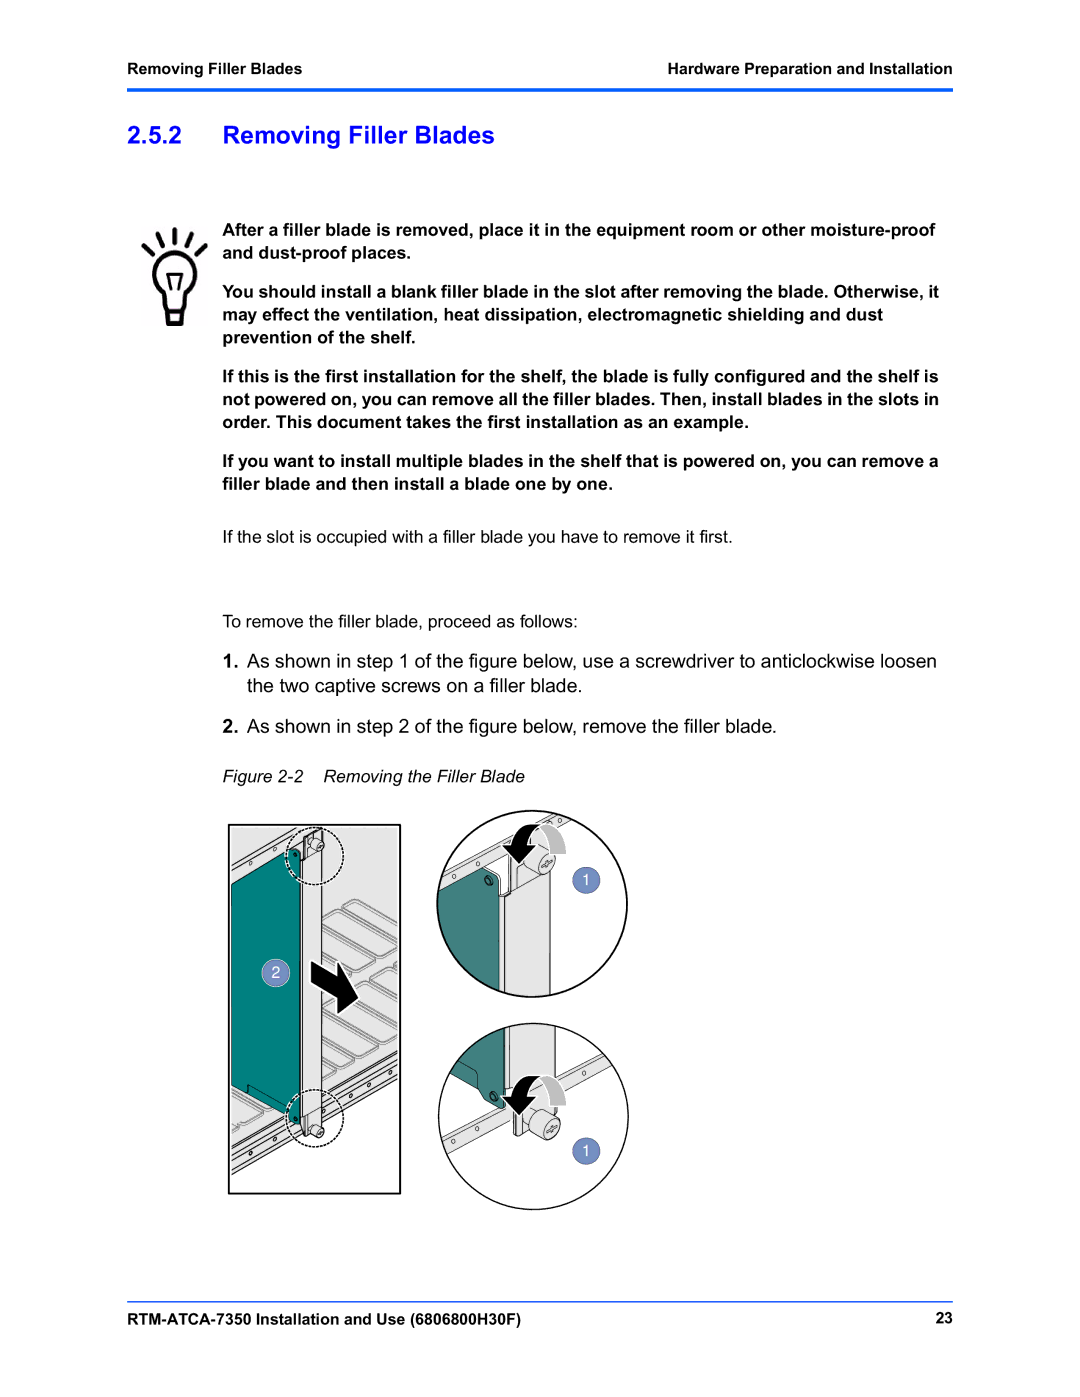
1.As shown in step 1 of the figure below, use a screwdriver to anticlockwise loosen the two captive screws on a filler blade.
2.As shown in step 2 of the figure below, remove the filler blade.
Figure 2-2 Removing the Filler Blade
2 |
1
1
23 |