2.4.3 Login into the Web Interface
The Wireless client bridge supports access to the configuration system through the use of an HTTP Interface.
Web Configuration
Before configuring Wireless client bridge, user needs to know the IP Address assigned to the unit. When shipped from the factory, the IP Address 192.168.5.99 was assigned to the Wireless client bridge by default. To start a web connection, use http://192.168.2.1
Identify the IP Address assigned to the unit
However, user may change the IP Address later and cannot connect the unit by using the default IP Address. In this case, it is a must to identify the Wireless client bridge current IP Address before configuring. To identify the IP Address, user can use the serial port (refer to page 4) to gain access of the current network status.
To start a Serial Port connection by following the steps below.
Step 1 Attach the
Step 2 Set the terminal to 115200 baud rate, None Parity, 8 data bits, 1 Stop bit, and ANSI compatible.
Step 3 Run a terminal emulation program on PC, such as Hyper Terminal, and set the following connection properties.
Step 3.1 Click the Start icon > Program > Accessories > Communication > Terminal.
Step 3.2 Create a new connection file, and select a Com Port <COM1, COM2, etc., depending on PC> with 115200bps /
Step 3.3 Click the properties icon in the Tool Bar > setting > select Emulation terminal VT100 > ok.
Step 4 Reboot Wireless client bridge.
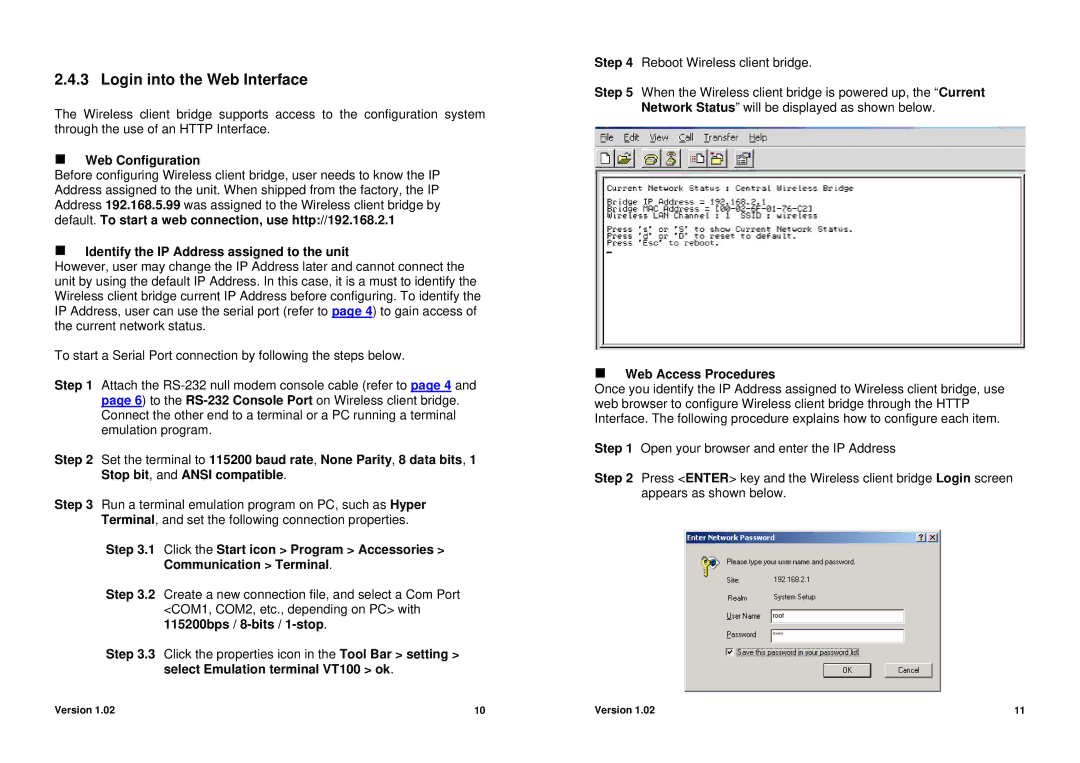
Step 5 When the Wireless client bridge is powered up, the “Current Network Status” will be displayed as shown below.
Web Access Procedures
Once you identify the IP Address assigned to Wireless client bridge, use web browser to configure Wireless client bridge through the HTTP Interface. The following procedure explains how to configure each item.
Step 1 Open your browser and enter the IP Address
Step 2 Press <ENTER> key and the Wireless client bridge Login screen appears as shown below.
Version 1.02 | 10 | Version 1.02 | 11 |
