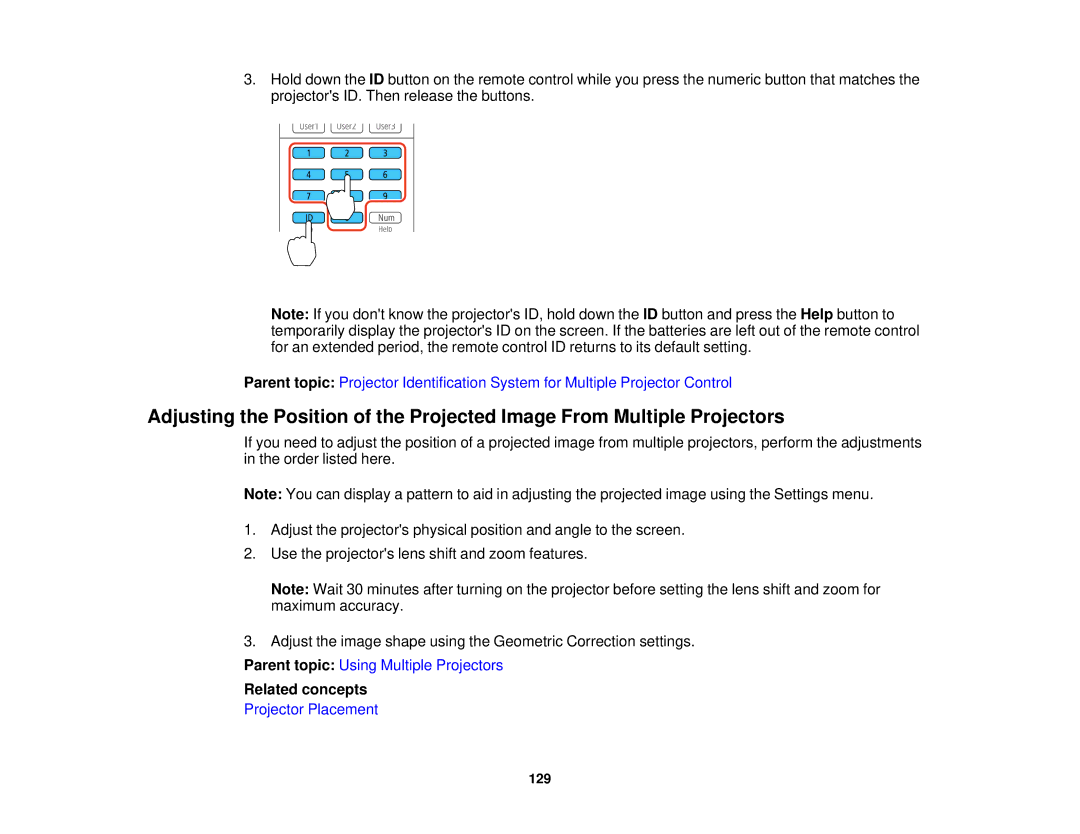
3.Hold down the ID button on the remote control while you press the numeric button that matches the projector's ID. Then release the buttons.
Note: If you don't know the projector's ID, hold down the ID button and press the Help button to temporarily display the projector's ID on the screen. If the batteries are left out of the remote control for an extended period, the remote control ID returns to its default setting.
Parent topic: Projector Identification System for Multiple Projector Control
Adjusting the Position of the Projected Image From Multiple Projectors
If you need to adjust the position of a projected image from multiple projectors, perform the adjustments in the order listed here.
Note: You can display a pattern to aid in adjusting the projected image using the Settings menu.
1.Adjust the projector's physical position and angle to the screen.
2.Use the projector's lens shift and zoom features.
Note: Wait 30 minutes after turning on the projector before setting the lens shift and zoom for maximum accuracy.
3.Adjust the image shape using the Geometric Correction settings.
Parent topic: Using Multiple Projectors
Related concepts
Projector Placement
129