Electrical Safety Analyzer
Setting Up the Analyzer
Setting Up the Analyzer
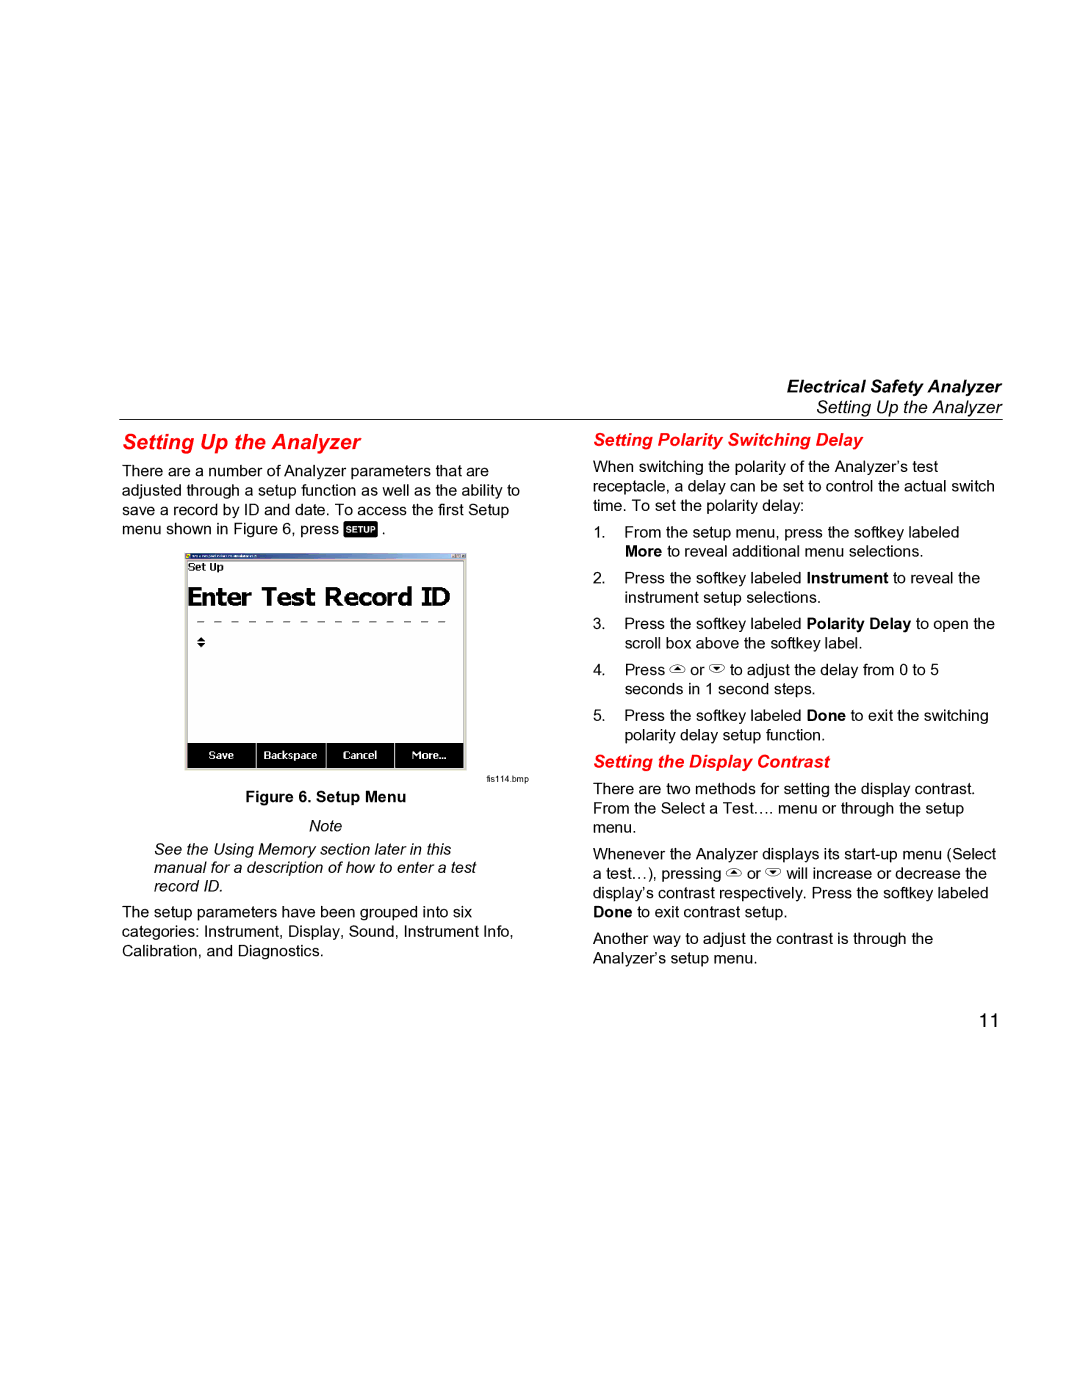
There are a number of Analyzer parameters that are adjusted through a setup function as well as the ability to save a record by ID and date. To access the first Setup menu shown in Figure 6, press Q.
fis114.bmp
Figure 6. Setup Menu
Note
See the Using Memory section later in this manual for a description of how to enter a test record ID.
The setup parameters have been grouped into six categories: Instrument, Display, Sound, Instrument Info, Calibration, and Diagnostics.
Setting Polarity Switching Delay
When switching the polarity of the Analyzer’s test receptacle, a delay can be set to control the actual switch time. To set the polarity delay:
1.From the setup menu, press the softkey labeled More to reveal additional menu selections.
2.Press the softkey labeled Instrument to reveal the instrument setup selections.
3.Press the softkey labeled Polarity Delay to open the scroll box above the softkey label.
4.Press Gor Hto adjust the delay from 0 to 5 seconds in 1 second steps.
5.Press the softkey labeled Done to exit the switching polarity delay setup function.
Setting the Display Contrast
There are two methods for setting the display contrast. From the Select a Test…. menu or through the setup
menu.
Whenever the Analyzer displays its
Another way to adjust the contrast is through the Analyzer’s setup menu.
11