5.Position the blade guard to the correct height for your workpiece.
6.Load the workpiece onto the table saw. The set up should look similar to Figure 65.
7.Once all the necessary safety precautions have been taken, perform the cutting opera- tion.
Rip cutting using the traditional table saw technique:
1.Slide the crosscut table out of the way.
2.Lock the sliding table into a stationary posi- tion.
3.Position the rip fence to the desired
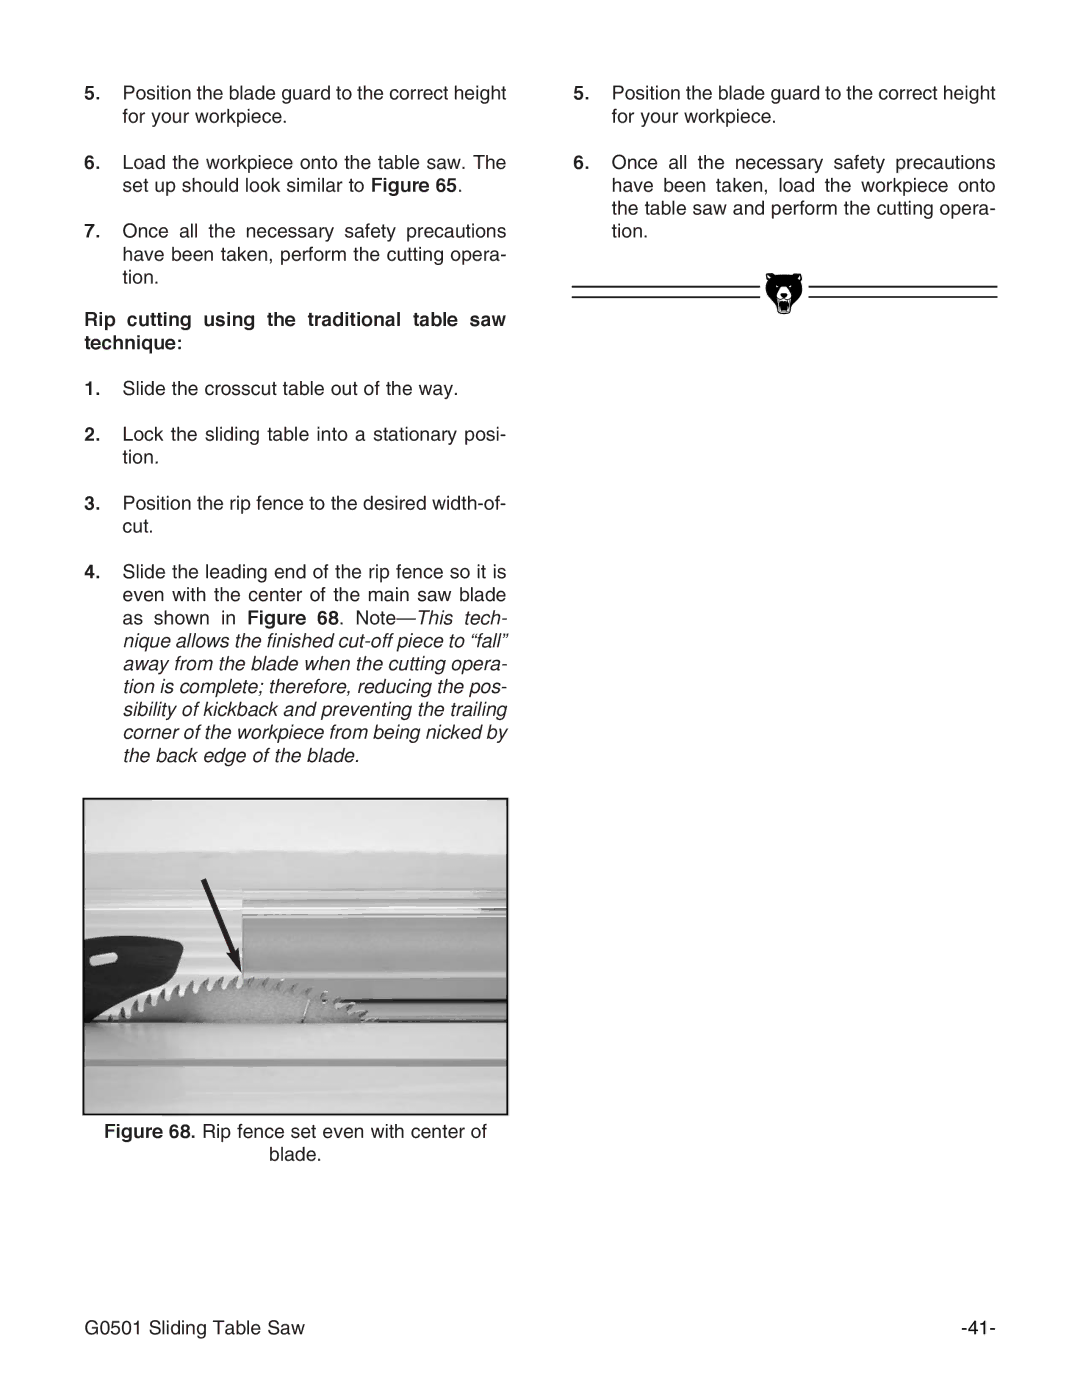
4.Slide the leading end of the rip fence so it is even with the center of the main saw blade as shown in Figure 68.
5.Position the blade guard to the correct height for your workpiece.
6.Once all the necessary safety precautions have been taken, load the workpiece onto the table saw and perform the cutting opera- tion.
Figure 68. Rip fence set even with center of
blade.
G0501 Sliding Table Saw |
