6.With help from another person to steady the canister assembly, turn it upside down and remove the two hex bolts, hex nuts, and flat washers from the cross support (see Figure 72), then remove the canister base from the assembly.
Remove These
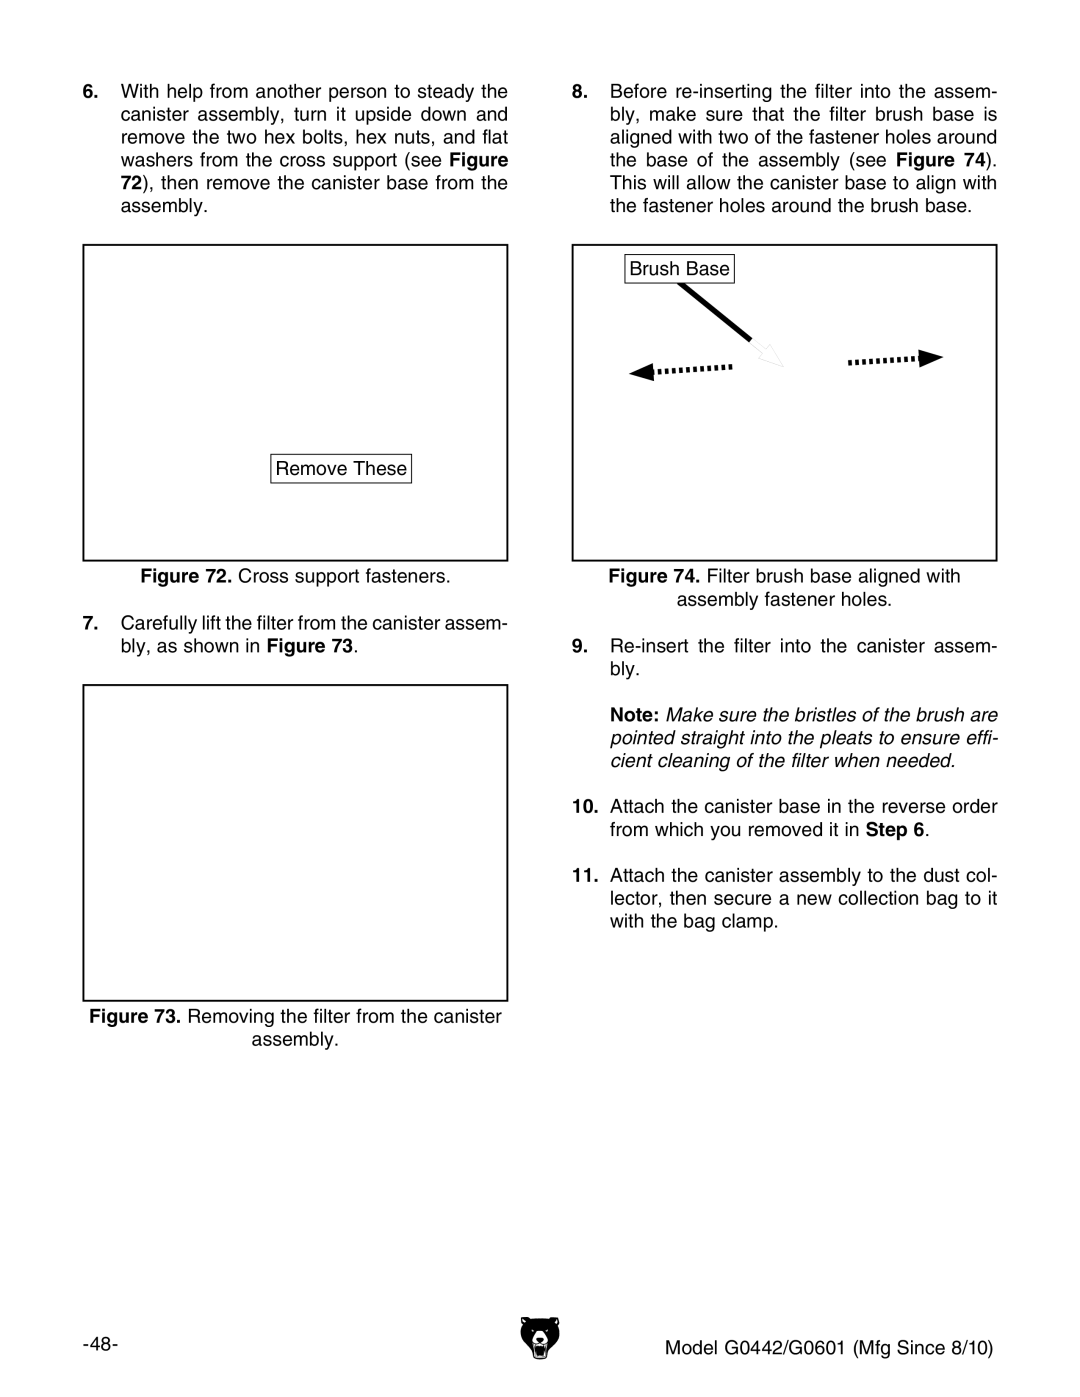
8.Before
Brush Base
Figure 72. Cross support fasteners.
7.Carefully lift the filter from the canister assem- bly, as shown in Figure 73.
Figure 74. Filter brush base aligned with
assembly fastener holes.
9.Re-insert the filter into the canister assem- bly.
Note: Make sure the bristles of the brush are pointed straight into the pleats to ensure effi- cient cleaning of the filter when needed.
10.Attach the canister base in the reverse order from which you removed it in Step 6.
11.Attach the canister assembly to the dust col- lector, then secure a new collection bag to it with the bag clamp.
Figure 73. Removing the filter from the canister
assembly.
Model G0442/G0601 (Mfg Since 8/10) |