|
| Installing the Router on the Workbench 19 |
|
| |
Installing the Router | You can install any Router 5000 on a workbench. | |
on the Workbench | To install the router on a workbench, take the following precautions: | |
| ||
| ■ Ensure that the workbench is smooth and stable. | |
| ■ Leave a | |
| ■ Do not put heavy objects on the router. | |
|
| |
Connecting the Power | To connect the router to the power outlet and confirm that the PGND wire is | |
Cable | properly grounded, do the following: | |
| 1 Connect the output end of the power socket on the rear panel of the router. | |
| 2 Connect the input end to the AC power outlet. | |
| 3 Turn on the power switch on the router. | |
| 4 Confirm that the router has power by checking whether the POWER LED is on. | |
|
| |
Connecting the Router | The Router 5000 provides a console port, through which you can configure the | |
to the Console | router. |
|
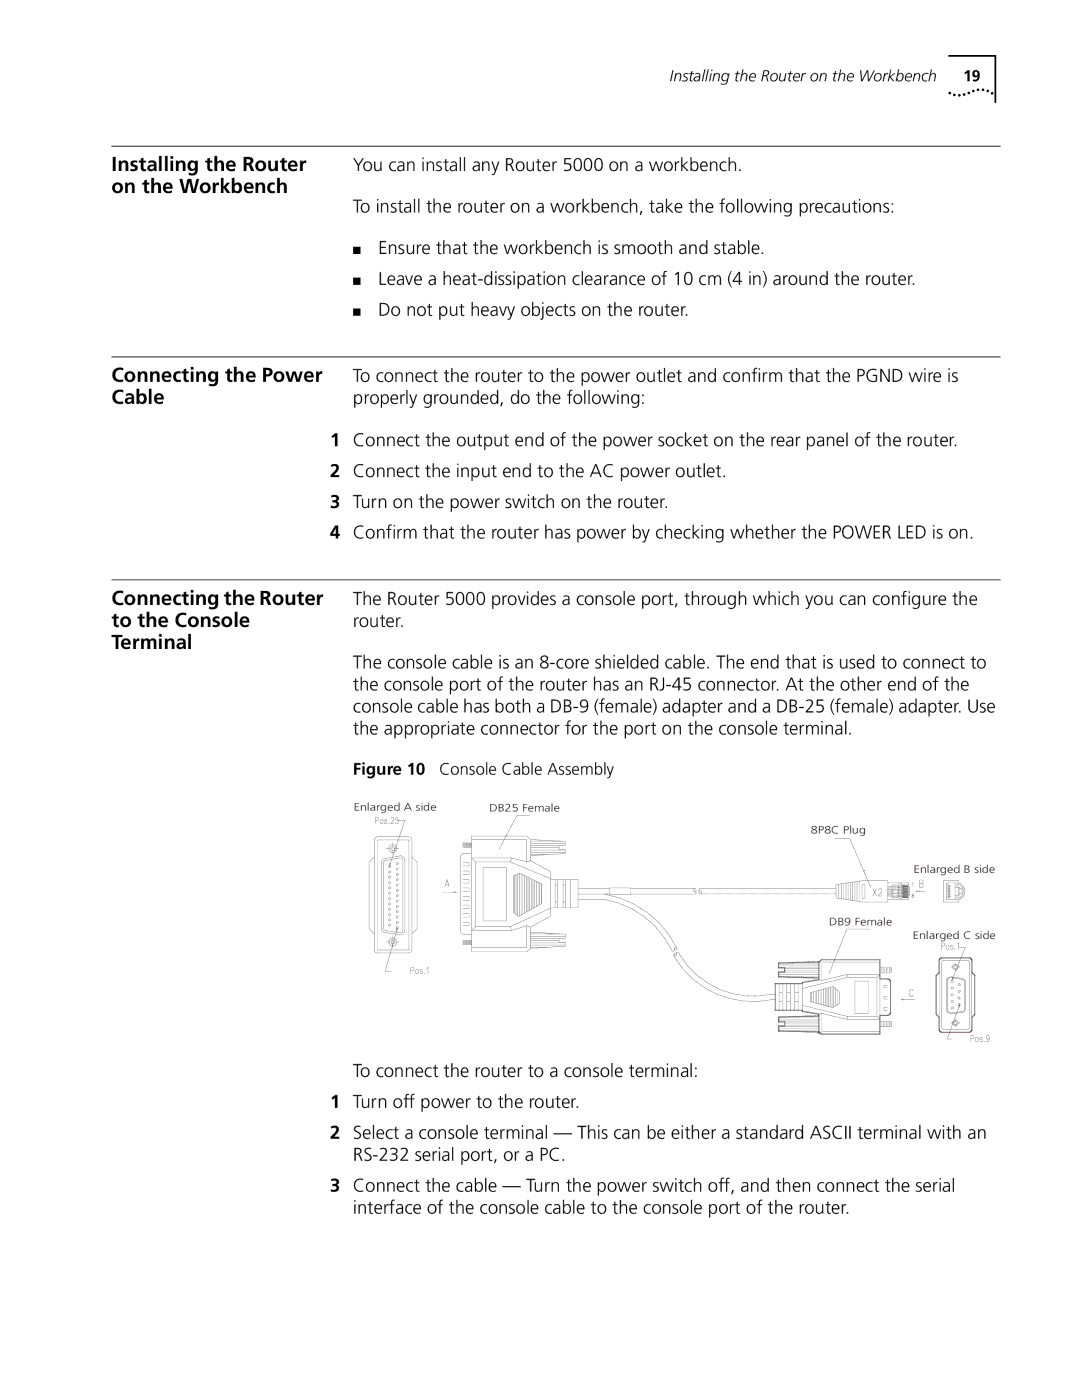
Terminal | The console cable is an | |
| ||
| the console port of the router has an | |
| console cable has both a | |
| the appropriate connector for the port on the console terminal. | |
| Figure 10 Console Cable Assembly | |
| Enlarged A side | DB25 Female |
8P8C Plug
Enlarged B side
DB9 Female
Enlarged C side
To connect the router to a console terminal:
1Turn off power to the router.
2Select a console terminal — This can be either a standard ASCII terminal with an
3Connect the cable — Turn the power switch off, and then connect the serial interface of the console cable to the console port of the router.