Ink smears
Follow these guidelines if ink smears appear on the back of the photos, or if the paper sticks together:
●Use an HP photo paper.
●Verify that the photo paper is not curled. If the photo paper is curled, place the paper in a plastic bag and gently bend it the opposite direction of the curl until the paper lies flat.
If the paper is not curled, then follow these steps:
1Open the Print dialog box.
2Select the Ink panel.
3Move the Ink Density slider toward Light.
Note The colors in the image might become lighter.
4Click Print.
If the problem persists, try the following steps:
1Remove the photo paper, and then load plain paper in the In tray.
2Press and hold down the Print Cancel button until the printer starts printing a self- test page, and then release the button.
3Repeat step 2 until the
Part of the photo is faded
●Fading occurs on the edges of a printout
●Fading occurs near the edges of a photo
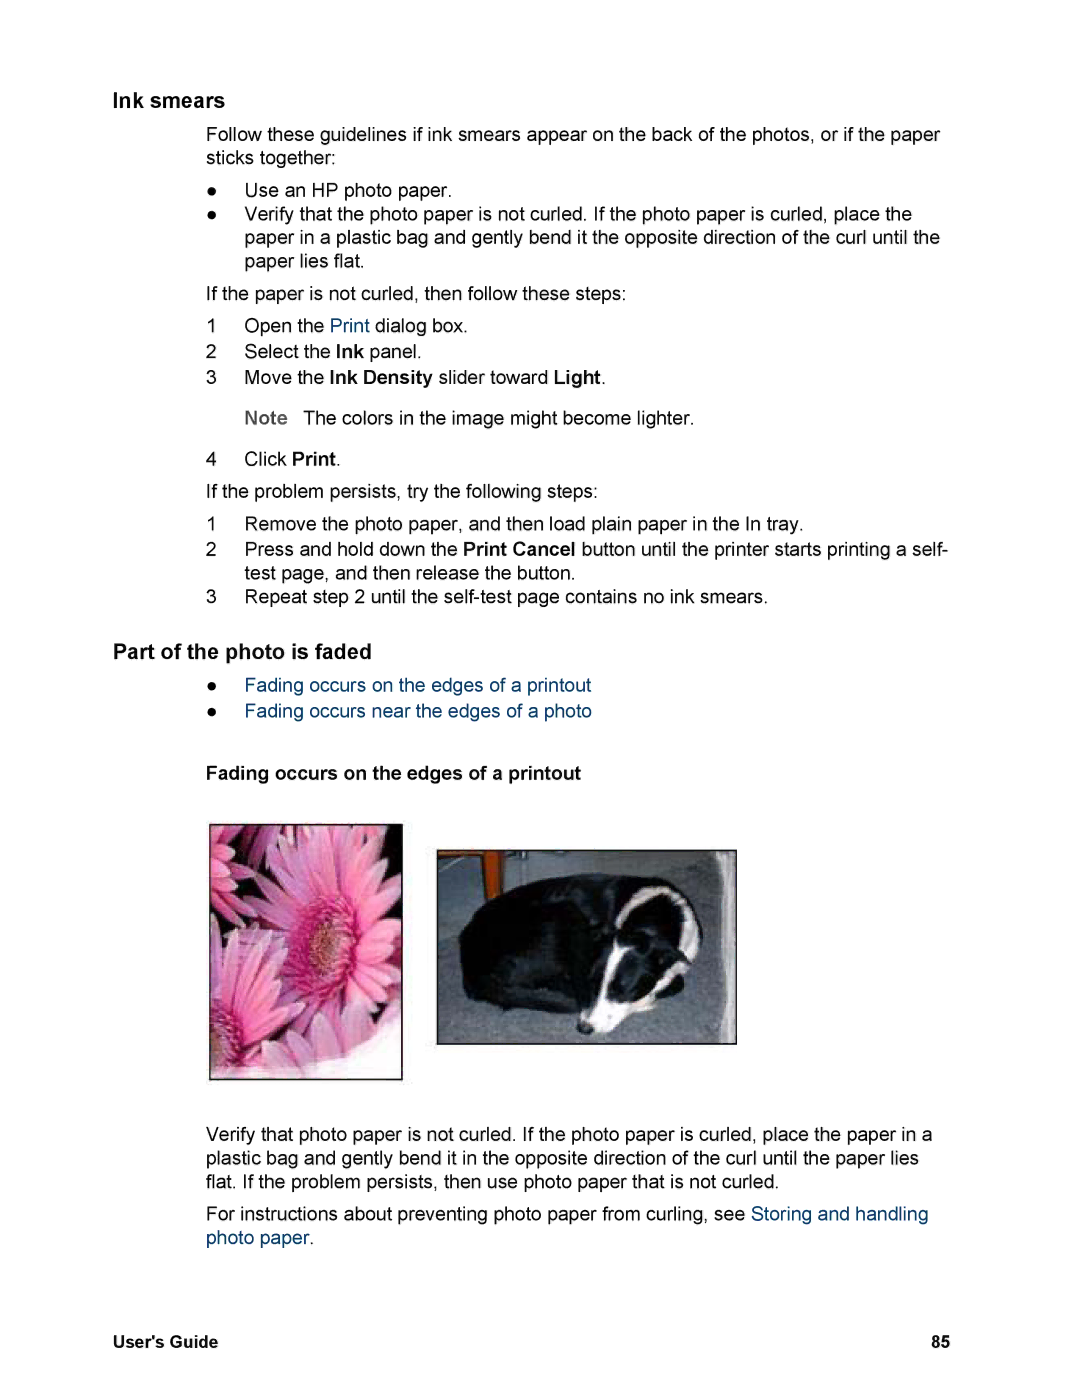
Fading occurs on the edges of a printout
Verify that photo paper is not curled. If the photo paper is curled, place the paper in a plastic bag and gently bend it in the opposite direction of the curl until the paper lies flat. If the problem persists, then use photo paper that is not curled.
For instructions about preventing photo paper from curling, see Storing and handling photo paper.
User's Guide | 85 |
