EN
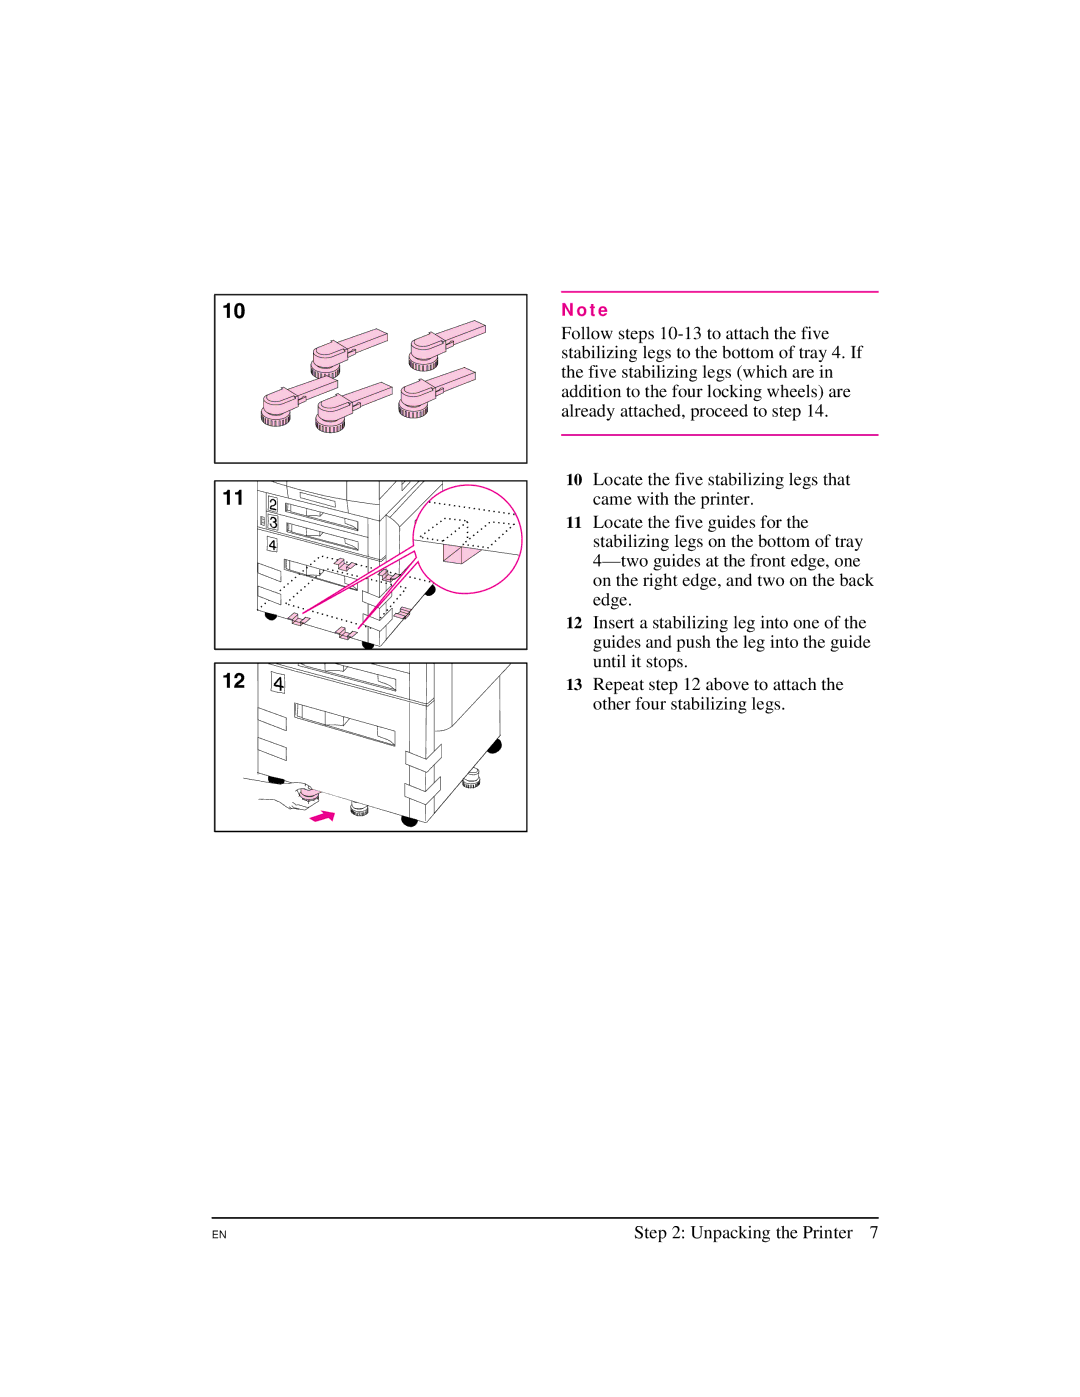
N o t e
Follow steps
10Locate the five stabilizing legs that came with the printer.
11Locate the five guides for the stabilizing legs on the bottom of tray
12Insert a stabilizing leg into one of the guides and push the leg into the guide until it stops.
13Repeat step 12 above to attach the other four stabilizing legs.
Step 2: Unpacking the Printer 7