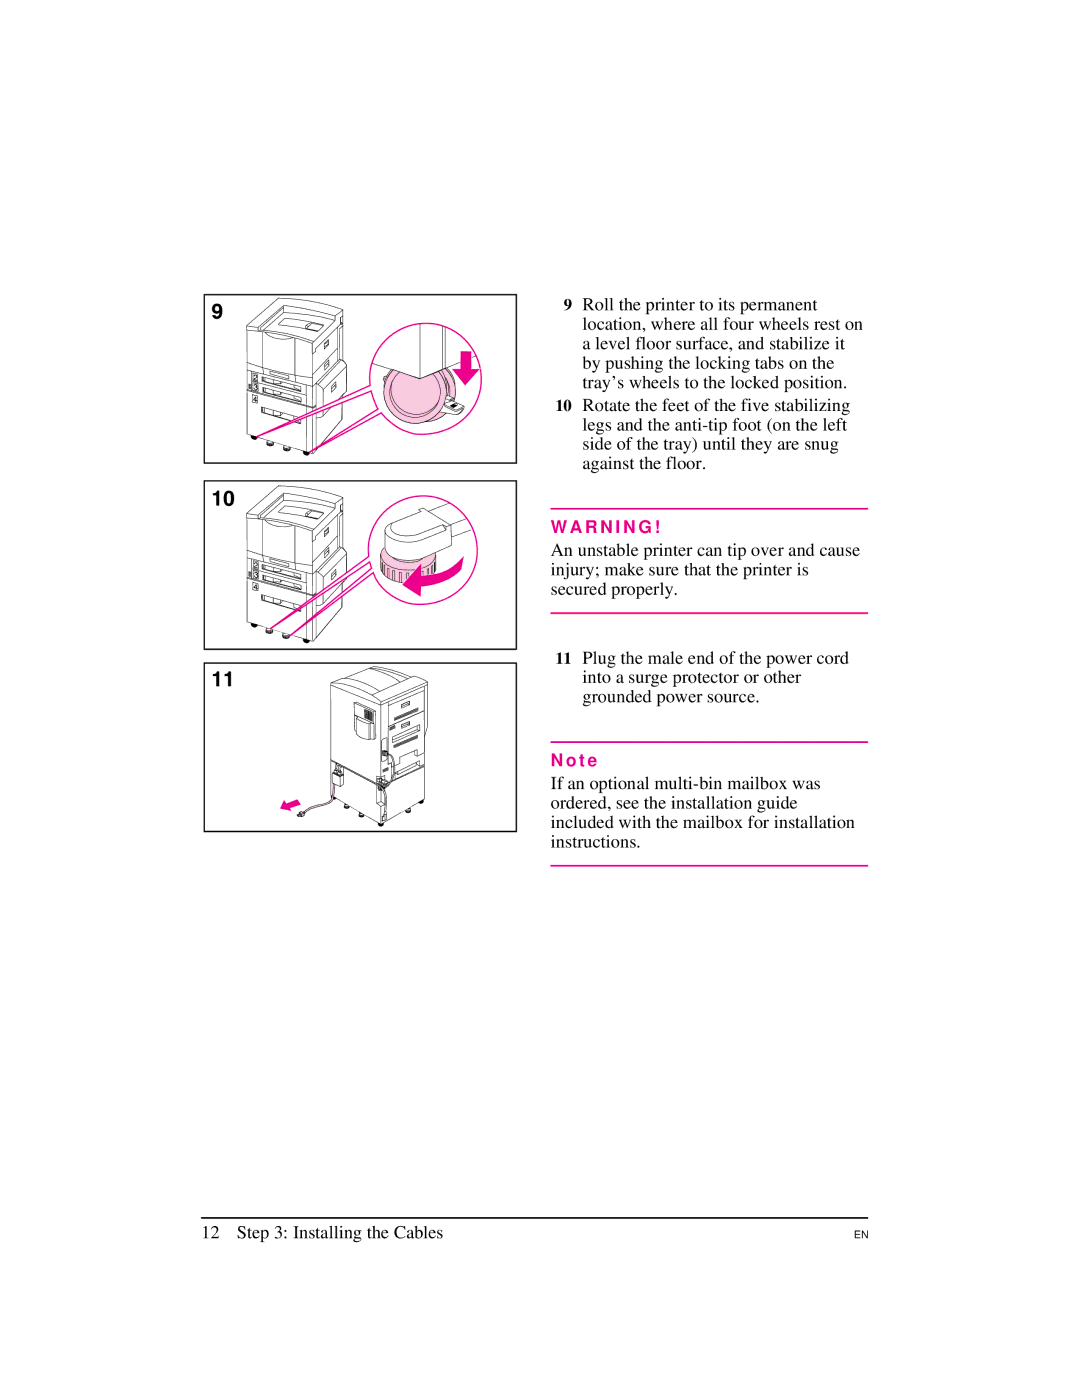
9Roll the printer to its permanent location, where all four wheels rest on a level floor surface, and stabilize it by pushing the locking tabs on the tray’s wheels to the locked position.
10Rotate the feet of the five stabilizing legs and the
W A R N I N G !
An unstable printer can tip over and cause injury; make sure that the printer is secured properly.
11Plug the male end of the power cord into a surge protector or other grounded power source.
N o t e
If an optional
12 Step 3: Installing the Cables
EN