Chapter 2 |
|
|
(continued) |
|
|
Paper type | How to load | Tray to load |
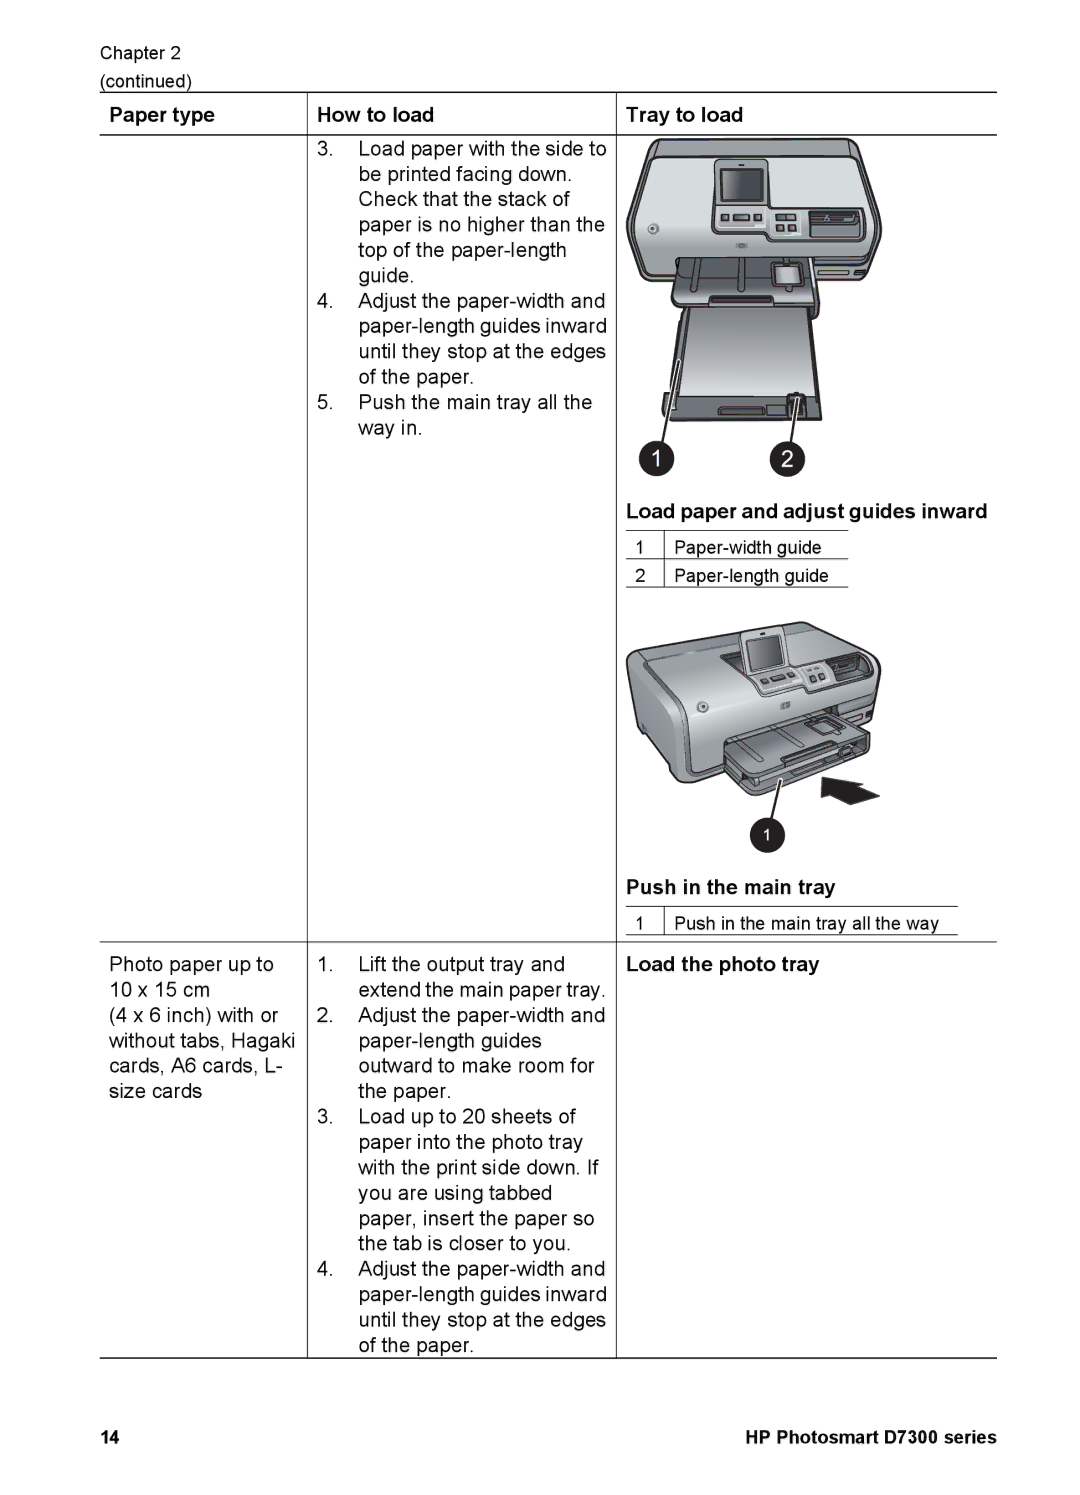
| 3. Load paper with the side to |
|
| be printed facing down. |
|
| Check that the stack of |
|
| paper is no higher than the |
|
| top of the |
|
| guide. |
|
| 4. Adjust the |
|
|
| |
| until they stop at the edges |
|
| of the paper. |
|
| 5. Push the main tray all the |
|
| way in. |
|
|
| Load paper and adjust guides inward |
|
| 1 |
|
| 2 |
|
| Push in the main tray |
|
| 1 Push in the main tray all the way |
Photo paper up to | 1. Lift the output tray and | Load the photo tray |
10 x 15 cm | extend the main paper tray. |
|
(4 x 6 inch) with or | 2. Adjust the |
|
without tabs, Hagaki |
| |
cards, A6 cards, L- | outward to make room for |
|
size cards | the paper. |
|
| 3. Load up to 20 sheets of |
|
| paper into the photo tray |
|
| with the print side down. If |
|
| you are using tabbed |
|
| paper, insert the paper so |
|
| the tab is closer to you. |
|
| 4. Adjust the |
|
|
| |
| until they stop at the edges |
|
| of the paper. |
|
14 | HP Photosmart D7300 series |
