•To print
1.Power on the printer and load paper.
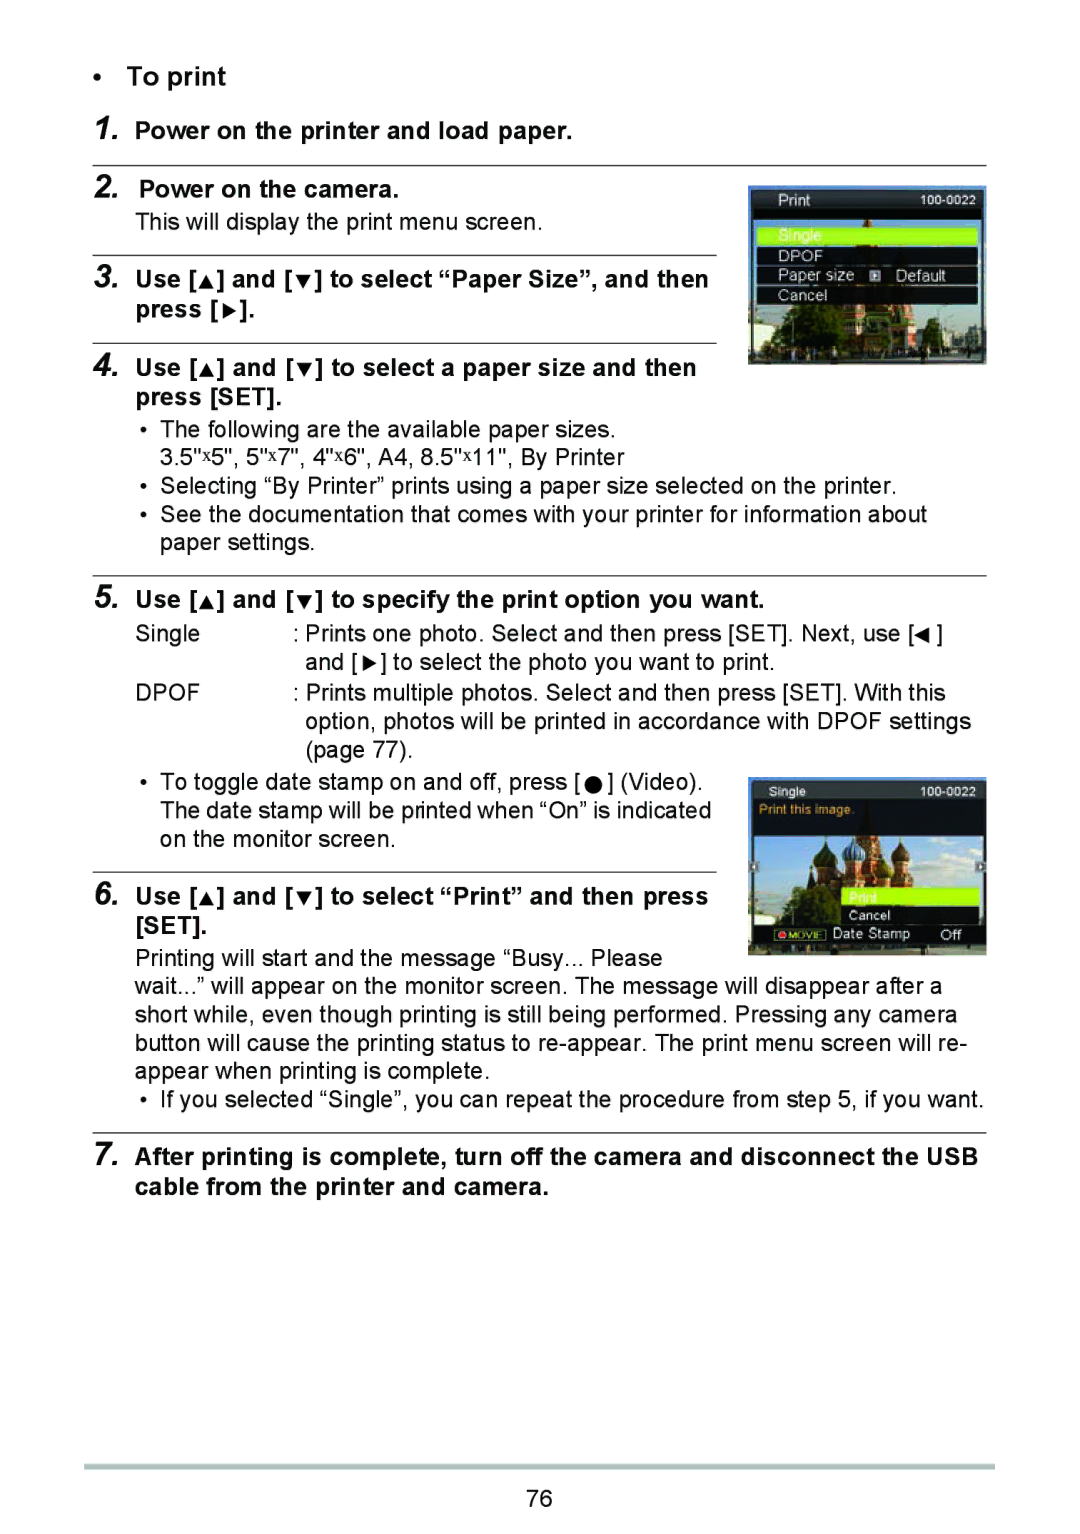
2.Power on the camera.
This will display the print menu screen.
3.Use [![]() ] and [
] and [ ![]() ] to select “Paper Size”, and then press [
] to select “Paper Size”, and then press [ ![]() ].
].
4.Use [![]() ] and [
] and [ ![]() ] to select a paper size and then press [SET].
] to select a paper size and then press [SET].
•The following are the available paper sizes. 3.5"x5", 5"x7", 4"x6", A4, 8.5"x11", By Printer
•Selecting “By Printer” prints using a paper size selected on the printer.
•See the documentation that comes with your printer for information about paper settings.
5.Use [ ] and [
  ] to specify the print option you want.
Single | : Prints one photo. Select and then press [SET]. Next, use [ ] |
| and [ ] to select the photo you want to print. |
DPOF | : Prints multiple photos. Select and then press [SET]. With this |
| option, photos will be printed in accordance with DPOF settings |
| (page 77). |
•To toggle date stamp on and off, press [ ![]() ] (Video). The date stamp will be printed when “On” is indicated on the monitor screen.
] (Video). The date stamp will be printed when “On” is indicated on the monitor screen.
6.Use [ ] and [
  ] to select “Print” and then press [SET].
Printing will start and the message “Busy... Please
wait...” will appear on the monitor screen. The message will disappear after a short while, even though printing is still being performed. Pressing any camera button will cause the printing status to
•If you selected “Single”, you can repeat the procedure from step 5, if you want.
7.After printing is complete, turn off the camera and disconnect the USB cable from the printer and camera.
76
