Removal and Replacement Procedures
5.9 Back Panel
Spare Part Number Information
Back panel with | |
|
|
1.Prepare the Expansion Base for disassembly (Section 5.3).
2.Remove the base plate (Section 5.4).
3.Remove the upper chassis (Section 5.5).
4.Remove the front tray cover (Section 5.8).
5.Position the upper chassis
✎Make sure that the back panel is supported before performing the following steps.
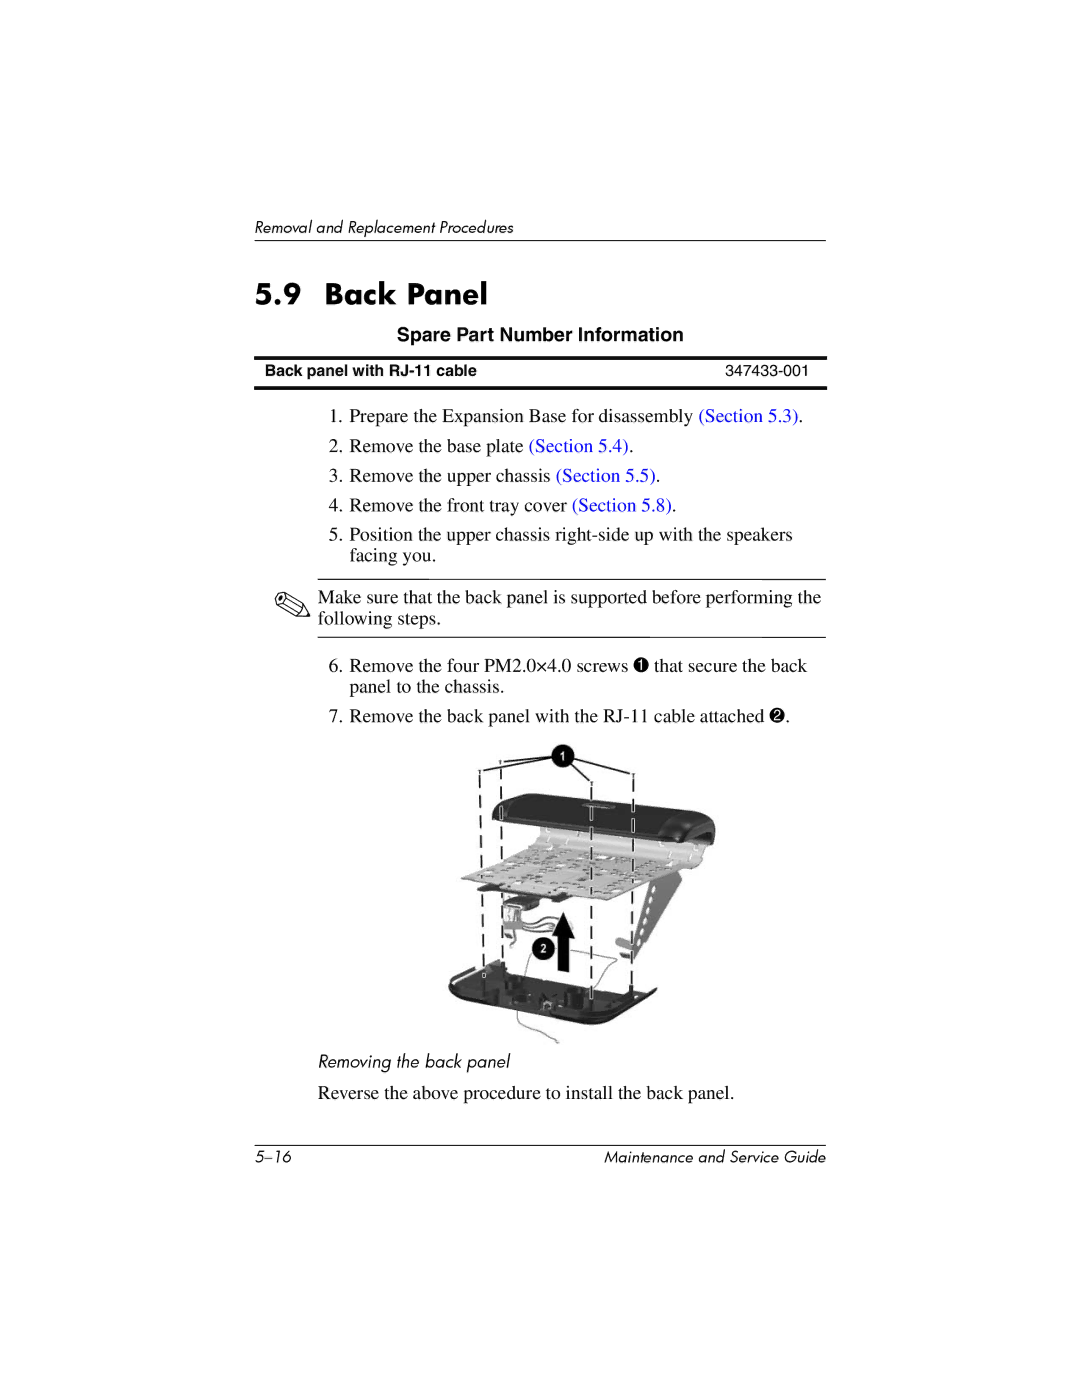
6.Remove the four PM2.0×4.0 screws 1 that secure the back panel to the chassis.
7.Remove the back panel with the
Removing the back panel
Reverse the above procedure to install the back panel.
Maintenance and Service Guide |