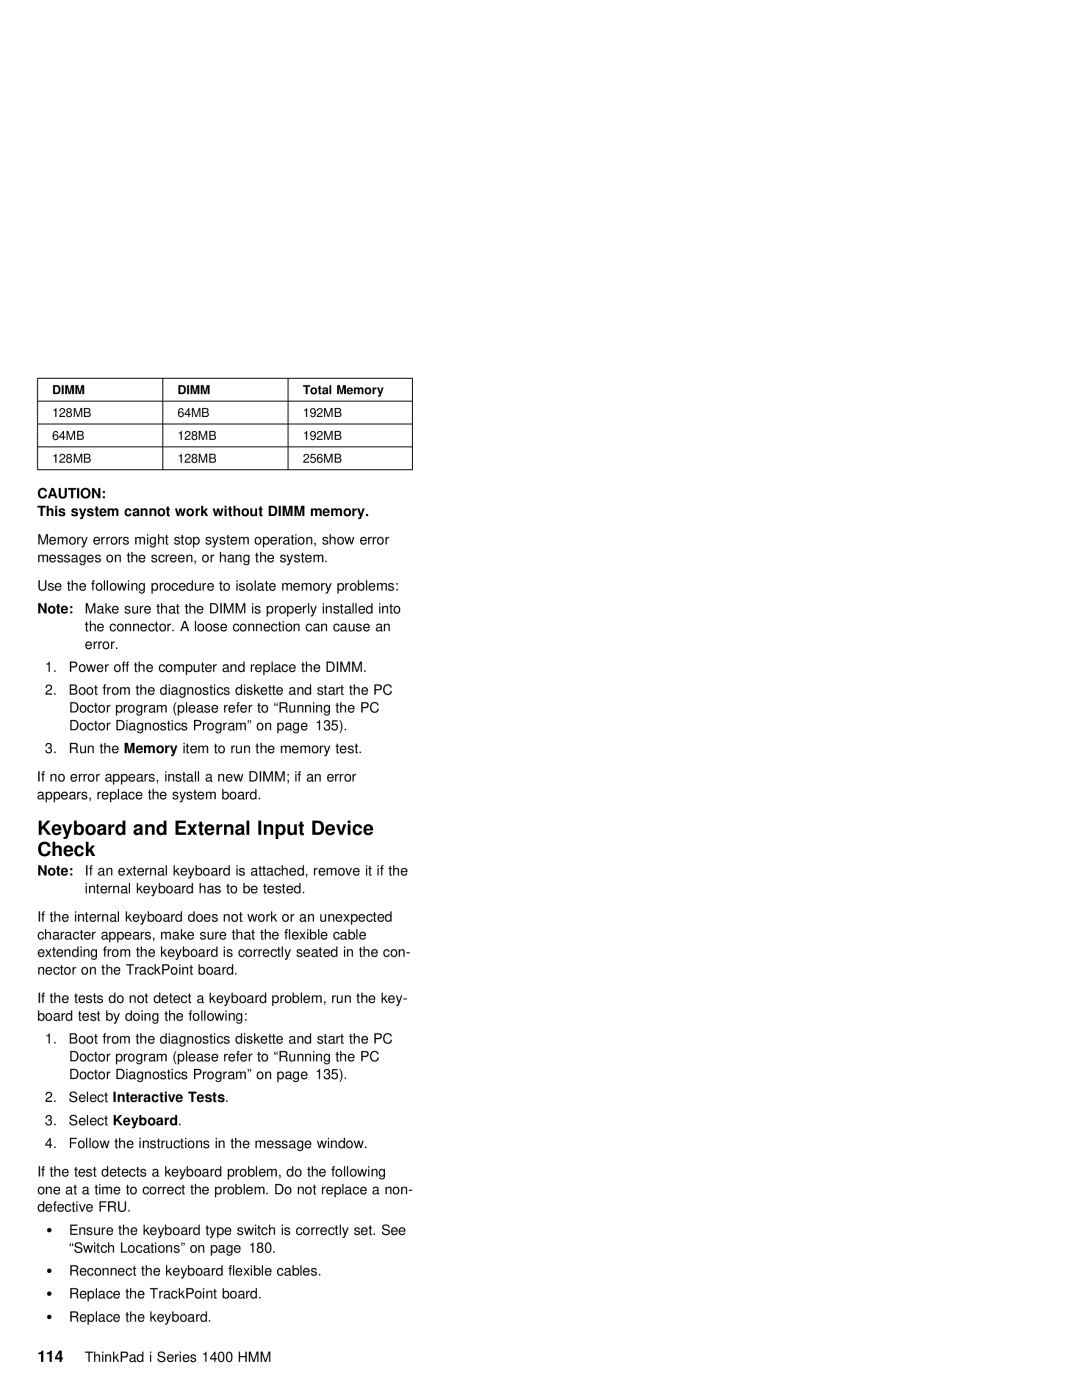
DIMM |
| DIMM |
| Total Memory |
|
|
|
|
|
128MB |
| 64MB |
| 192MB |
|
|
|
|
|
64MB |
| 128MB |
| 192MB |
|
|
|
|
|
128MB |
| 128MB |
| 256MB |
|
|
|
|
|
CAUTION: |
|
|
|
|
This system | cannot work without DIMM | memory. | ||
Memory errors might stop system operation, show erro messages on the screen, or hang the system.
Use the following procedure to isolate memory probl
Note: Make sure that the DIMM is properly installed the connector. A loose connection can cause an error.
1. Power off the computer and replace the DIMM.
2.Boot from the diagnostics diskette and start t Doctor program (please refer to “Running the PC Doctor Diagnostics Program” on page 135).
3.Run theMemory item to run the memory test.
If no error appears, install a new DIMM; if an er appears, replace the system board.
Keyboard and External Input Device
Check
Note: If an external keyboard is attached, remove internal keyboard has to be tested.
If the internal keyboard does not work or an unexp character appears, make sure that the flexible ca extending from the keyboard is correctly seated i nector on the TrackPoint board.
If the tests do not detect a keyboard problem, board test by doing the following:
1.Boot from the diagnostics diskette and start t Doctor program (please refer to “Running the PC Doctor Diagnostics Program” on page 135).
2.SelectInteractive Tests .
3.SelectKeyboard .
4. Follow the instructions in the message window.
If the test detects a keyboard problem, do the one at a time to correct the problem. Do not repl defective FRU.
ŸEnsure the keyboard type switch is correctly s
“Switch Locations” on page 180.
Ÿ | Reconnect the keyboard flexible cables. |
Ÿ | Replace the TrackPoint board. |
ŸReplace the keyboard.