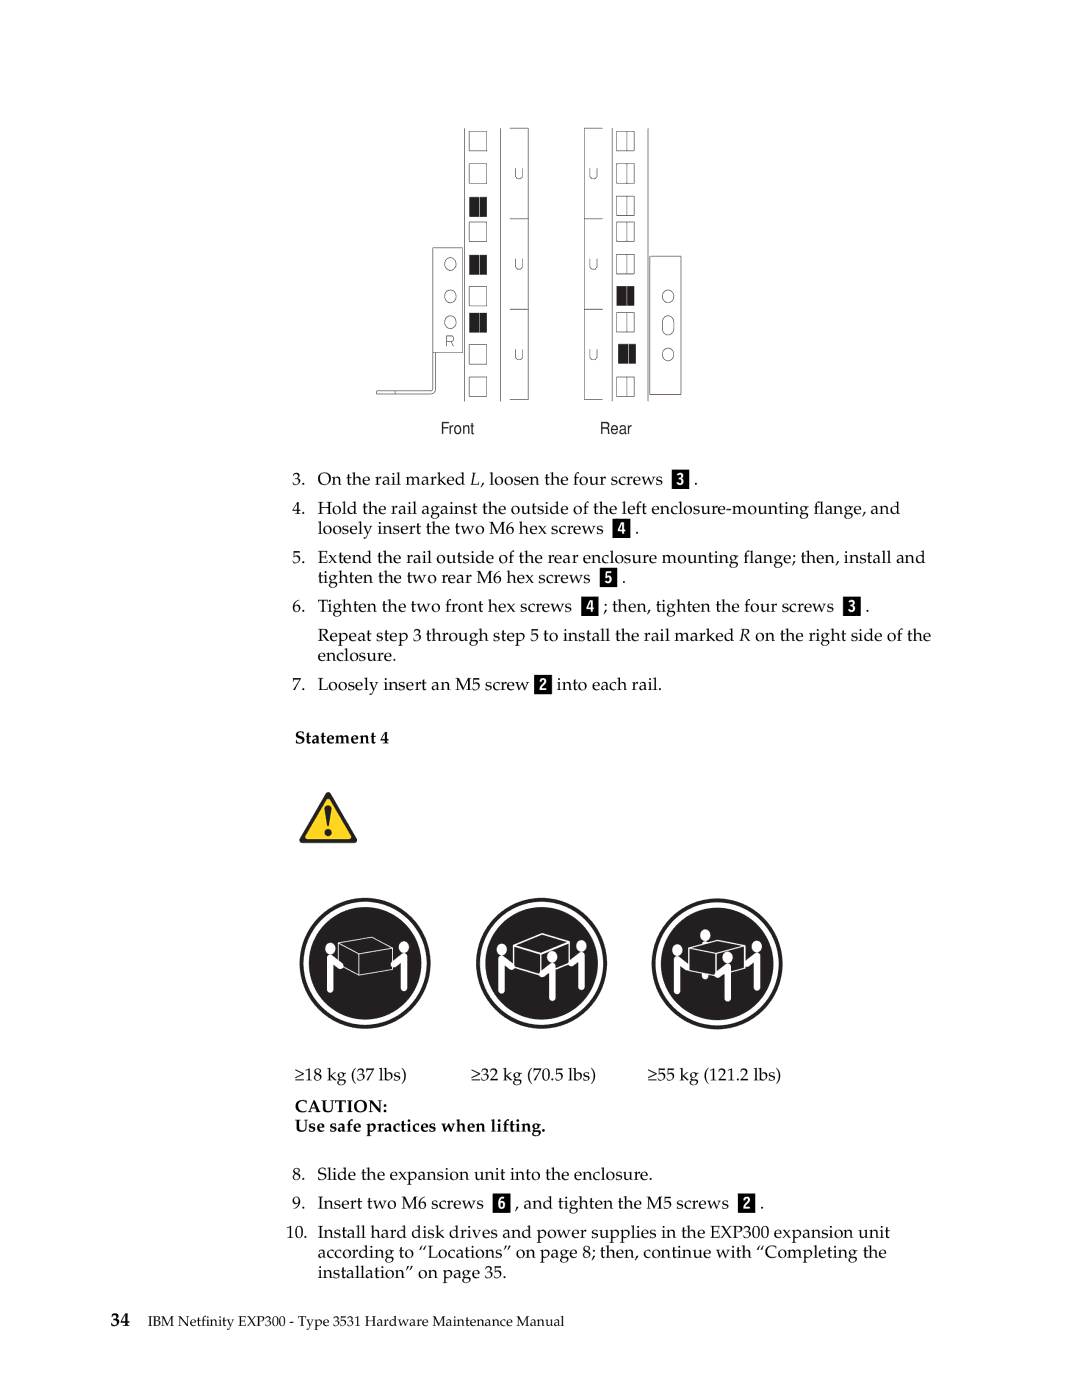
FrontRear
3.On the rail marked L, loosen the four screws Þ Ý.
4.Hold the rail against the outside of the left
5.Extend the rail outside of the rear enclosure mounting flange; then, install and tighten the two rear M6 hex screws Þ Ý.
6.Tighten the two front hex screws Þ Ý; then, tighten the four screws Þ Ý.
Repeat step 3 through step 5 to install the rail marked R on the right side of the enclosure.
7.Loosely insert an M5 screwÞ Ýinto each rail.
Statement 4
≥18 kg (37 lbs) | ≥32 kg (70.5 lbs) | ≥55 kg (121.2 lbs) |
CAUTION:
Use safe practices when lifting.
8.Slide the expansion unit into the enclosure.
9.Insert two M6 screws Þ Ý, and tighten the M5 screws Þ Ý.
10.Install hard disk drives and power supplies in the EXP300 expansion unit according to “Locations” on page 8; then, continue with “Completing the installation” on page 35.
