a a | and the seven internal |
a |
|
Attention: A loss of data can occur if you change the position of internal Option Switch 1 or internal Option Switch 3 after storing data on the hard drives. Refer to “Conversion of EXP300 to a tower or from a tower” on page 25 if you previously stored data on the drives and you now want to change the configuration of your expansion unit from a rack to a tower orientation.
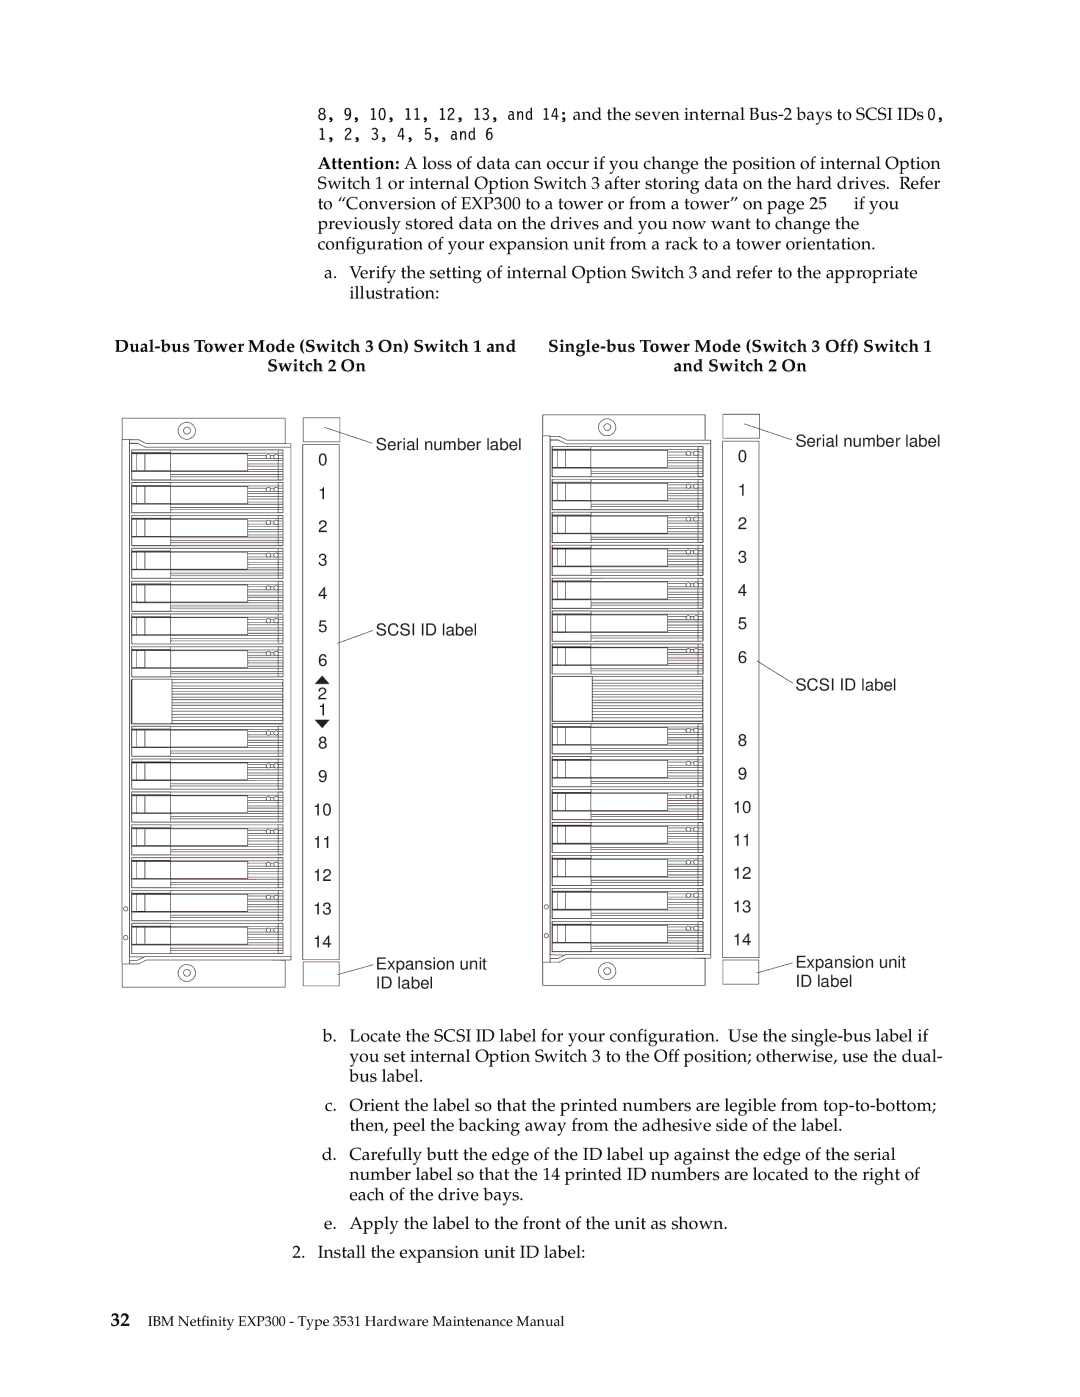
a.Verify the setting of internal Option Switch 3 and refer to the appropriate illustration:
Switch 2 On | and Switch 2 On |
Serial number label
0
1
2
3
4
5SCSI ID label
2
1
8
9
10
11
12
13
14
Expansion unit ID label
Serial number label
0
1
2
3
4
5
6
SCSI ID label
8
9
10
11
12
13
14
Expansion unit ID label
b.Locate the SCSI ID label for your configuration. Use the
c.Orient the label so that the printed numbers are legible from
d.Carefully butt the edge of the ID label up against the edge of the serial number label so that the 14 printed ID numbers are located to the right of each of the drive bays.
e.Apply the label to the front of the unit as shown.
2.Install the expansion unit ID label: