Installing a
Some server models come with
vRead the documentation that comes with the drive for cabling instructions.
vRoute the cable before you install
vYou can install four
vInstall the drives in ascending order by bay number.
Attention: Disconnect all power from the server before removing or installing a
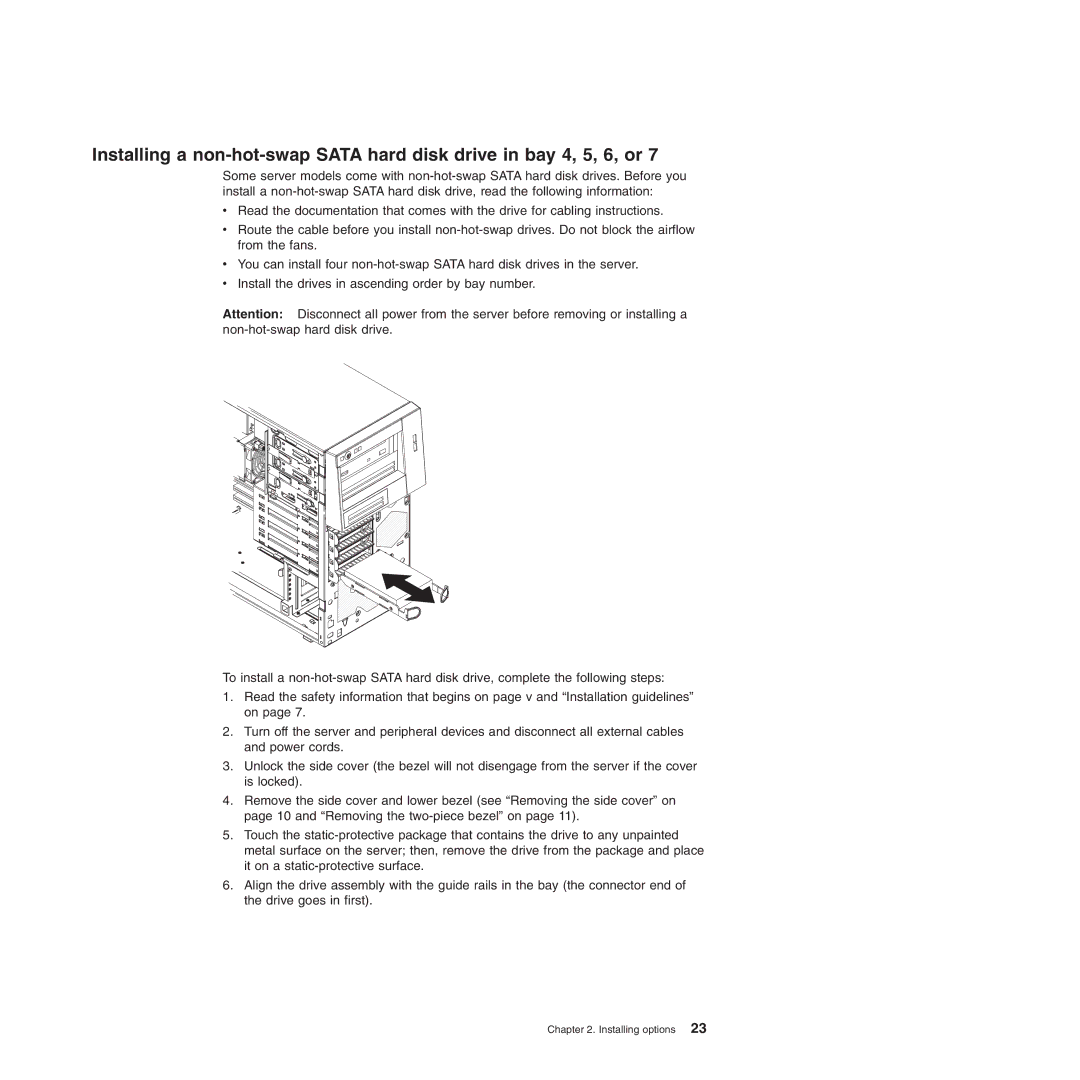
To install a
1.Read the safety information that begins on page v and “Installation guidelines” on page 7.
2.Turn off the server and peripheral devices and disconnect all external cables and power cords.
3.Unlock the side cover (the bezel will not disengage from the server if the cover is locked).
4.Remove the side cover and lower bezel (see “Removing the side cover” on page 10 and “Removing the
5.Touch the
6.Align the drive assembly with the guide rails in the bay (the connector end of the drive goes in first).