xSeries 330 specifications
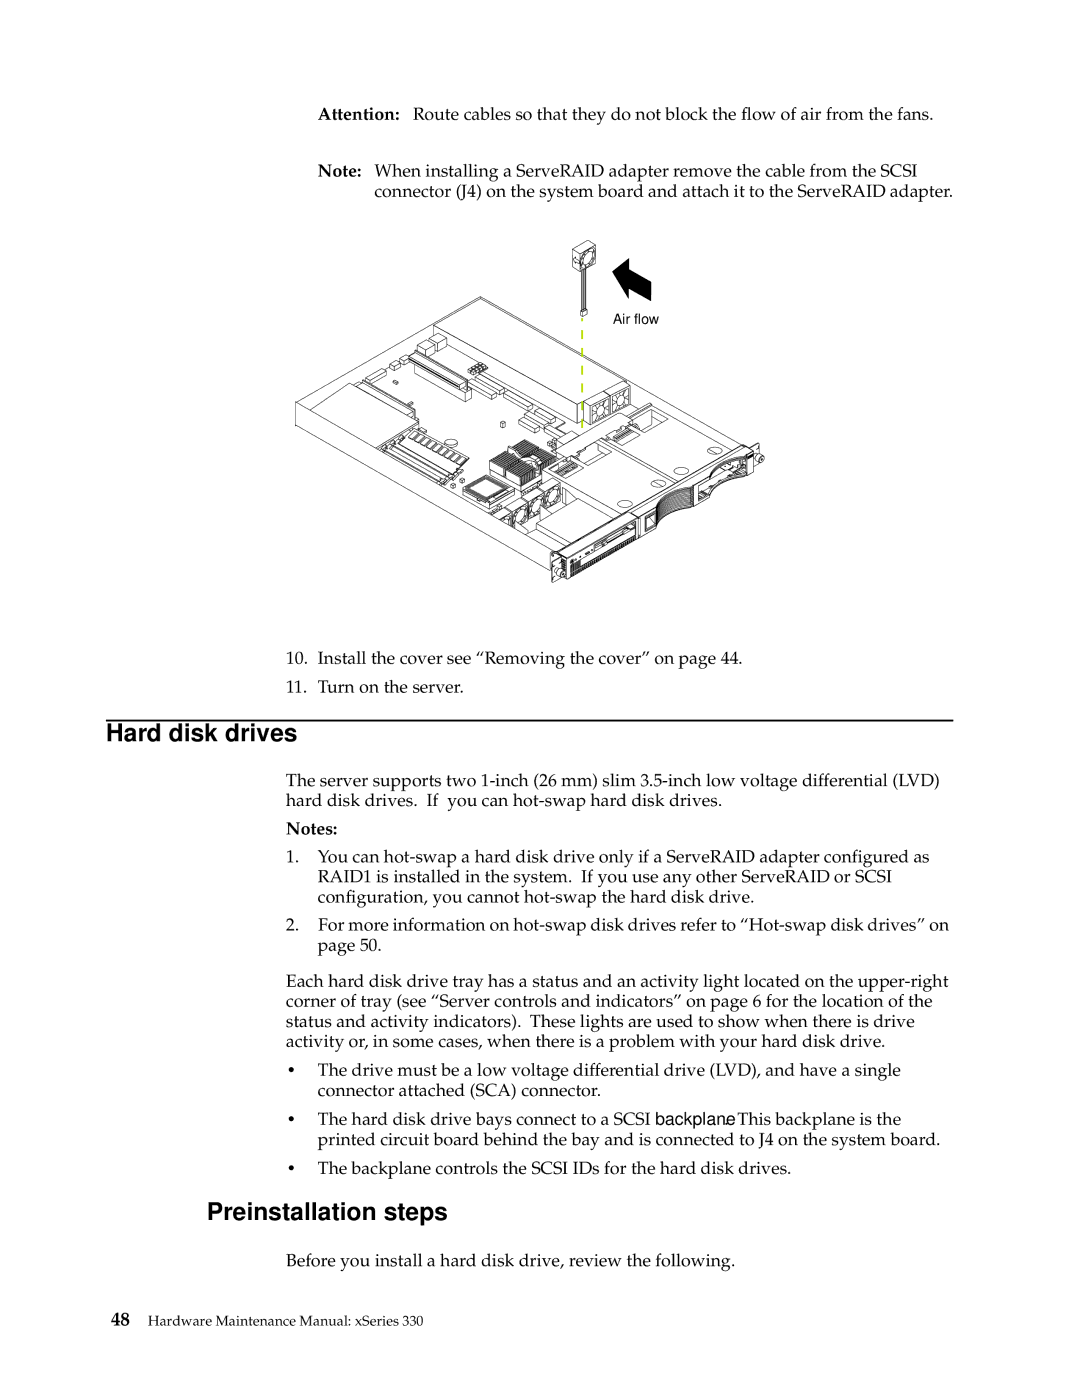
The IBM xSeries 330 is a versatile and reliable server designed to meet the demands of small to medium-sized businesses and enterprise environments. This server model, part of IBM’s xSeries line, is known for its solid performance, expandability, and robust features.One of the main highlights of the xSeries 330 is its scalability. The server supports multiple configurations, with options for single or dual Intel Pentium III processors, allowing it to handle various workloads efficiently. It can accommodate up to 8GB of RAM, which is essential for running memory-intensive applications smoothly. This capacity ensures that businesses can upgrade their systems rather than replace them, providing a cost-effective solution for managing growing data needs.
In terms of storage, the xSeries 330 offers flexible options with up to six hot-swap hard drives. This feature enhances the server's uptime, as drives can be replaced without shutting down the system. The server supports RAID configurations, including RAID 0, 1, and 5, enhancing data protection and performance.
Connectivity is another critical aspect of the xSeries 330. It comes equipped with multiple PCI slots, allowing for the addition of various expansion cards to improve functionality, such as network controllers, graphics cards, and storage controllers. The server also provides integrated network management tools, which enable efficient monitoring and comprehensive troubleshooting, reducing downtime and maintenance efforts.
The xSeries 330 is supported by IBM's advanced management technologies, including the IBM Director. This software simplifies remote management, enabling IT personnel to monitor system health, perform updates, and automate tasks without the need to be physically present at the server location. Additionally, the server includes features like Automatic Server Restart and Predictive Failure Analysis, which help to predict and prevent potential hardware failures.
The design of the xSeries 330 emphasizes ease of use, with tool-less access to components, making upgrades and maintenance straightforward. Its compact form factor ensures that it can fit into diverse server environments, from traditional server rooms to modern data centers.
In summary, the IBM xSeries 330 stands out for its powerful performance, scalability, and management capabilities. These features make it a valuable asset for businesses looking to enhance their operational efficiency and prepare for future growth. With its reliability and versatile architecture, the xSeries 330 continues to be a respected choice among IT professionals.

