Powering up the Projector and Adjusting the Image
1Remove the lens cap.
2Plug the power cord into the side of the projector, then plug it into your electrical outlet. A
•The Ready indicator on top of the projector lights green, indicating the projector is ready to be turned on, and the Lamp indicator lights red.
3Press the power button on the top of the projector or on the remote.
•The fans start to run, the Lamp indicator dims, and the Preparation screen appears. This screen counts down from 30 seconds, then the image from the active source appears.
4If you connected a video player, turn it on.
•The video image should display on the projection screen. If a computer source is active, press the source button on the keypad (page 16) or the video button on the remote to dis- play your video image.
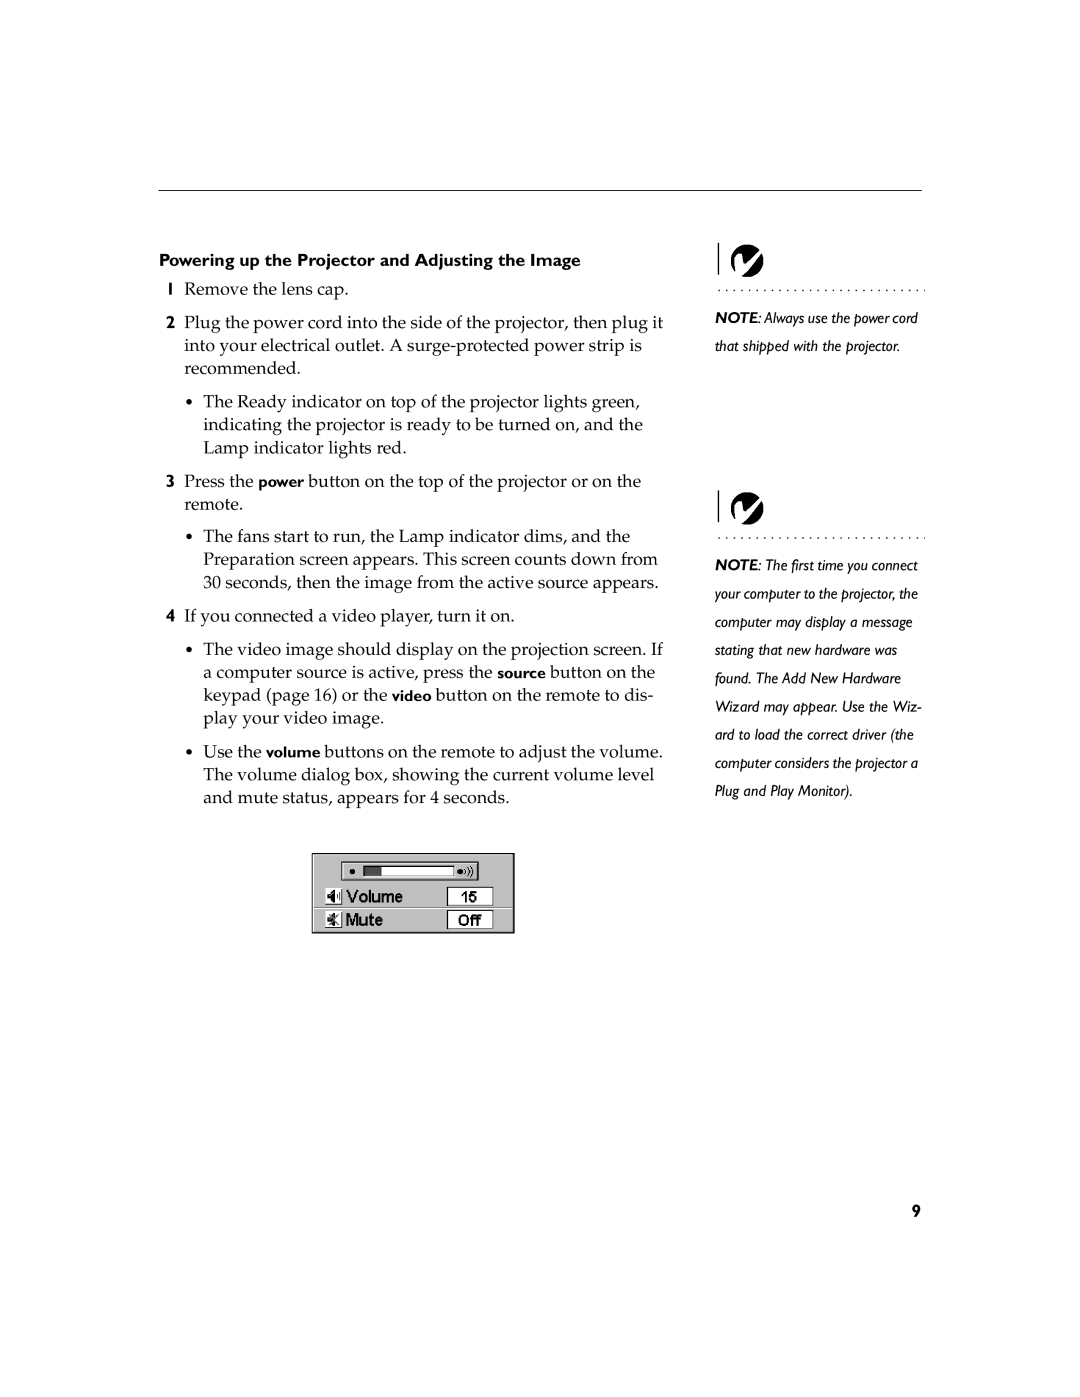
•Use the volume buttons on the remote to adjust the volume. The volume dialog box, showing the current volume level and mute status, appears for 4 seconds.
NOTE: Always use the power cord that shipped with the projector.
NOTE: The first time you connect your computer to the projector, the computer may display a message stating that new hardware was found. The Add New Hardware Wizard may appear. Use the Wiz- ard to load the correct driver (the computer considers the projector a Plug and Play Monitor).
9