Screen menu
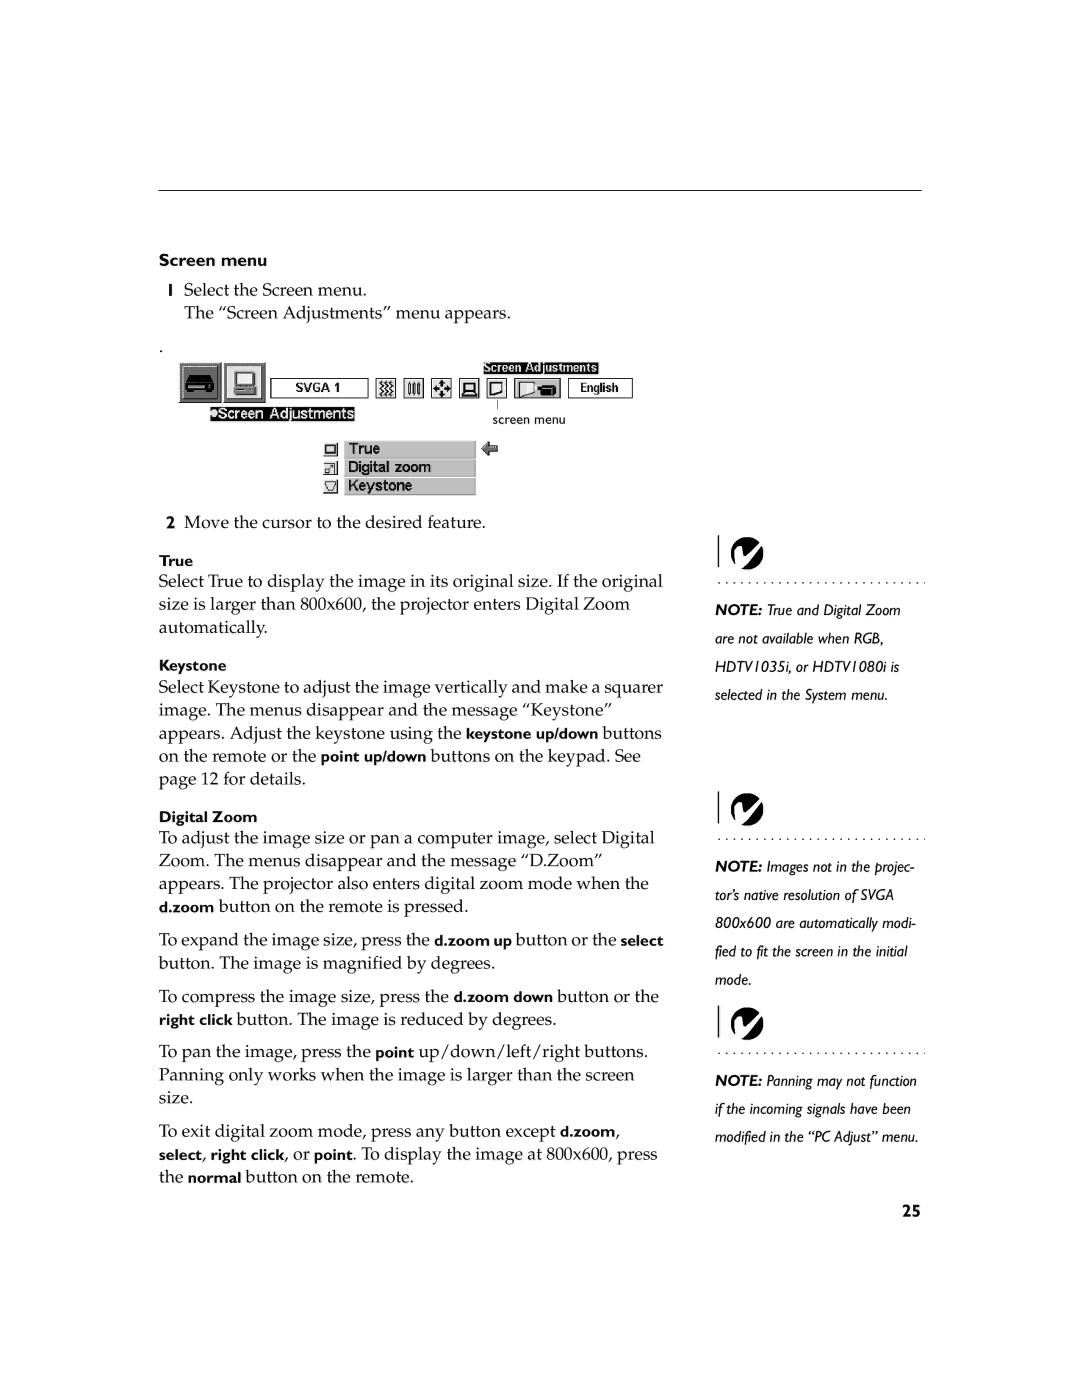
1Select the Screen menu.
The “Screen Adjustments” menu appears.
.
screen menu
2Move the cursor to the desired feature.
True
Select True to display the image in its original size. If the original size is larger than 800x600, the projector enters Digital Zoom automatically.
Keystone
Select Keystone to adjust the image vertically and make a squarer image. The menus disappear and the message “Keystone” appears. Adjust the keystone using the keystone up/down buttons on the remote or the point up/down buttons on the keypad. See page 12 for details.
Digital Zoom
To adjust the image size or pan a computer image, select Digital Zoom. The menus disappear and the message “D.Zoom” appears. The projector also enters digital zoom mode when the d.zoom button on the remote is pressed.
To expand the image size, press the d.zoom up button or the select button. The image is magnified by degrees.
To compress the image size, press the d.zoom down button or the right click button. The image is reduced by degrees.
To pan the image, press the point up/down/left/right buttons. Panning only works when the image is larger than the screen size.
To exit digital zoom mode, press any button except d.zoom, select, right click, or point. To display the image at 800x600, press the normal button on the remote.
NOTE: True and Digital Zoom are not available when RGB, HDTV1035i, or HDTV1080i is selected in the System menu.
NOTE: Images not in the projec- tor’s native resolution of SVGA 800x600 are automatically modi- fied to fit the screen in the initial mode.
NOTE: Panning may not function if the incoming signals have been modified in the “PC Adjust” menu.
25
