Operating the Setting Menu
Operating the Main Menu
DLA- DLA-
Making Basic Settings
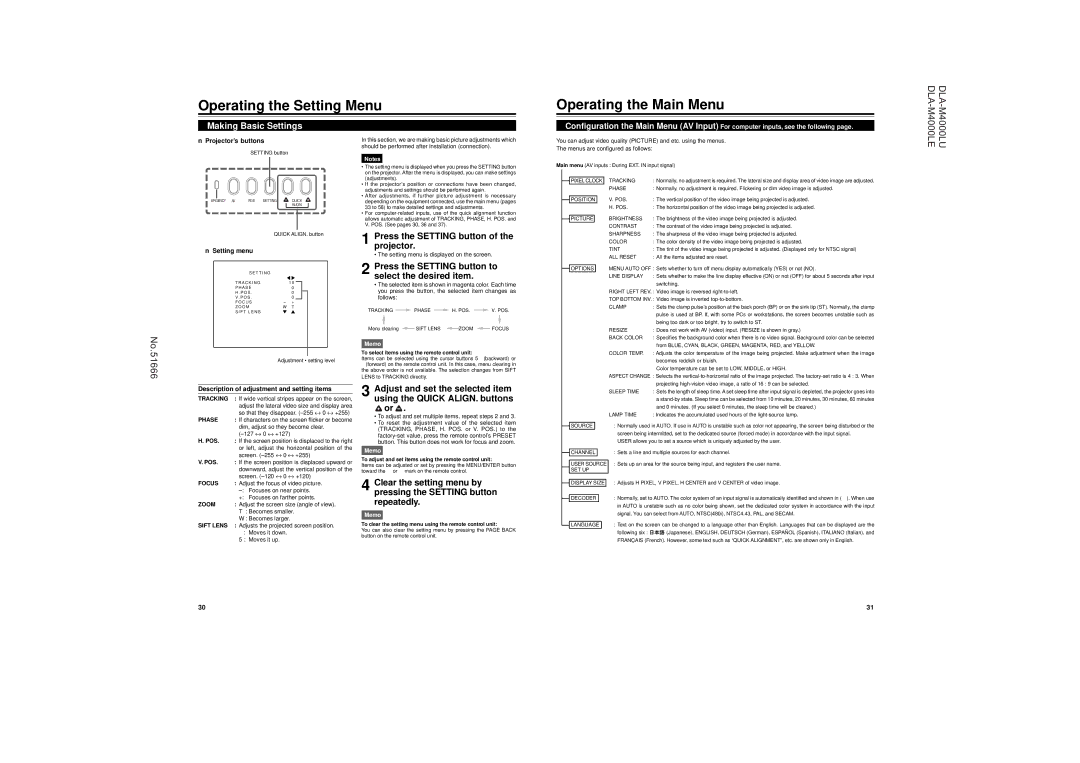
■Projector’s buttons
SETTING button
In this section, we are making basic picture adjustments which should be performed after installation (connection).
Notes
• The setting menu is displayed when you press the SETTING button |
on the projector. After the menu is displayed, you can make settings |
Configuration the Main Menu (AV Input) For computer inputs, see the following page.
You can adjust video quality (PICTURE) and etc. using the menus.
The menus are configured as follows:
Main menu (AV inputs : During EXT. IN input signal)
M4000LU M4000LE
MERGENCY AV | RGB | SETTING | QUICK |
|
|
| ALIGN. |
QUICK ALIGN. button
■Setting menu
(adjustments). |
• If the projector’s position or connections have been changed, |
adjustments and settings should be performed again. |
• After adjustments, if further picture adjustment is necessary |
depending on the equipment connected, use the main menu (pages |
33 to 58) to make detailed settings and adjustments. |
• For |
allows automatic adjustment of TRACKING, PHASE, H. POS. and |
V. POS. (See pages 30, 36 and 37). |
1 Press the SETTING button of the projector.
• The setting menu is displayed on the screen.
 PIXEL CLOCK
 POSITION
 PICTURE
TRACKING | : Normally, no adjustment is required. The lateral size and display area of video image are adjusted. |
PHASE | : Normally, no adjustment is required. Flickering or dim video image is adjusted. |
V. POS. | : The vertical position of the video image being projected is adjusted. |
H. POS. | : The horizontal position of the video image being projected is adjusted. |
BRIGHTNESS | : The brightness of the video image being projected is adjusted. |
CONTRAST | : The contrast of the video image being projected is adjusted. |
SHARPNESS | : The sharpness of the video image being projected is adjusted. |
COLOR | : The color density of the video image being projected is adjusted. |
TINT | : The tint of the video image being projected is adjusted. (Displayed only for NTSC signal) |
ALL RESET | : All the items adjusted are reset. |
No.51666
S E T T I N G |
|
|
T R A C K I N G |
| 1 0 |
P H A S E |
| 0 |
H . P O S . |
| 0 |
V . P O S . |
| 0 |
F O C U S | – | + |
Z O O M | W | T |
S I F T L E N S |
|
|
Adjustment • setting level
Description of adjustment and setting items
TRACKING | : If wide vertical stripes appear on the screen, |
| adjust the lateral video size and display area |
| so that they disappear. |
PHASE | : If characters on the screen flicker or become |
2 Press the SETTING button to select the desired item.
•The selected item is shown in magenta color. Each time you press the button, the selected item changes as follows:
TRACKING ![]() PHASE
PHASE ![]() H. POS.
H. POS. ![]() V. POS.
V. POS.
Menu clearing![]() SIFT LENS
SIFT LENS ![]() ZOOM
ZOOM ![]() FOCUS
FOCUS
Memo
To select items using the remote control unit:
Items can be selected using the cursor buttons 5 (backward) or ∞(forward) on the remote control unit. In this case, menu clearing in the above order is not available. The selection changes from SIFT LENS to TRACKING directly.
3 Adjust and set the selected item using the QUICK ALIGN. buttons ![]() or
or ![]() .
.
• To adjust and set multiple items, repeat steps 2 and 3. |
![]() OPTIONS
OPTIONS
MENU AUTO OFF : Sets whether to turn off menu display automatically (YES) or not (NO).
LINE DISPLAY | : Sets whether to make the line display effective (ON) or not (OFF) for about 5 seconds after input |
| switching. |
RIGHT LEFT REV. : Video image is reversed | |
TOP BOTTOM INV. : Video image is inverted | |
CLAMP | : Sets the clamp pulse’s position at the back porch (BP) or on the sink tip (ST). Normally, the clamp |
| pulse is used at BP. If, with some PCs or workstations, the screen becomes unstable such as |
| being too dark or too bright, try to switch to ST. |
RESIZE | : Does not work with AV (video) input. (RESIZE is shown in gray.) |
BACK COLOR | : Specifies the background color when there is no video signal. Background color can be selected |
| from BLUE, CYAN, BLACK, GREEN, MAGENTA, RED, and YELLOW. |
COLOR TEMP. | : Adjusts the color temperature of the image being projected. Make adjustment when the image |
| becomes reddish or bluish. |
| Color temperature can be set to LOW, MIDDLE, or HIGH. |
ASPECT CHANGE : Selects the
| projecting |
SLEEP TIME | : Sets the length of sleep time. A set sleep time after input signal is depleted, the projector goes into |
| a |
| and 0 minutes. (If you select 0 minutes, the sleep time will be cleared.) |
LAMP TIME | : Indicates the accumulated used hours of the |
| dim, adjust so they become clear. |
| |
H. POS. | : If the screen position is displaced to the right |
| or left, adjust the horizontal position of the |
| screen. |
V. POS. | : If the screen position is displaced upward or |
| downward, adjust the vertical position of the |
| screen. |
FOCUS | : Adjust the focus of video picture. |
| |
| +: Focuses on farther points. |
ZOOM | : Adjust the screen size (angle of view). |
| T : Becomes smaller. |
| W : Becomes larger. |
• To reset the adjustment value of the selected item |
(TRACKING, PHASE, H. POS. or V. POS.) to the |
button. This button does not work for focus and zoom. |
Memo
To adjust and set items using the remote control unit:
Items can be adjusted or set by pressing the MENU/ENTER button toward the 2 or 3 mark on the remote control.
4 Clear the setting menu by pressing the SETTING button repeatedly.
Memo
![]() SOURCE
SOURCE
![]() CHANNEL
CHANNEL
USER SOURCE SET UP
 DISPLAY SIZE
 DECODER
:Normally used in AUTO. If use in AUTO is unstable such as color not appearing, the screen being disturbed or the screen being intermitted, set to the dedicated source (forced mode) in accordance with the input signal.
USER allows you to set a source which is uniquely adjusted by the user.
:Sets a line and multiple sources for each channel.
:Sets up an area for the source being input, and registers the user name.
:Adjusts H PIXEL, V PIXEL, H CENTER and V CENTER of video image.
: Normally, set to AUTO. The color system of an input signal is automatically identified and shown in ( ). When use in AUTO is unstable such as no color being shown, set the dedicated color system in accordance with the input signal. You can select from AUTO, NTSC(480i), NTSC4.43, PAL, and SECAM.
SIFT LENS : Adjusts the projected screen position. |
∞: Moves it down. |
5: Moves it up. |
To clear the setting menu using the remote control unit:
You can also clear the setting menu by pressing the PAGE BACK button on the remote control unit.
| LANGUAGE | : Text on the screen can be changed to a language other than English. Languages that can be displayed are the | |
| |||
|
| following six : | (Japanese), ENGLISH, DEUTSCH (German), ESPAÑOL (Spanish), ITALIANO (Italian), and |
|
| FRANÇAIS (French). However, some text such as “QUICK ALIGNMENT”, etc. are shown only in English. | |
30 | 31 |