Operating the Main Menu (Cont.)
Changing (Setting) the Source (Cont.)
Operating the Main Menu (Cont.)
Setting Up Channels
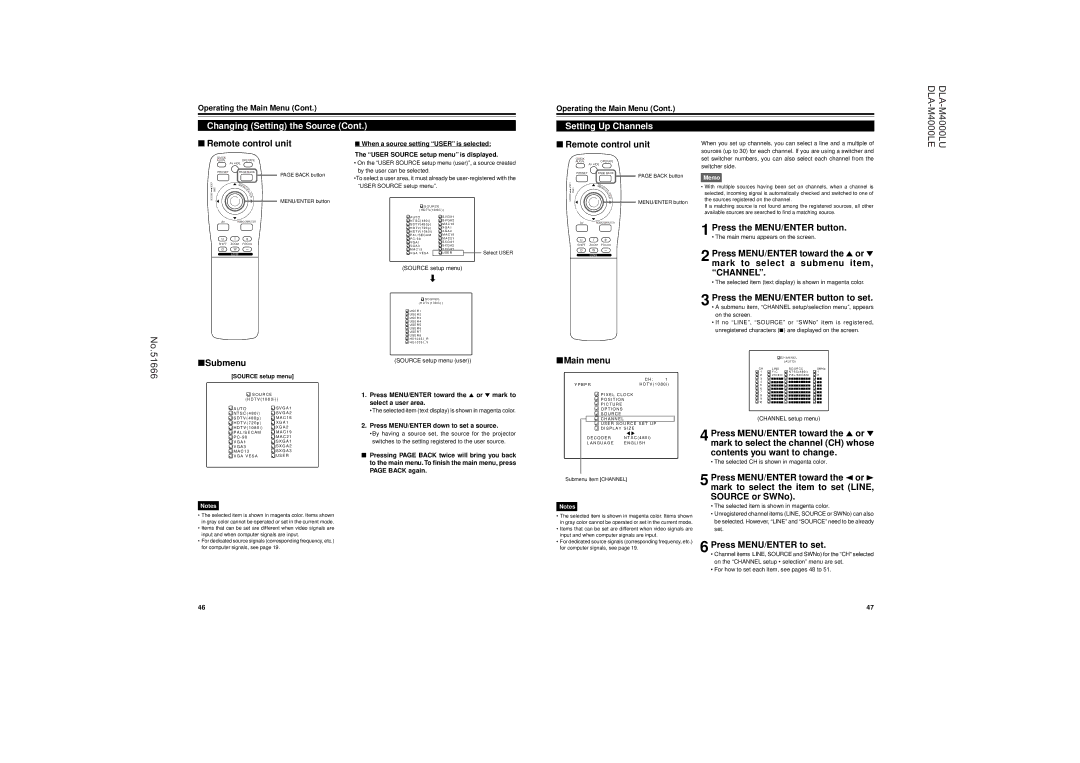
■Remote control unit
QUICK |
|
ALIGN. | OPERATE |
| AV HIDE |
PRESET | PAGE BACK |
LENS LOCK | PAGE BACK button |
N | |
| M |
| EN |
| U/ |
| E |
■When a source setting “USER” is selected:
The “USER SOURCE setup menu” is displayed.
•On the “USER SOURCE setup menu (user)”, a source created by the user can be selected.
•To select a user area, it must already be
■Remote control unit
QUICK |
|
ALIGN. | OPERATE |
| AV HIDE |
PRESET | PAGE BACK |
| PAGE BACK button |
LENS LOCK | M |
EN | |
U/ | |
E |
When you set up channels, you can select a line and a multiple of sources (up to 30) for each channel. If you are using a switcher and set switcher numbers, you can also select each channel from the switcher side.
Memo
• With multiple sources having been set on channels, when a channel is |
UNLOCK |
| T |
|
|
|
|
| E |
|
|
|
|
| R |
|
|
|
|
|
| MENU/ENTER button |
|
|
|
|
| S O U R C E |
|
|
|
|
| ( H D T V ( 1 0 8 0 i ) ) |
| |
|
|
| A U T O | S V G A 1 |
|
AV | RGB/COMPUTER | N T S C ( 4 8 0 i ) | S V G A 2 |
| |
|
|
| S D T V ( 4 8 0 p ) | M A C 1 6 |
|
|
|
| H D T V ( 7 2 0 p ) | X G A 1 |
|
|
|
| H D T V ( 1 0 8 0 i ) | X G A 2 |
|
|
| + | P A L / S E C A M | M A C 1 9 |
|
U | T | P C - 9 8 | M A C 2 1 |
| |
SHIFT | ZOOM | FOCUS | V G A 1 | S X G A 1 |
|
V G A 3 | S X G A 2 |
| |||
|
| – |
| ||
D | W | M A C 1 3 | S X G A 3 | Select USER | |
| LENS |
| V G A V E S A | U S E R | |
UNLOCK | N | |
T | ||
E | ||
R | ||
MENU/ENTER button | ||
|
AV RGB/COMPUTER
U T +
SHIFT ZOOM FOCUS
D W –
LENS
selected, incoming signal is automatically checked and switched to one of |
the sources registered on the channel. |
If a matching source is not found among the registered sources, all other |
available sources are searched to find a matching source. |
1 Press the MENU/ENTER button.
• The main menu appears on the screen.
2 Press MENU/ENTER toward the 5 or ∞ mark to select a submenu item,
(SOURCE setup menu)
«
![]() S O U R C E
S O U R C E
( H D T V ( 1 0 8 0 i ) )
![]() U S E R 1
U S E R 1
U S E R 2
![]() U S E R 3
U S E R 3
U S E R 4
![]() U S E R 5
U S E R 5
U S E R 6
![]() U S E R 7
U S E R 7
U S E R 8
“CHANNEL”.
• The selected item (text display) is shown in magenta color.
3 Press the MENU/ENTER button to set.
•A submenu item, “CHANNEL setup/selection menu”, appears on the screen.
•If no “LINE”, “SOURCE” or “SWNo” item is registered, unregistered characters (7) are displayed on the screen.
No.51666
■Submenu
[SOURCE setup menu]
![]() S O U R C E
S O U R C E
( H D T V ( 1 0 8 0 i ) )
![]() H D 1 0 3 5 I _ R
H D 1 0 3 5 I _ R
H D 1 0 3 5 I _ Y
(SOURCE setup menu (user))
1. Press MENU/ENTER toward the 5 or ∞ mark to |
select a user area. |
■Main menu
| C H : | 1 |
Y P B P R | H D T V ( 1 0 8 0 i ) | |
| P I X E L C L O C K |
|
| P O S I T I O N |
|
| P I C T U R E |
|
![]() C H A N N E L
C H A N N E L
|
| ( A U T O ) |
|
CH | L I N E | S O U R C E | SWNo |
1 | Y / C | N T S C ( 4 8 0 i ) | 1 |
2 | V I D E O P A L / S E C A M | 2 | |
3 | 77777 | 777777777 | 77 |
4 | 77777 | 777777777 | 77 |
5 | 77777 | 777777777 | 77 |
6 | 77777 | 777777777 | 77 |
7 | 77777 | 777777777 | 77 |
8 | 77777 | 777777777 | 77 |
9 | 77777 | 777777777 | 77 |
10 | 77777 | 777777777 | 77 |
![]() A U T O
A U T O
N T S C ( 4 8 0 i )
![]() S D T V ( 4 8 0 p )
S D T V ( 4 8 0 p )
H D T V ( 7 2 0 p )
![]() H D T V ( 1 0 8 0 i )
H D T V ( 1 0 8 0 i )
P A L / S E C A M
![]() P C - 9 8
P C - 9 8
V G A 1
![]() V G A 3
V G A 3
M A C 1 3
![]() V G A V E S A
V G A V E S A
![]() S V G A 1
S V G A 1
S V G A 2
![]() M A C 1 6
M A C 1 6
X G A 1
![]() X G A 2
X G A 2
M A C 1 9
![]() M A C 2 1
M A C 2 1
S X G A 1
![]() S X G A 2
S X G A 2
S X G A 3
 U S E R
•The selected item (text display) is shown in magenta color. |
2. Press MENU/ENTER down to set a source. |
•By having a source set, the source for the projector |
switches to the setting registered to the user source. |
■Pressing PAGE BACK twice will bring you back to the main menu. To finish the main menu, press PAGE BACK again.
O P T I O N S |
|
S O U R C E |
|
C H A N N E L |
|
U S E R S O U R C E S E T U P | |
D I S P L A Y S I Z E | |
D E C O D E R | N T S C ( 4 8 0 i ) |
L A N G U A G E | E N G L I S H |
(CHANNEL setup menu)
4 Press MENU/ENTER toward the 5 or ∞ mark to select the channel (CH) whose contents you want to change.
• The selected CH is shown in magenta color.
Submenu item [CHANNEL]
5 Press MENU/ENTER toward the 2 or 3 mark to select the item to set (LINE, SOURCE or SWNo).
Notes
•The selected item is shown in magenta color. Items shown in gray color cannot be operated or set in the current mode.
•Items that can be set are different when video signals are input and when computer signals are input.
•For dedicated source signals (corresponding frequency, etc.) for computer signals, see page 19.
•The selected item is shown in magenta color.
•Unregistered channel items (LINE, SOURCE or SWNo) can also be selected. However, “LINE” and “SOURCE” need to be already set.
6 Press MENU/ENTER to set.
•Channel items LINE, SOURCE and SWNo) for the “CH” selected on the “CHANNEL setup • selection” menu are set.
•For how to set each item, see pages 48 to 51.
46 | 47 |