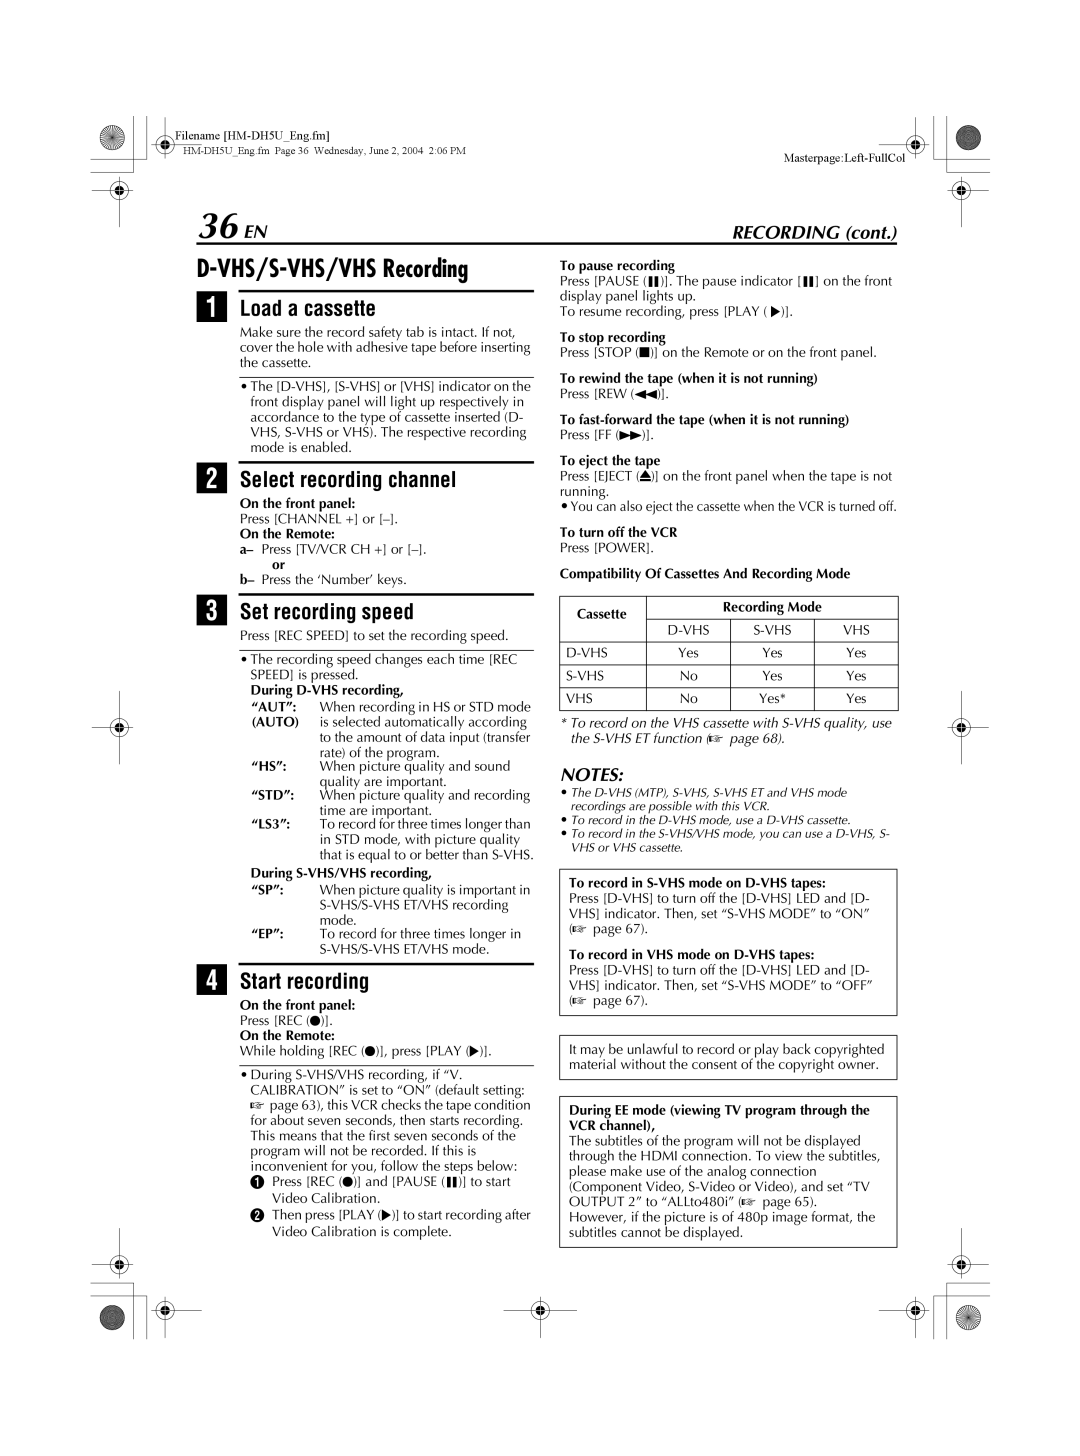
Filename
|
36 EN | RECORDING (cont.) |
D-VHS/S-VHS/VHS Recording
A Load a cassette
Make sure the record safety tab is intact. If not, cover the hole with adhesive tape before inserting the cassette.
•The
B Select recording channel
On the front panel:
Press [CHANNEL +] or [–].
On the Remote:
a– Press [TV/VCR CH +] or
b– Press the ‘Number’ keys.
C Set recording speed
Press [REC SPEED] to set the recording speed.
•The recording speed changes each time [REC SPEED] is pressed.
During D-VHS recording,
“AUT”: When recording in HS or STD mode (AUTO) is selected automatically according to the amount of data input (transfer
rate) of the program.
“HS”: When picture quality and sound quality are important.
“STD”: When picture quality and recording time are important.
“LS3”: To record for three times longer than in STD mode, with picture quality that is equal to or better than
During S-VHS/VHS recording,
“SP”: When picture quality is important in
“EP”: To record for three times longer in
D Start recording
On the front panel:
Press [REC (R)].
On the Remote:
While holding [REC (R)], press [PLAY (I)].
•During
Video Calibration.
B Then press [PLAY (I)] to start recording after Video Calibration is complete.
To pause recording
Press [PAUSE (W)]. The pause indicator [W] on the front display panel lights up.
To resume recording, press [PLAY ( I)].
To stop recording
Press [STOP (L)] on the Remote or on the front panel.
To rewind the tape (when it is not running) Press [REW (O)].
To
To eject the tape
Press [EJECT (M)] on the front panel when the tape is not running.
•You can also eject the cassette when the VCR is turned off.
To turn off the VCR
Press [POWER].
Compatibility Of Cassettes And Recording Mode
Cassette |
| Recording Mode |
| ||
|
|
|
|
| |
|
|
| VHS | ||
|
|
|
|
|
|
Yes |
| Yes |
| Yes | |
|
|
|
|
|
|
No |
| Yes |
| Yes | |
|
|
|
|
|
|
VHS | No |
| Yes* |
| Yes |
|
|
|
|
|
|
*To record on the VHS cassette with
NOTES:
•The
•To record in the
•To record in the
To record in
Press
To record in VHS mode on D-VHS tapes:
Press
It may be unlawful to record or play back copyrighted material without the consent of the copyright owner.
During EE mode (viewing TV program through the VCR channel),
The subtitles of the program will not be displayed through the HDMI connection. To view the subtitles, please make use of the analog connection (Component Video,
