![]()
![]()
![]()
![]()
![]()
![]()
![]()
![]()
![]()
![]()
![]()
![]()
![]()
![]()
![]()
![]()
![]()
![]()
![]()
![]()
![]()
![]()
![]()
![]()
![]()
![]()
![]()
![]()
![]()
![]()
![]()
![]()
![]()
![]()
![]()
![]()
![]()
![]()
![]()
![]()
![]()
![]()
![]()
![]()
![]()
![]()
![]()
![]()
![]()
![]()
![]()
![]()
![]()
![]()
![]()
![]()
![]()
![]()
![]()
![]()
![]()
![]()
![]()
![]()
![]()
![]()
![]()
![]()
![]()
![]()
![]()
![]()
![]()
![]()
![]()
![]()
![]()
![]()
![]()
![]()
![]()
![]()
![]()
![]()
![]()
![]()
![]()
![]()
![]()
![]()
![]() EN
EN![]()
![]() 17
17![]()
| The B.E.S.T. (Biconditional Equalised Signal Tracking) system | ||||
B.E.S.T. Picture | |||||
checks the condition of the tape in use during recording and | |||||
recording and playback is “ON”. | |||||
| playback, and compensates to provide the | ||||
System | recording and playback pictures. The default setting for both | ||||
Recording | |||||
|
|
|
|
| |
| 1 |
| LOAD A CASSETTE | ||
Turn on the TV and select the VIDEO channel (or AV mode). |
| ||||
| Insert a cassette with the record safety tab intact. | ||||
|
| ||||
|
|
|
| ||
|
|
|
|
| |
|
|
|
| ● The recorder power comes on automatically. | |
|
|
| ACCESS MODE SELECT | |
|
| 8 | SCREEN |
|
•• • • • •• •• • • • •• | 2 | Press MODE. The O.S.D./ |
| |
• • • • | • • • • | B.E.S.T. screen appears. |
| |
|
| O.S.D. | : ON | |
|
| B.E.S.T. | : ON | |
RECORD | [5°] = [5]: ON/OFF |
| [MODE] : EXIT |
3 | CONFIRM B.E.S.T. STATUS |
The default setting is “ON”. If this is the case, go to step | |
4. If not, press PUSH JOG to place the pointer next to | |
Þ | |
“B.E.S.T.”, then press PUSH JOG%to set to “ON”. |
| 2 |
|
1 | 2 | 3 |
4 | 5 | 6 |
7 | 8 | 9 |
| 0 |
|
| PLAY |
|
RECORD
MODE
4
5
CLOSE MODE SELECT SCREEN
Press MODE.
START RECORDING
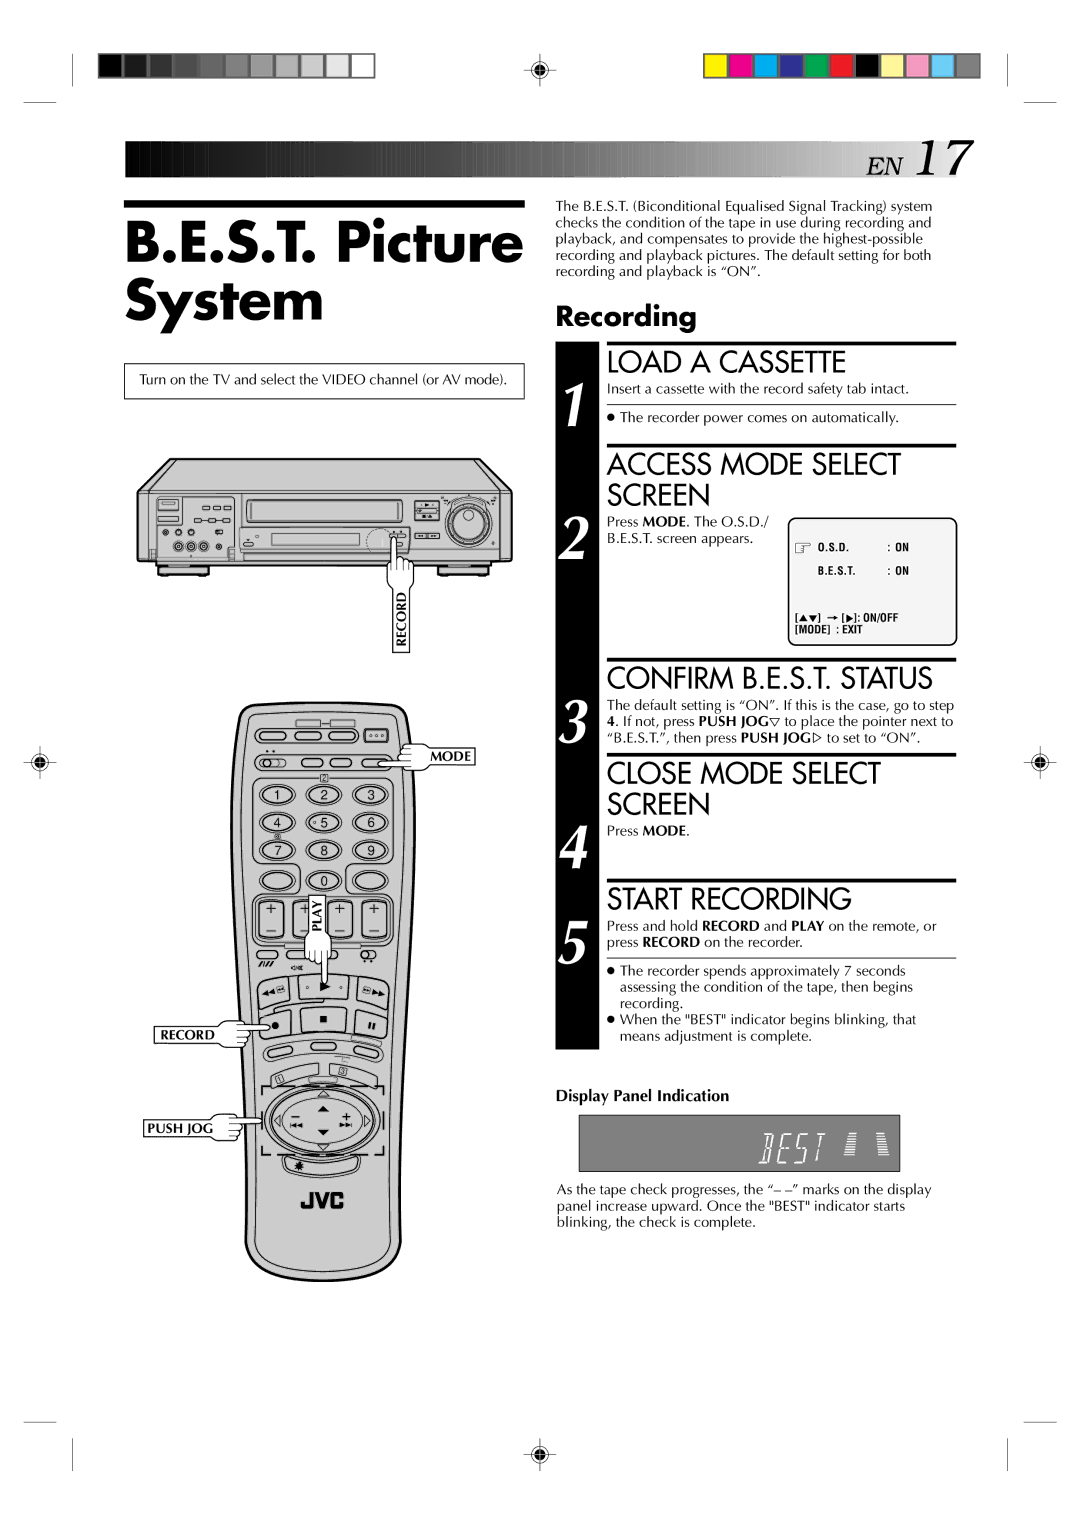
Press and hold RECORD and PLAY on the remote, or press RECORD on the recorder.
●The recorder spends approximately 7 seconds assessing the condition of the tape, then begins recording.
●When the "BEST" indicator begins blinking, that means adjustment is complete.
3
1
Display Panel Indication
PUSH JOG
As the tape check progresses, the “–