LOCATE EDIT-OUT POINT
![]()
![]()
![]()
![]()
![]()
![]()
![]()
![]()
![]()
![]()
![]()
![]()
![]()
![]()
![]()
![]()
![]()
![]()
![]()
![]()
![]()
![]()
![]()
![]()
![]()
![]()
![]()
![]()
![]()
![]() EN
EN![]()
![]() 33
33![]()
NOTES:
● You can also monitor the sound when searching for scenes
7
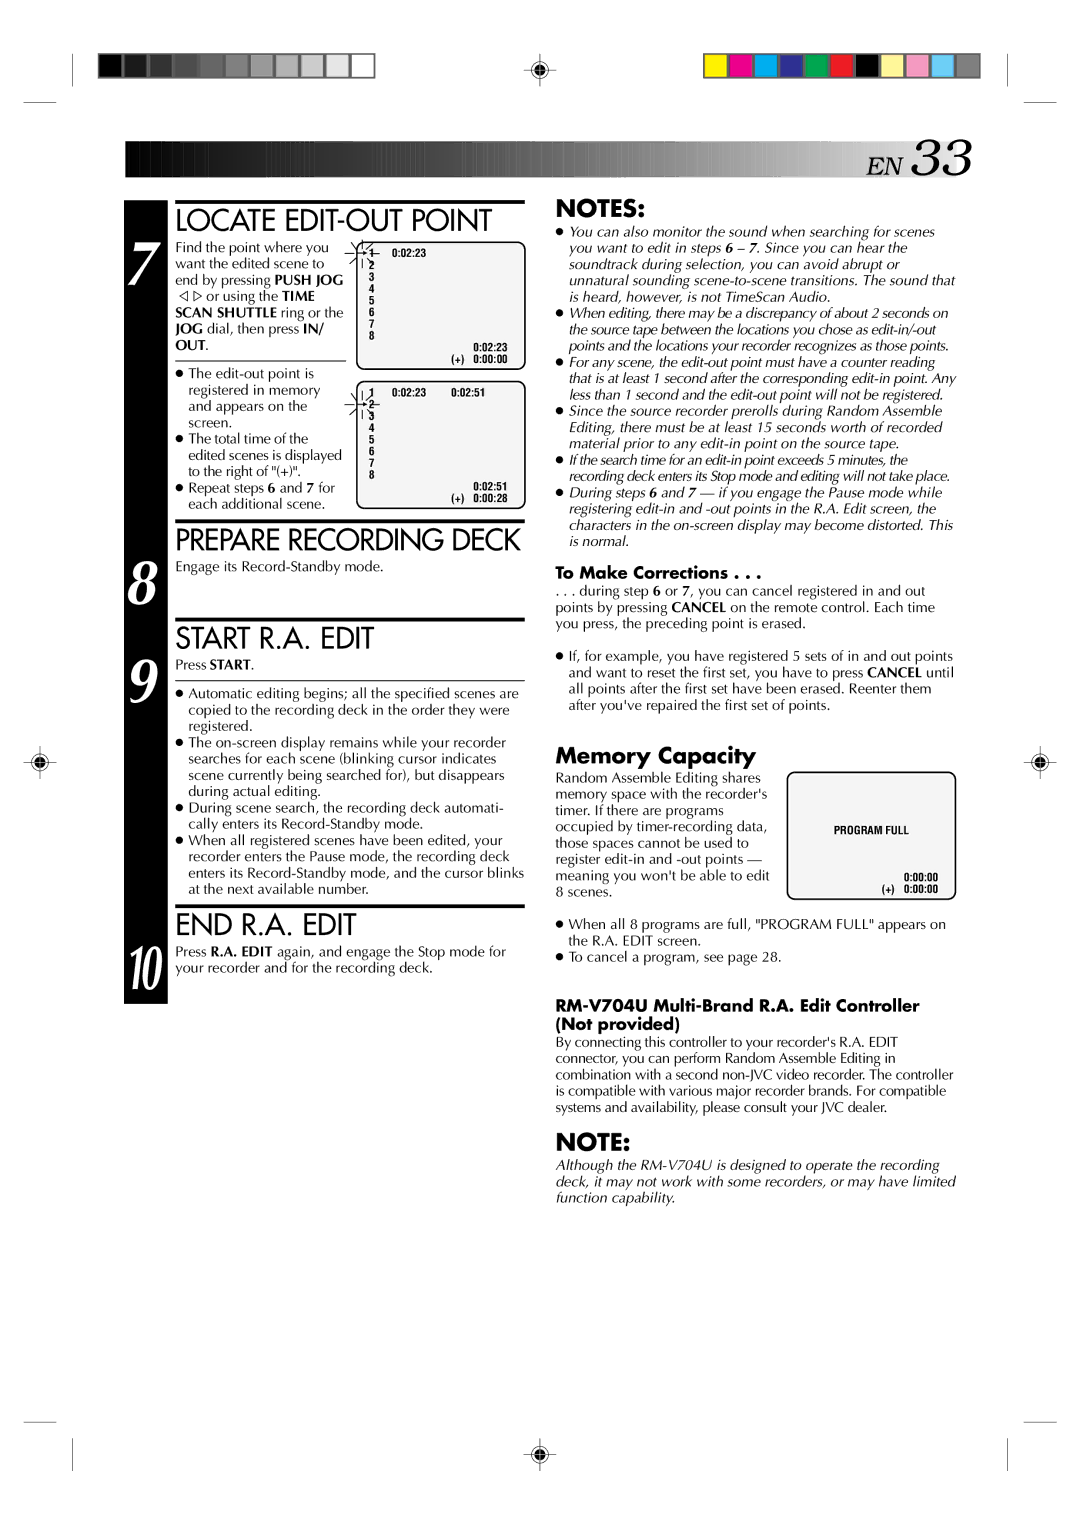
Find the point where you want the edited scene to end by pressing PUSH JOG Þ %or using the TIME SCAN SHUTTLE ring or the JOG dial, then press IN/ OUT.
=1 0:02:23 ![]()
![]() 2
2
3
4
5
6
7
8
0:02:23
(+) 0:00:00
you want to edit in steps 6 – 7. Since you can hear the soundtrack during selection, you can avoid abrupt or unnatural sounding
● When editing, there may be a discrepancy of about 2 seconds on the source tape between the locations you chose as
● For any scene, the
●The
●The total time of the edited scenes is displayed to the right of "(+)".
●Repeat steps 6 and 7 for each additional scene.
1 0:02:23 0:02:51
=2 ![]()
![]() 3 4 5 6 7 8
3 4 5 6 7 8
0:02:51
(+) 0:00:28
that is at least 1 second after the corresponding
● Since the source recorder prerolls during Random Assemble Editing, there must be at least 15 seconds worth of recorded material prior to any
● If the search time for an
● During steps 6 and 7 — if you engage the Pause mode while registering
8
9
PREPARE RECORDING DECK
Engage its
START R.A. EDIT
Press START.
● Automatic editing begins; all the specified scenes are |
copied to the recording deck in the order they were |
registered. |
● The |
is normal.
To Make Corrections . . .
. . . during step 6 or 7, you can cancel registered in and out points by pressing CANCEL on the remote control. Each time you press, the preceding point is erased.
● If, for example, you have registered 5 sets of in and out points and want to reset the first set, you have to press CANCEL until all points after the first set have been erased. Reenter them after you've repaired the first set of points.
searches for each scene (blinking cursor indicates |
scene currently being searched for), but disappears |
during actual editing. |
● During scene search, the recording deck automati- |
cally enters its |
● When all registered scenes have been edited, your |
recorder enters the Pause mode, the recording deck |
enters its |
at the next available number. |
Memory Capacity
Random Assemble Editing shares memory space with the recorder's timer. If there are programs occupied by
PROGRAM FULL
0:00:00
(+) 0:00:00
10
END R.A. EDIT
Press R.A. EDIT again, and engage the Stop mode for your recorder and for the recording deck.
●When all 8 programs are full, "PROGRAM FULL" appears on the R.A. EDIT screen.
●To cancel a program, see page 28.
RM-V704U Multi-Brand R.A. Edit Controller (Not provided)
By connecting this controller to your recorder's R.A. EDIT connector, you can perform Random Assemble Editing in combination with a second
NOTE:
Although the