INSERT | PLAY |
|
| 8 |
•• • • • •• | •• • • • •• | |
• • • • | • • | • • |
|
| A. DUB |
i
| 2 |
|
1 | 2 | 3 |
4 | 5 | 6 |
7 | 8 | 9 |
C.RESET | 0 |
|
|
| |
|
| PLAY |
3
1
|
|
|
|
|
|
| EN |
| 35 |
|
|
|
|
|
|
|
|
|
| ||
|
|
|
|
|
| |||||
|
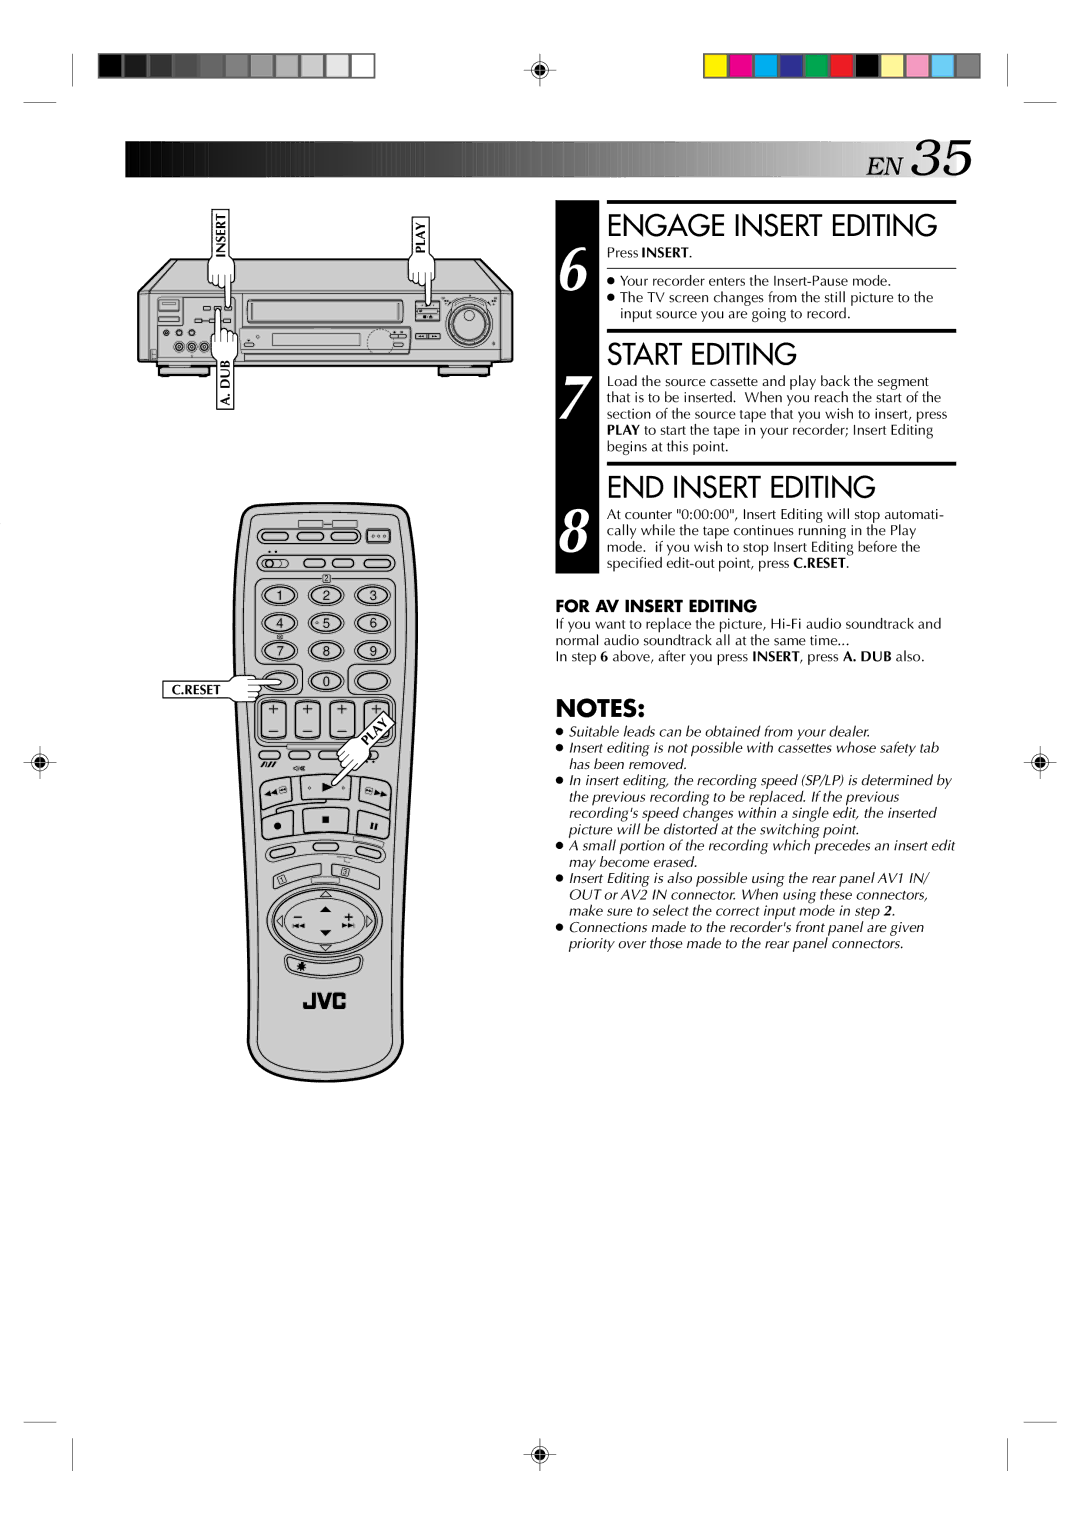
| 6 |
| ENGAGE INSERT EDITING | ||||||
|
|
| Press INSERT. | |||||||
|
|
|
|
| ||||||
|
|
| ● Your recorder enters the | |||||||
|
|
| ● The TV screen changes from the still picture to the | |||||||
|
|
|
| input source you are going to record. | ||||||
|
|
|
|
|
| |||||
|
| 7 |
| START EDITING | ||||||
|
|
| Load the source cassette and play back the segment | |||||||
|
|
| that is to be inserted. When you reach the start of the | |||||||
|
|
| section of the source tape that you wish to insert, press | |||||||
|
|
|
| PLAY to start the tape in your recorder; Insert Editing | ||||||
|
|
|
| begins at this point. | ||||||
|
|
|
|
|
| |||||
|
| 8 |
| END INSERT EDITING | ||||||
|
|
| At counter "0:00:00", Insert Editing will stop automati- | |||||||
|
|
| cally while the tape continues running in the Play | |||||||
|
|
| mode. if you wish to stop Insert Editing before the | |||||||
|
|
|
| specified | ||||||
|
|
|
|
|
|
|
|
|
|
|
FOR AV INSERT EDITING
If you want to replace the picture,
In step 6 above, after you press INSERT, press A. DUB also.
NOTES:
●Suitable leads can be obtained from your dealer.
●Insert editing is not possible with cassettes whose safety tab has been removed.
●In insert editing, the recording speed (SP/LP) is determined by the previous recording to be replaced. If the previous recording's speed changes within a single edit, the inserted picture will be distorted at the switching point.
●A small portion of the recording which precedes an insert edit may become erased.
●Insert Editing is also possible using the rear panel AV1 IN/ OUT or AV2 IN connector. When using these connectors, make sure to select the correct input mode in step 2.
●Connections made to the recorder's front panel are given priority over those made to the rear panel connectors.