6

 EN
EN


 INITIAL
 SETTINGS
 (cont.)


|
|
|
| 8 | 6 |
•• • • • •• | •• • • • •• |
| |||
• • | • • | • • | • • |
|
|
CH SET
| 2 |
| 7 | |
1 | 2 | 3 | ||
| ||||
4 | 5 | 6 |
| |
7 | 8 | 9 |
| |
| 0 |
|
|
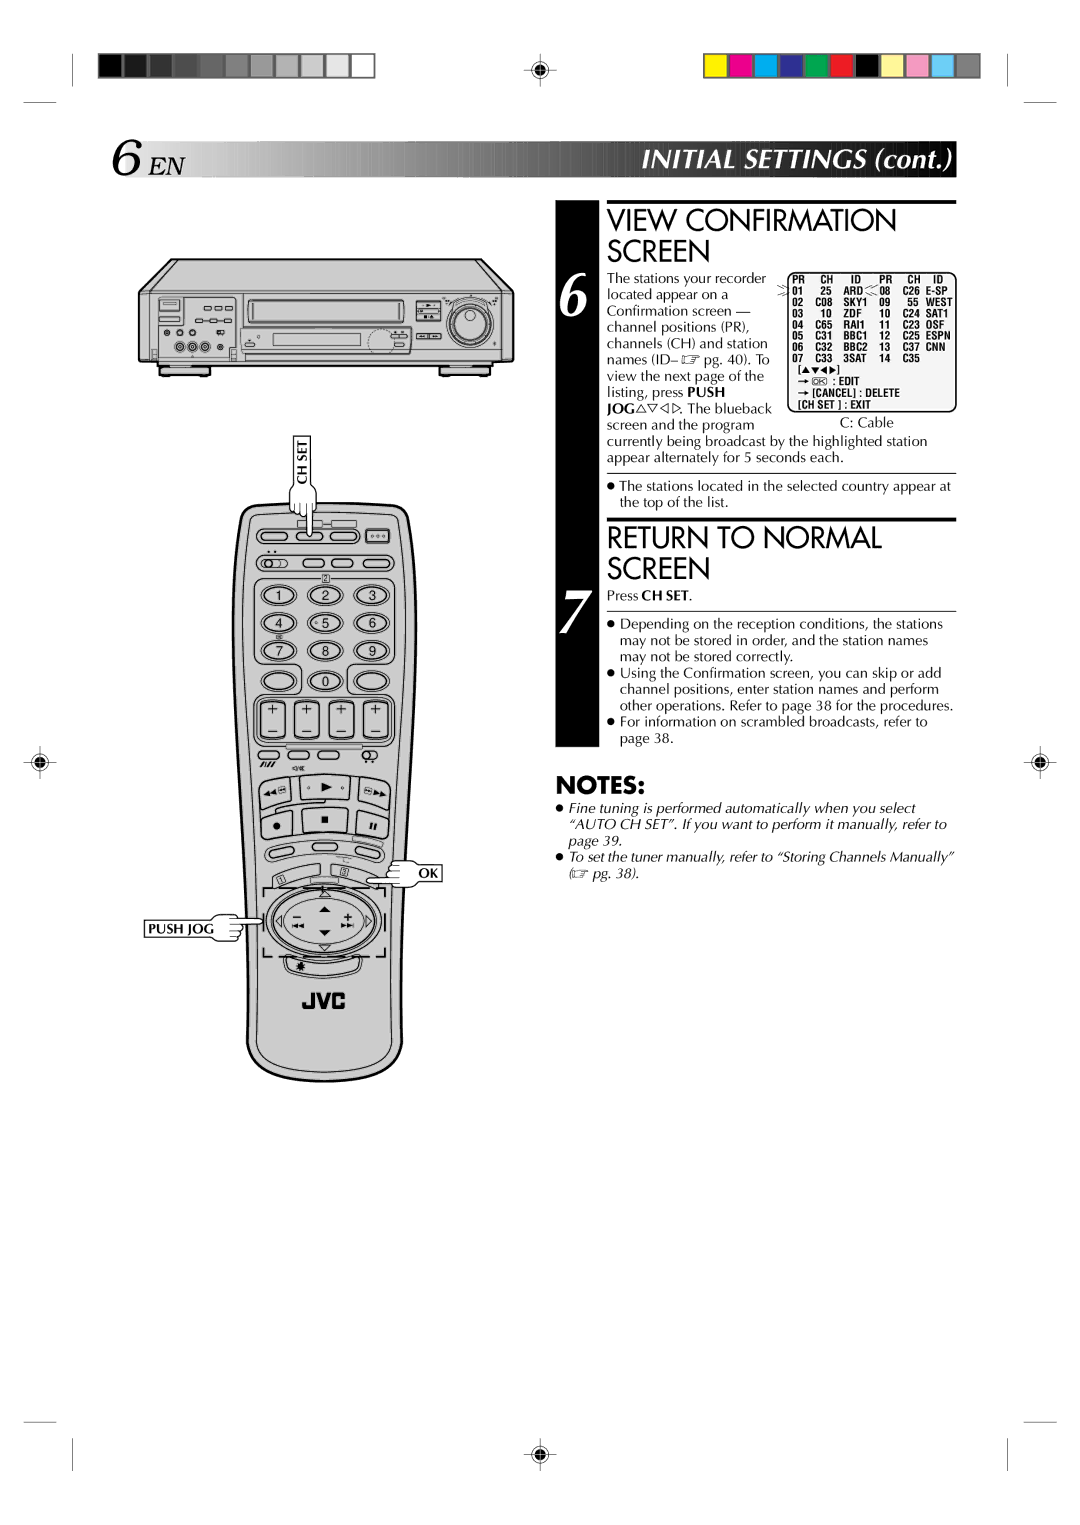
VIEW CONFIRMATION SCREEN
The stations your recorder located appear on a Confirmation screen — channel positions (PR), channels (CH) and station names (ID– ☞ pg. 40). To view the next page of the listing, press PUSH JOG%Þ% %. The blueback screen and the program
currently being broadcast by the highlighted station appear alternately for 5 seconds each.
●The stations located in the selected country appear at the top of the list.
RETURN TO NORMAL SCREEN
Press CH SET.
●Depending on the reception conditions, the stations may not be stored in order, and the station names may not be stored correctly.
●Using the Confirmation screen, you can skip or add channel positions, enter station names and perform other operations. Refer to page 38 for the procedures.
●For information on scrambled broadcasts, refer to page 38.
3
1
| NOTES: |
| ● Fine tuning is performed automatically when you select |
| “AUTO CH SET”. If you want to perform it manually, refer to |
| page 39. |
| ● To set the tuner manually, refer to “Storing Channels Manually” |
OK | (☞ pg. 38). |
PUSH JOG