Recording on a CD-R/CD-RW

Before You Start Recording

Before you start, remember...

Perform recording onto a CD-R AUDIO or CD-RW AUDIO disc (see page 3).

When you record onto a partially recorded unfinalized CD-R or CD-RW, its contents are not erased or overwritten. The recording starts from the point following the last recorded track of the disc.

For CD-RW only: If you want to record on such a CD-RW from the beginning, you have to erase its contents first (see “Erasing all tracks (only for CD-RW)—Disc Erase” on page 36). (You cannot erase the contents recorded on a CD-R.)

You can record up to 99 tracks on a CD-R or CD-RW. When the data recordable memory area of a CD-R or CD-RW becomes full while recording, recording will stop automatically.

If PCA (Power Calibration Area) or PMA (Program Memory Area) of the disc is recorded fully, recording cannot be performed on this disc even though there are still unused memory spaces on it.

Before recording on a CD-R, it is recommended to make a test recording on a CD-RW.

You cannot perform digital-recording from the digitally recorded CD-R or CD-RW because only the first generation digital copy is allowed; This is to protect copyrights (see page 42).

CD Recorder automatically selects appropriate recording—either digital or analog—during CD Synchronized Recording.

When digital source is selected as the playback sound, it will be recorded digitally if it is a first-generation digital copy (see page 42). If not, CD Recorder selects analog recording.

MP3 files cannot be recorded on this CD Recorder. If you are going to record MP3 files on CD Recorder, “CANNOT REC” appears on the display.

Before recording, finalizing, or adding track skip marks, make sure that all the disc trays are closed. You cannot open any disc tray while these operations are done.

Available recording methods

This CD Recorder provides a variety of the recording methods.

You can select and use the following recording methods according to the playback source.

7Recording from any source —Standard Recording:

Standard Recording—see page 22.

7Recording from 3-CD Changer —CD Synchronized Recording:

Disc Direct Recording—see page 26.

One Track Recording—see page 28.

Listening Edit Recording—see page 29.

Program Edit Recording—see page 30.

7Recording from external components

Sound Synchronized Recording—see page 31.

Sound Mixing Recording—see page 32.

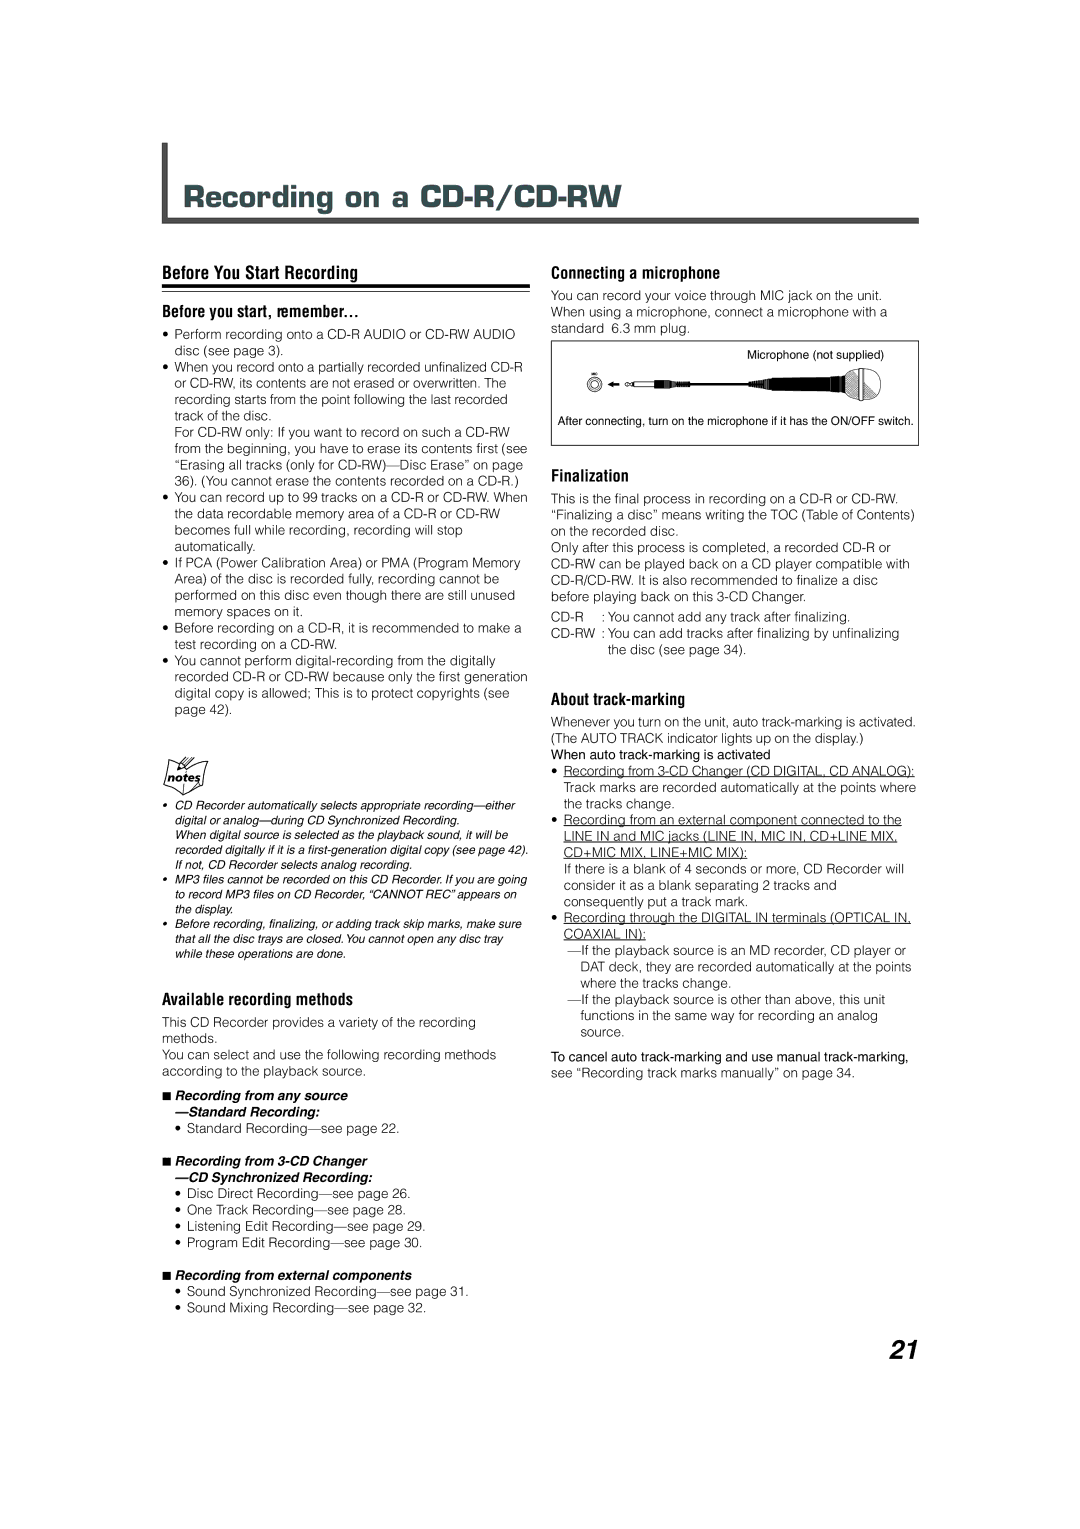
Connecting a microphone

You can record your voice through MIC jack on the unit. When using a microphone, connect a microphone with a standard 6.3 mm plug.

Microphone (not supplied)

After connecting, turn on the microphone if it has the ON/OFF switch.

Finalization

This is the final process in recording on a CD-R or CD-RW. “Finalizing a disc” means writing the TOC (Table of Contents) on the recorded disc.

Only after this process is completed, a recorded CD-R or CD-RW can be played back on a CD player compatible with CD-R/CD-RW. It is also recommended to finalize a disc before playing back on this 3-CD Changer.

CD-R : You cannot add any track after finalizing.

CD-RW : You can add tracks after finalizing by unfinalizing the disc (see page 34).

About track-marking

Whenever you turn on the unit, auto track-marking is activated. (The AUTO TRACK indicator lights up on the display.)

When auto track-marking is activated

Recording from 3-CD Changer (CD DIGITAL, CD ANALOG): Track marks are recorded automatically at the points where the tracks change.

Recording from an external component connected to the LINE IN and MIC jacks (LINE IN, MIC IN, CD+LINE MIX, CD+MIC MIX, LINE+MIC MIX):

If there is a blank of 4 seconds or more, CD Recorder will consider it as a blank separating 2 tracks and consequently put a track mark.

Recording through the DIGITAL IN terminals (OPTICAL IN,

COAXIAL IN):

—If the playback source is an MD recorder, CD player or DAT deck, they are recorded automatically at the points where the tracks change.

—If the playback source is other than above, this unit functions in the same way for recording an analog source.

To cancel auto track-marking and use manual track-marking, see “Recording track marks manually” on page 34.

21

Page 23
Image 23
JVC XL-R5020BK manual Recording on a CD-R/CD-RW, Before You Start Recording