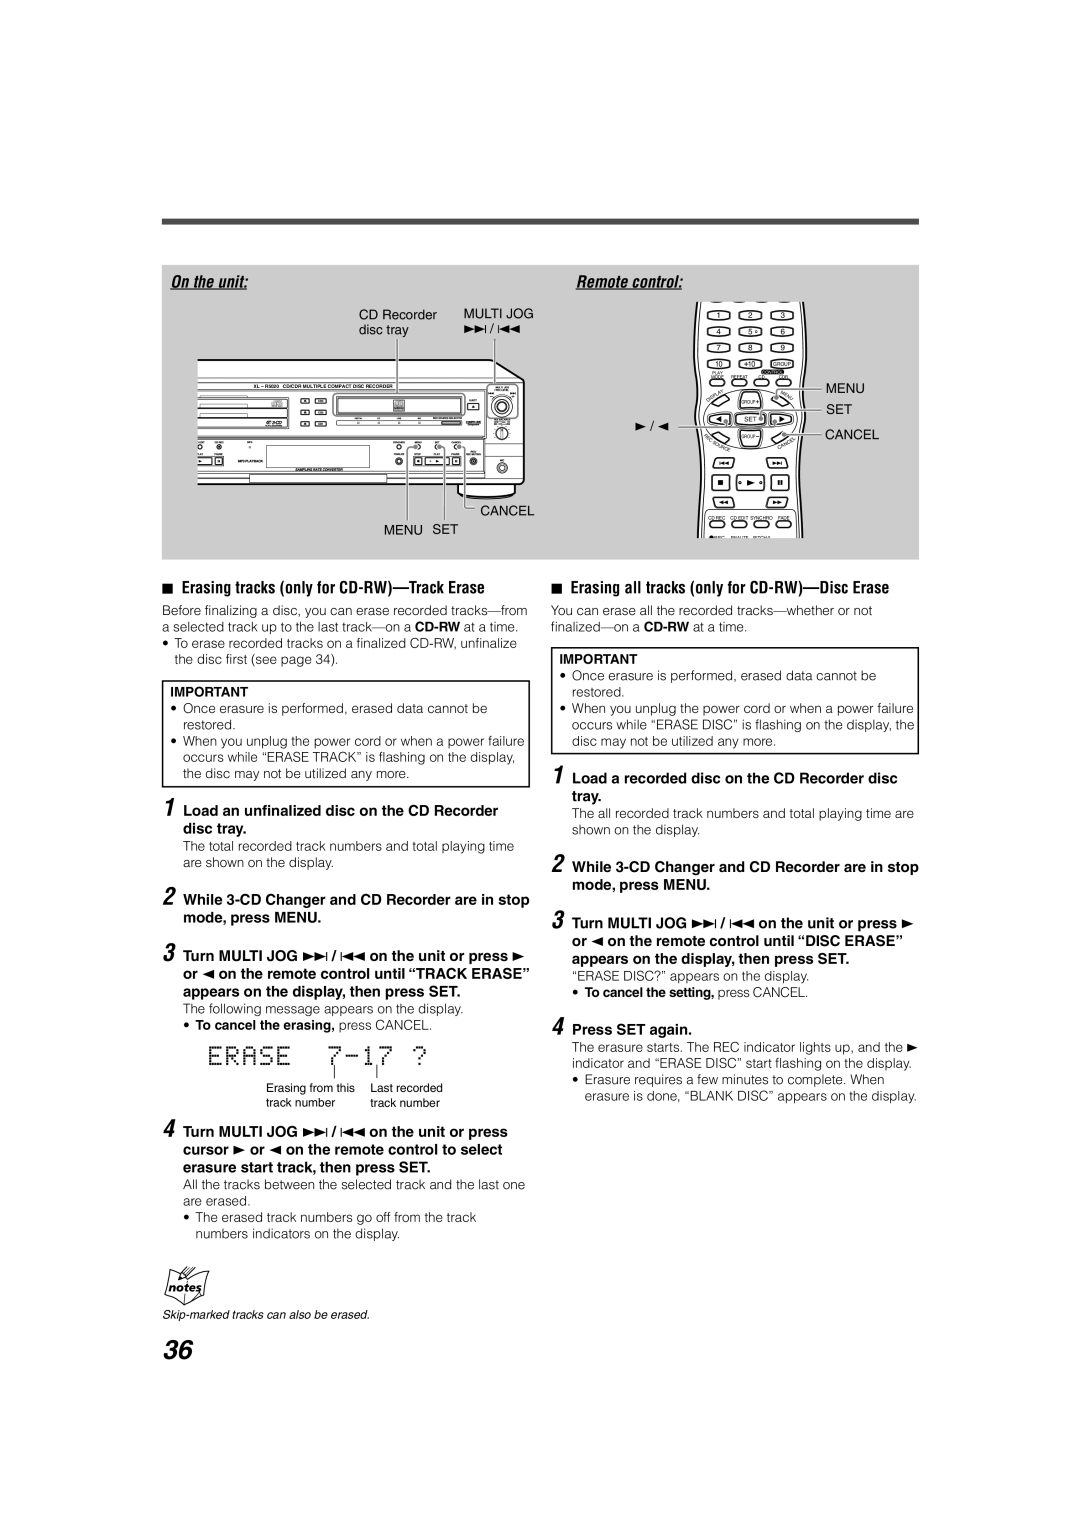
On the unit:
CD Recorder | MULTI JOG |
disc tray | ¢ / 4 |
XL – R5020 CD/CDR MULTIPLE COMPACT DISC RECORDER |
Recordable |
ReWritable |
CANCEL
MENU SET
Remote control:
3 / 2
1 2 3
4 | 5 |
| 6 |
|
7 | 8 |
| 9 |
|
10 | 10 |
| GROUP | |
PLAY |
| CONTROL |
| |
MODE | REPEAT | CD | CDR | |
Y |
|
| M |
|
A |
|
|
| |
L |
|
| E | |
P |
|
|
| N |
IS | GROUP |
|
| U |
D |
|
|
| |
|
|
|
| SET |
|
E |
|
|
| GROUP |
|
R |
|
|
|
|
|
C |
|
|
|
| L |
| S |
|
|
| C |
| O |
|
| A | |
|
| UR | CE |
| N |
|
|
| C | ||
CD REC CD EDIT SYNCHRO FADE
![]() REC FINALIZE PITCH 0
REC FINALIZE PITCH 0
MENU
SET
CANCEL
7Erasing tracks (only for CD-RW)—Track Erase
Before finalizing a disc, you can erase recorded
•To erase recorded tracks on a finalized
IMPORTANT
•Once erasure is performed, erased data cannot be restored.
•When you unplug the power cord or when a power failure occurs while “ERASE TRACK” is flashing on the display, the disc may not be utilized any more.
1Load an unfinalized disc on the CD Recorder disc tray.
The total recorded track numbers and total playing time are shown on the display.
2While
3Turn MULTI JOG ¢ / 4 on the unit or press 3 or 2 on the remote control until “TRACK ERASE” appears on the display, then press SET.
The following message appears on the display.
• To cancel the erasing, press CANCEL.
Erasing from this | Last recorded |
track number | track number |
4 Turn MULTI JOG ¢ / 4 on the unit or press cursor 3 or 2 on the remote control to select erasure start track, then press SET.
All the tracks between the selected track and the last one are erased.
•The erased track numbers go off from the track numbers indicators on the display.
7Erasing all tracks (only for CD-RW)—Disc Erase
You can erase all the recorded
IMPORTANT
•Once erasure is performed, erased data cannot be restored.
•When you unplug the power cord or when a power failure occurs while “ERASE DISC” is flashing on the display, the disc may not be utilized any more.
1Load a recorded disc on the CD Recorder disc tray.
The all recorded track numbers and total playing time are shown on the display.
2While
3Turn MULTI JOG ¢ / 4 on the unit or press 3 or 2 on the remote control until “DISC ERASE” appears on the display, then press SET.
“ERASE DISC?” appears on the display.
•To cancel the setting, press CANCEL.
4Press SET again.
The erasure starts. The REC indicator lights up, and the 3 indicator and “ERASE DISC” start flashing on the display.
•Erasure requires a few minutes to complete. When erasure is done, “BLANK DISC” appears on the display.
36
