Recording Manually—Standard Recording
You can use this method to record any sources and to record any combination of two sources.
IMPORTANT
When using operating buttons (3, 7, 8) on the remote control, check which indicator lights up on the
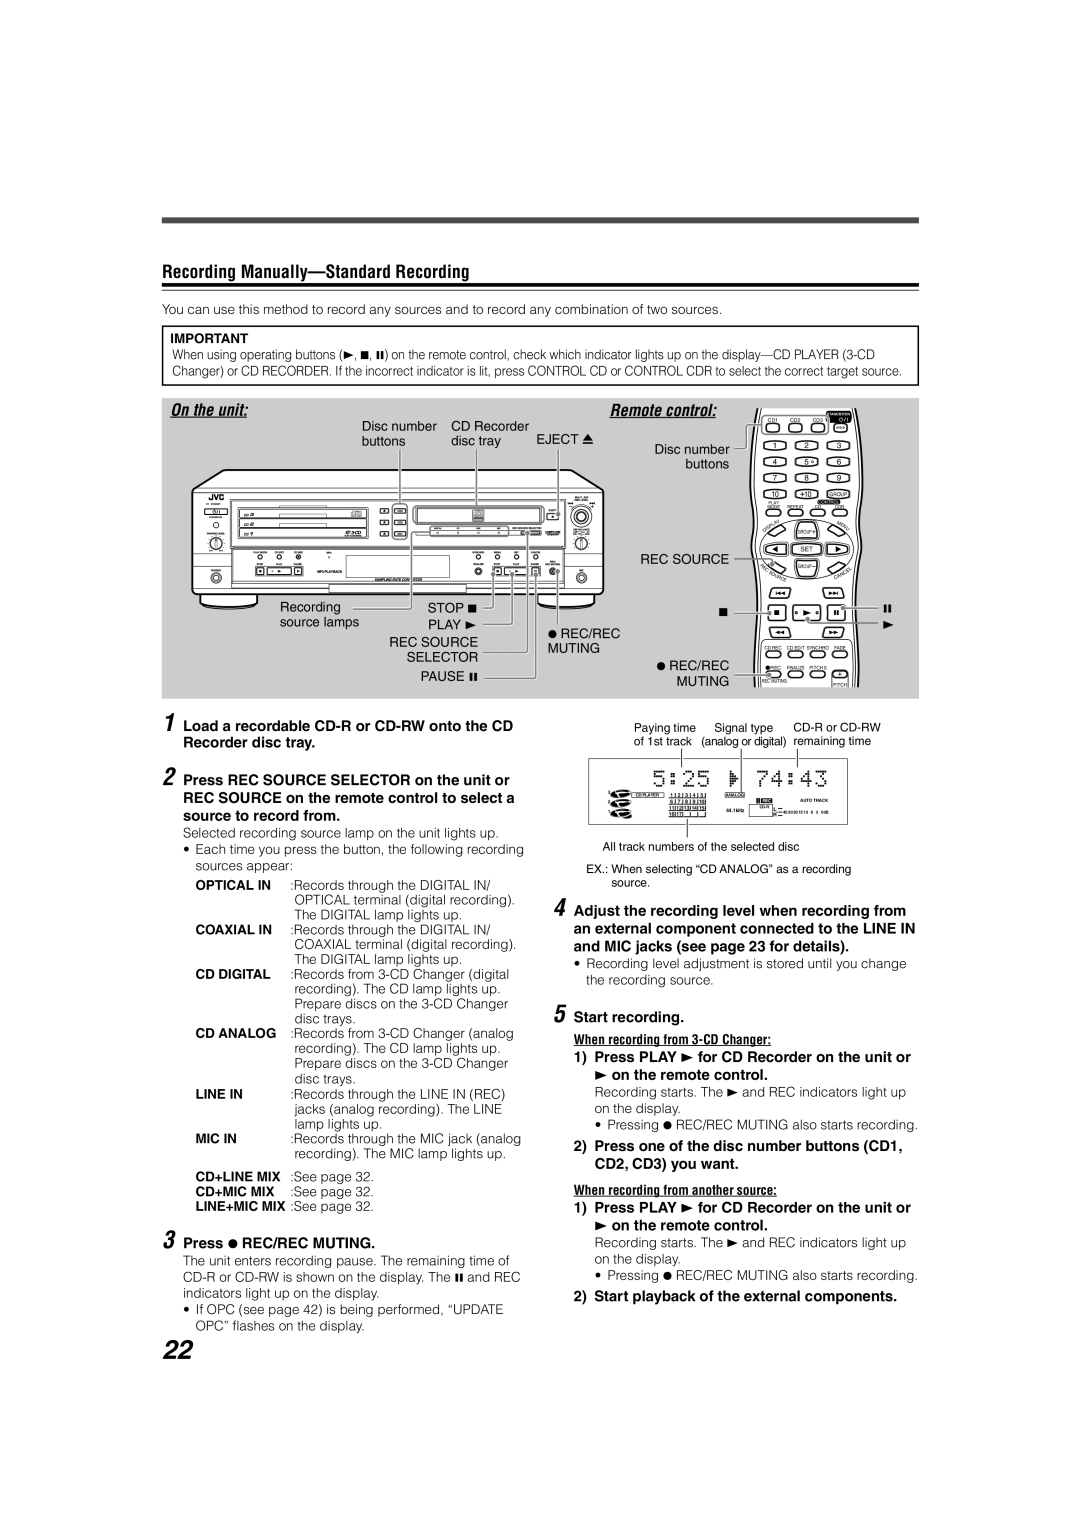
On the unit:
Disc number | CD Recorder | EJECT 0 |
buttons | disc tray |
Recordable |
ReWritable |
Remote control:
Disc number buttons
CD1
1
4
7
10
PLAY
MODE
STANDBY/ON
CD2 CD3
2 3
5 6
8 9
![]() 10 GROUP
10 GROUP
CONTROL
REPEAT CD CDR
Y LA P IS D
GROUP![]()
MENU
MIN MAX
REC SOURCE
Recording | STOP 7 | 7 |
source lamps | PLAY 3 | ¶ REC/REC |
| REC SOURCE | |
| MUTING | |
| SELECTOR | |
| ¶ REC/REC | |
| PAUSE 8 | |
| MUTING | |
|
|
|
|
|
| SET |
|
E |
|
|
| GROUP |
|
R |
|
|
|
|
|
C |
|
|
|
| L |
| S |
|
|
| C |
| O |
|
| A | |
|
| UR | CE |
| N |
|
|
| C | ||
8
3
CD REC CD EDIT SYNCHRO FADE
![]() REC FINALIZE PITCH 0
REC FINALIZE PITCH 0
REC MUTING
PITCH
1 Load a recordable
2 Press REC SOURCE SELECTOR on the unit or REC SOURCE on the remote control to select a source to record from.
Selected recording source lamp on the unit lights up.
•Each time you press the button, the following recording sources appear:
OPTICAL IN :Records through the DIGITAL IN/ OPTICAL terminal (digital recording). The DIGITAL lamp lights up.
COAXIAL IN :Records through the DIGITAL IN/ COAXIAL terminal (digital recording). The DIGITAL lamp lights up.
CD DIGITAL :Records from
CD ANALOG :Records from
LINE IN :Records through the LINE IN (REC) jacks (analog recording). The LINE lamp lights up.
MIC IN :Records through the MIC jack (analog recording). The MIC lamp lights up.
CD+LINE MIX :See page 32.
CD+MIC MIX :See page 32.
LINE+MIC MIX :See page 32.
3 Press ¶ REC/REC MUTING.
The unit enters recording pause. The remaining time of
•If OPC (see page 42) is being performed, “UPDATE OPC” flashes on the display.
| Paying time |
| Signal type |
|
| ||||||||||||
| of 1st track |
| (analog or digital) | remaining time | |||||||||||||
|
|
|
|
|
|
|
|
|
|
|
|
|
|
|
|
|
|
3 |
| 1 | 2 |
| 3 | 4 | 5 |
|
|
|
|
|
|
|
|
| |
|
|
|
|
|
|
|
|
|
|
| |||||||
CD PLAYER |
| ANALOG |
|
|
| AUTO TRACK |
| ||||||||||
|
|
|
|
|
| ||||||||||||
2 |
| 6 | 7 |
| 8 | 9 | 10 |
|
|
| REC |
|
|
|
| ||
1 |
| 11 12 13 14 15 | 44.1kHz |
| L | 40 30 20 15 10 6 3 0dB |
| ||||||||||
| 16 17 |
|
|
|
|
|
| ||||||||||
|
|
|
|
|
|
|
|
|
| R |
|
|
|
| |||
|
|
|
|
|
|
|
|
|
|
|
|
|
|
|
|
|
|
|
|
|
|
|
|
|
|
|
|
|
|
|
|
|
|
|
|
All track numbers of the selected disc
EX.: When selecting “CD ANALOG” as a recording source.
4 Adjust the recording level when recording from an external component connected to the LINE IN and MIC jacks (see page 23 for details).
•Recording level adjustment is stored until you change the recording source.
5 Start recording.
When recording from
1)Press PLAY 3 for CD Recorder on the unit or 3 on the remote control.
Recording starts. The 3 and REC indicators light up on the display.
• Pressing ¶ REC/REC MUTING also starts recording.
2)Press one of the disc number buttons (CD1, CD2, CD3) you want.
When recording from another source:
1)Press PLAY 3 for CD Recorder on the unit or 3 on the remote control.
Recording starts. The 3 and REC indicators light up on the display.
• Pressing ¶ REC/REC MUTING also starts recording.
2)Start playback of the external components.
22