Recording from the Two Sources Mixed—Sound Mixing Recording
You can record sounds mixing 2 sources. When using this method, analog recording is always performed.
•Recording can be also stopped automatically when the playback sound stops coming in (see page 33).
•While mixing, no sounds come out of the DIGITAL OUT terminals.
IMPORTANT
When using operating buttons (3, 7, 8) on the remote control, check which indicator lights up on the
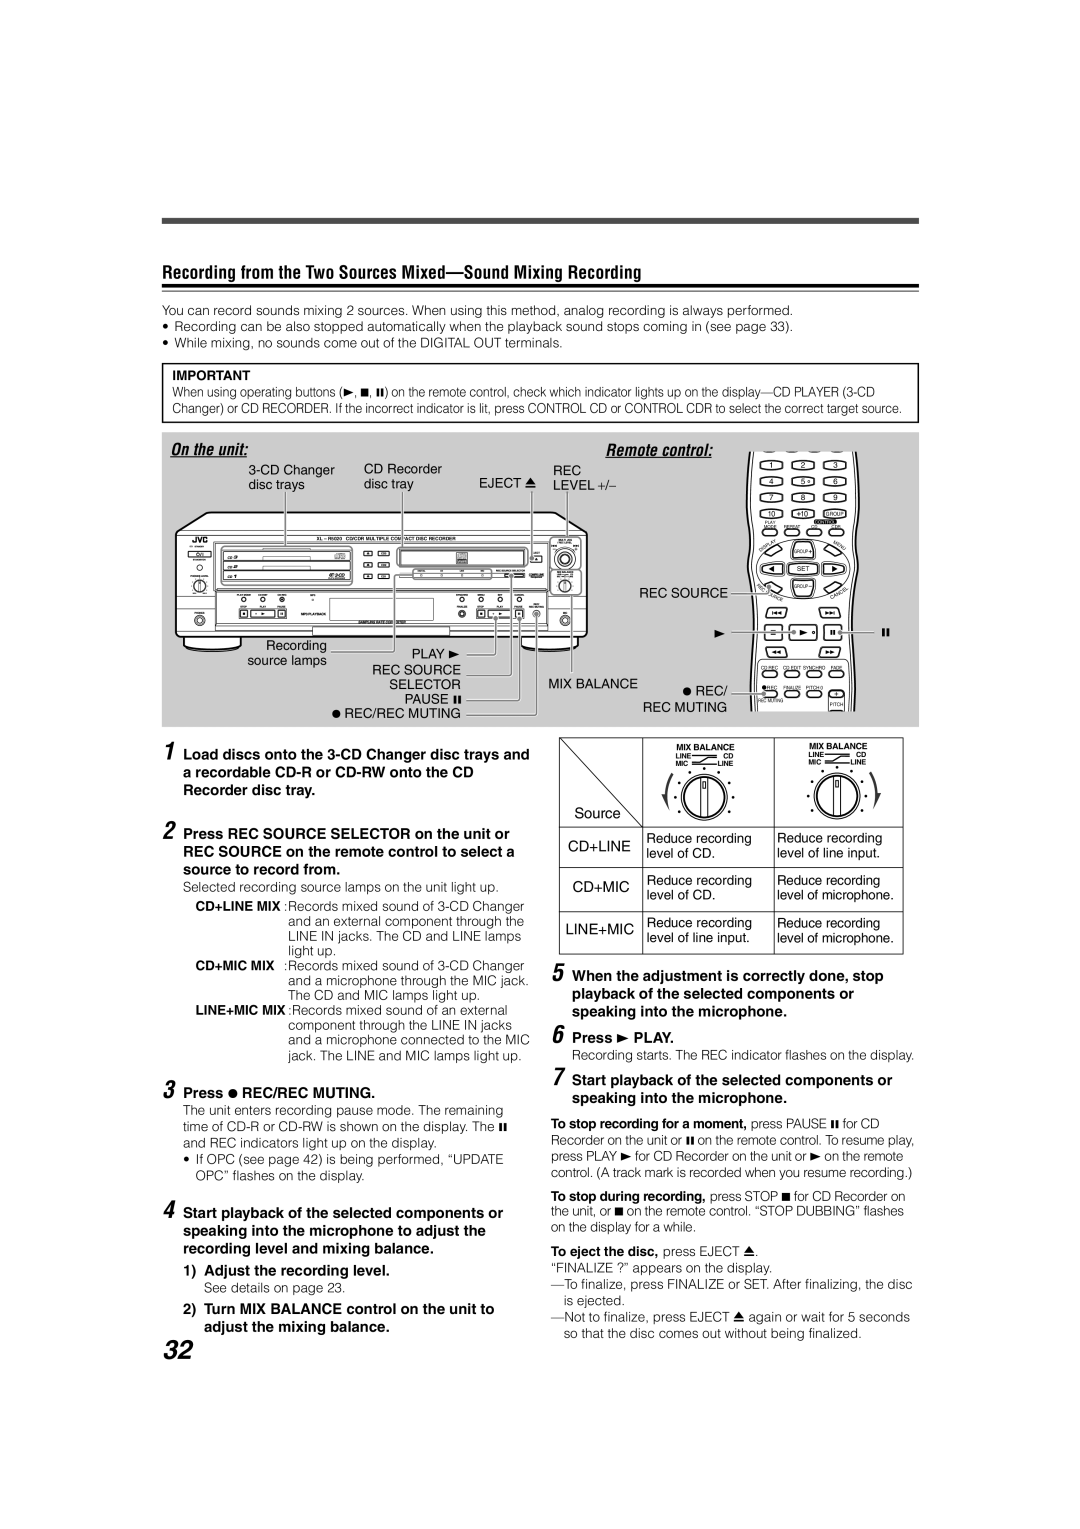
On the unit: |
| Remote control: |
| CD Recorder | REC |
disc trays | disc tray | EJECT 0 LEVEL +/− |
1 2 3
4 | 5 | 6 |
XL – R5020 CD/CDR MULTIPLE COMPACT DISC RECORDER |
Recordable |
ReWritable |
MIN MAX |
|
| REC SOURCE |
Recording |
|
| 3 |
PLAY 3 |
|
| |
source lamps |
|
| |
REC SOURCE |
|
| |
| MIX BALANCE |
| |
| SELECTOR | ¶ REC/ | |
|
|
|
PAUSE 8 | REC MUTING | |
¶ REC/REC MUTING | ||
|
|
| 7 | 8 |
| 9 |
|
|
| 10 | 10 |
| GROUP | |
| PLAY |
| CONTROL |
| ||
MODE | REPEAT | CD | CDR | |||
|
| Y |
|
| M |
|
|
| A |
|
|
| |
| L |
|
| E | ||
| P |
|
|
| N | |
IS |
| GROUP |
|
| U | |
D |
|
|
|
|
| |
|
|
| SET |
|
|
|
E |
|
| GROUP |
|
|
|
R |
|
|
|
|
|
|
C |
|
|
|
|
| L |
S |
|
|
|
| E | |
| O |
|
| A |
| |
|
| UR |
|
| N | |
|
|
|
| C |
| |
|
| CE |
|
|
|
|
8
CD REC CD EDIT SYNCHRO FADE
![]() REC FINALIZE PITCH 0
REC FINALIZE PITCH 0
REC MUTING
PITCH
1 Load discs onto the
2 Press REC SOURCE SELECTOR on the unit or REC SOURCE on the remote control to select a source to record from.
Selected recording source lamps on the unit light up.
CD+LINE MIX :Records mixed sound of
CD+MIC MIX :Records mixed sound of
LINE+MIC MIX :Records mixed sound of an external component through the LINE IN jacks and a microphone connected to the MIC jack. The LINE and MIC lamps light up.
MIX BALANCE | MIX BALANCE | ||||
LINE |
| CD | LINE |
| CD |
|
| ||||
MIC |
| LINE | MIC |
| LINE |
|
| ||||
Source |
|
| |
|
|
| |
CD+LINE | Reduce recording | Reduce recording | |
level of CD. | level of line input. | ||
| |||
|
|
| |
CD+MIC | Reduce recording | Reduce recording | |
level of CD. | level of microphone. | ||
| |||
|
|
| |
LINE+MIC | Reduce recording | Reduce recording | |
| level of line input. | level of microphone. |
5 When the adjustment is correctly done, stop playback of the selected components or speaking into the microphone.
6 Press 3 PLAY.
Recording starts. The REC indicator flashes on the display.
3 Press ¶ REC/REC MUTING.
The unit enters recording pause mode. The remaining time of
•If OPC (see page 42) is being performed, “UPDATE OPC” flashes on the display.
4 Start playback of the selected components or speaking into the microphone to adjust the recording level and mixing balance.
1)Adjust the recording level.
See details on page 23.
2)Turn MIX BALANCE control on the unit to adjust the mixing balance.
7 Start playback of the selected components or speaking into the microphone.
To stop recording for a moment, press PAUSE 8 for CD Recorder on the unit or 8 on the remote control. To resume play, press PLAY 3 for CD Recorder on the unit or 3 on the remote control. (A track mark is recorded when you resume recording.)
To stop during recording, press STOP 7 for CD Recorder on the unit, or 7 on the remote control. “STOP DUBBING” flashes on the display for a while.
To eject the disc, press EJECT 0. “FINALIZE ?” appears on the display.
32