Kirby Morgan 37 & 57
7.11Reinstalling the Quad-Valve™ Exhaust Assembly
Once the
1)Begin to
Start the cover straight onto the main exhaust body, then alternate back to inserting the regulator. Do this until both are in their proper positions. Lubricate the regulator seal
2)Lubricate and install the 2
3)Reinstall the bent tube assembly and tighten the jam nut to 40 inch pounds.
4)Retighten the regulator mount nut to 75 inch pounds.
5)Reinstall the 4 spacers, kidney plates and screws and torque to 12 inch pounds.
6)Attach any other components that may have been displaced to aid in this installation.
![]() WARNING
WARNING
Use only KMDSI original replacement spares when repairing your helmet. The use of other manufacturer’s parts will interfere with the performance character- istics of your life support equipment and may jeopardize your safety. Additionally, any substitutions will void all warranties offered by KMDSI.
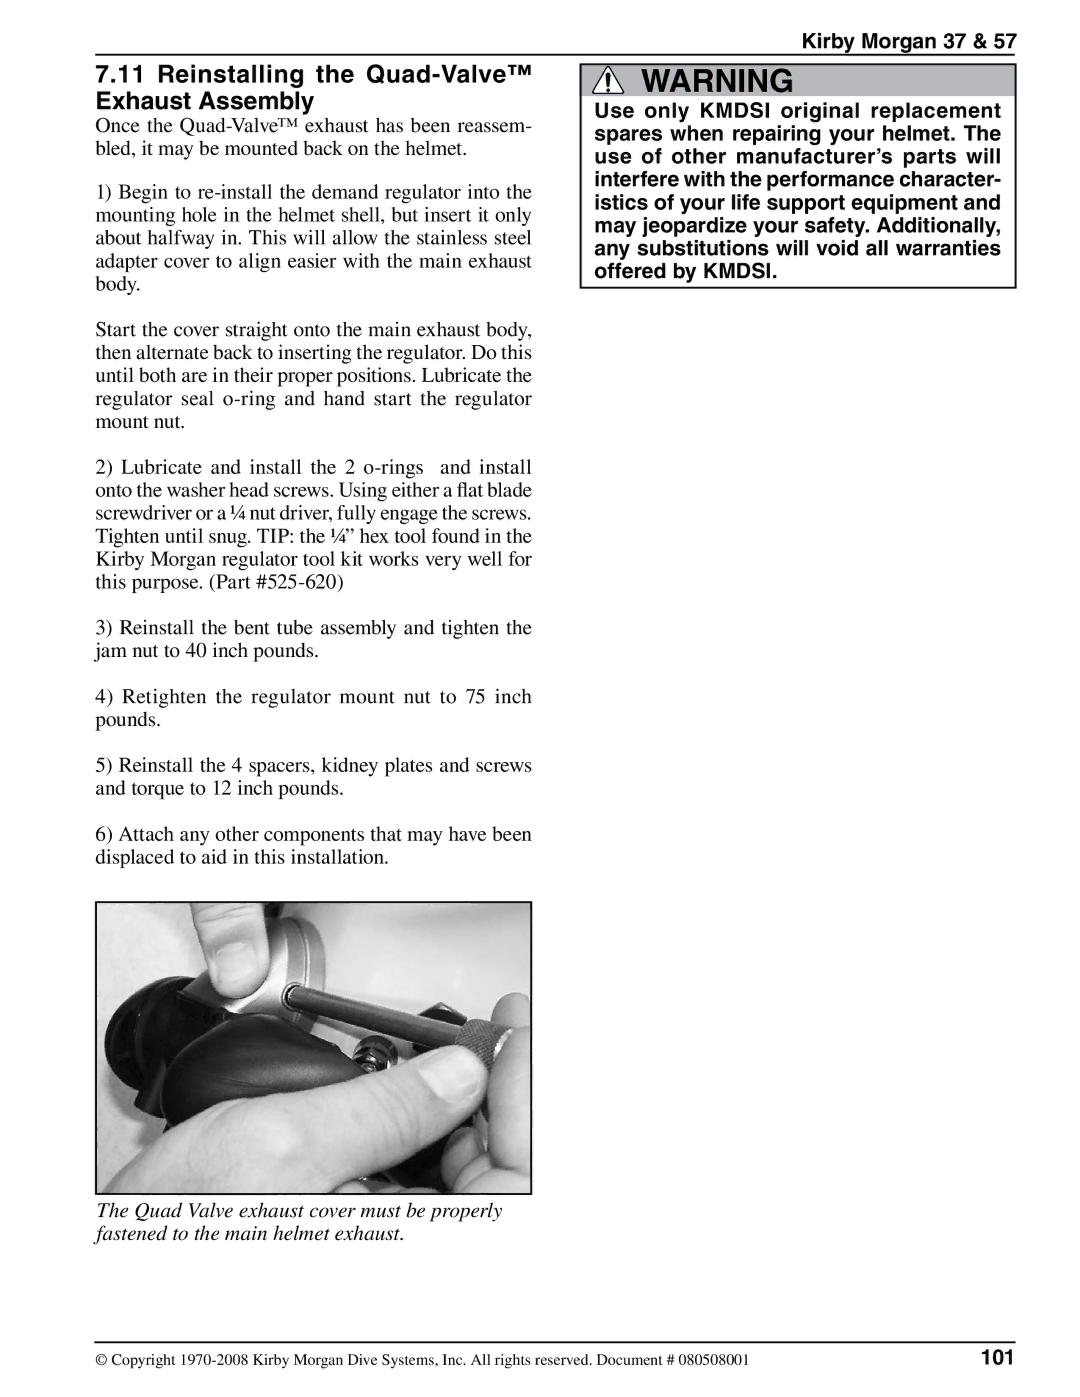
The Quad Valve exhaust cover must be properly fastened to the main helmet exhaust.
© Copyright | 101 |