Kirby Morgan 37 & 57
7.4 Defogger Valve
7.4.1Disassembly of the Defogger Valve
Tools Required:
3/8 inch Slotted Flat Blade Screwdriver
13/16 inch Open End Attachment on Torque Wrench
The defogger valve components are disassembled as follows:
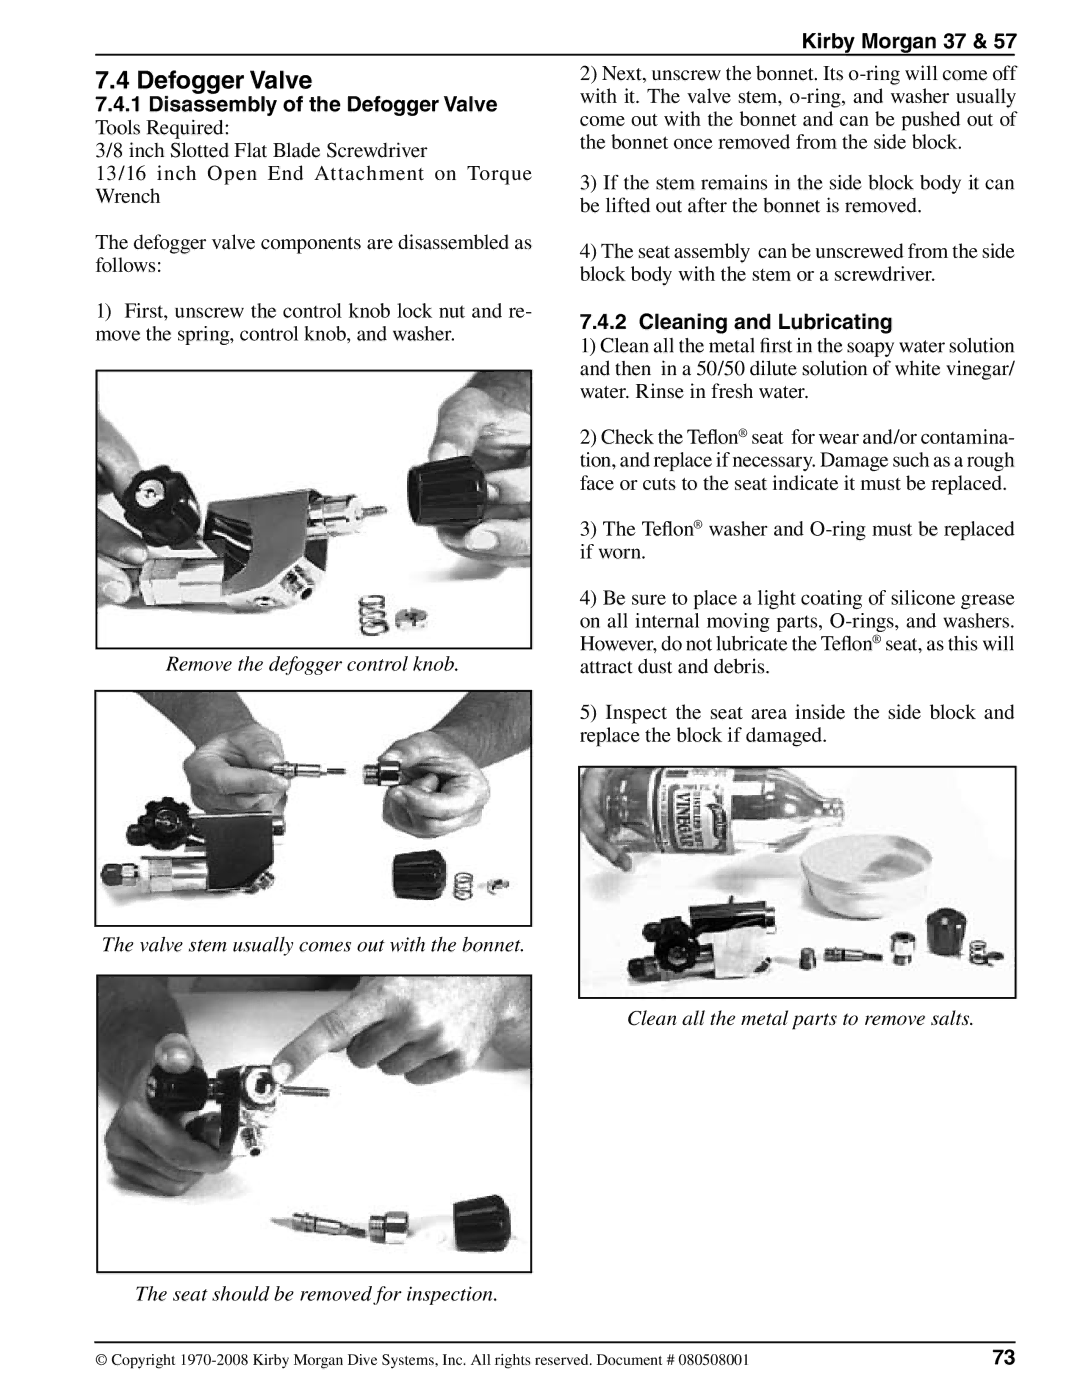
1)First, unscrew the control knob lock nut and re- move the spring, control knob, and washer.
Remove the defogger control knob.
The valve stem usually comes out with the bonnet.
The seat should be removed for inspection.
2)Next, unscrew the bonnet. Its
3)If the stem remains in the side block body it can be lifted out after the bonnet is removed.
4)The seat assembly can be unscrewed from the side block body with the stem or a screwdriver.
7.4.2 Cleaning and Lubricating
1)Clean all the metal first in the soapy water solution and then in a 50/50 dilute solution of white vinegar/ water. Rinse in fresh water.
2)Check the Teflon® seat for wear and/or contamina- tion, and replace if necessary. Damage such as a rough face or cuts to the seat indicate it must be replaced.
3)The Teflon® washer and
4)Be sure to place a light coating of silicone grease on all internal moving parts,
5)Inspect the seat area inside the side block and replace the block if damaged.
Clean all the metal parts to remove salts.
© Copyright | 73 |