Kirby Morgan 37 & 57
14)Rotate the adjustment knob in i.e., clockwise, several turns, then recheck the torque one more time. Ensure the adjustment shaft rotates smoothly and there is no binding.
15)Stretch the
16)For the old double exhaust or single exhaust, stretch the exhaust whisker onto the exhaust flange of the regulator. Fasten the double exhaust to the regulator with a cable tie and tighten.
17)Mount the regulator to the helmet. Lightly lubri- cate and install the sealing
18)Install the bent tube assembly before tightening the regulator mount nut, finger tight
NOTE: If this maintenance is during an annual overhaul, replace the Teflon ring at the side block end of the bent tube and the
Lightly lubricate the
Ensure that the Teflon® ring is in place and engage the bent tube nut to the side block fully until it is hand tight. You may need to gently rock the regulator body and/or the bent tube to fully engage side block nut.
Next, fully engage (clockwise) the large nut on the bent tube into the regulator inlet until hand tight. This will ensure the nut is bottomed on the shoulder on the bent tube. Do not tighten further.
Loosen the jam nut on the regulator inlet (counter- clockwise), and engage the jam nut fully to the large nut on the bent tube. Using a torque wrench and an 7/8” open end wrench hold the large nut on the regu- lator end of the bent tube and tighten the jam nut to 40 inch pounds.
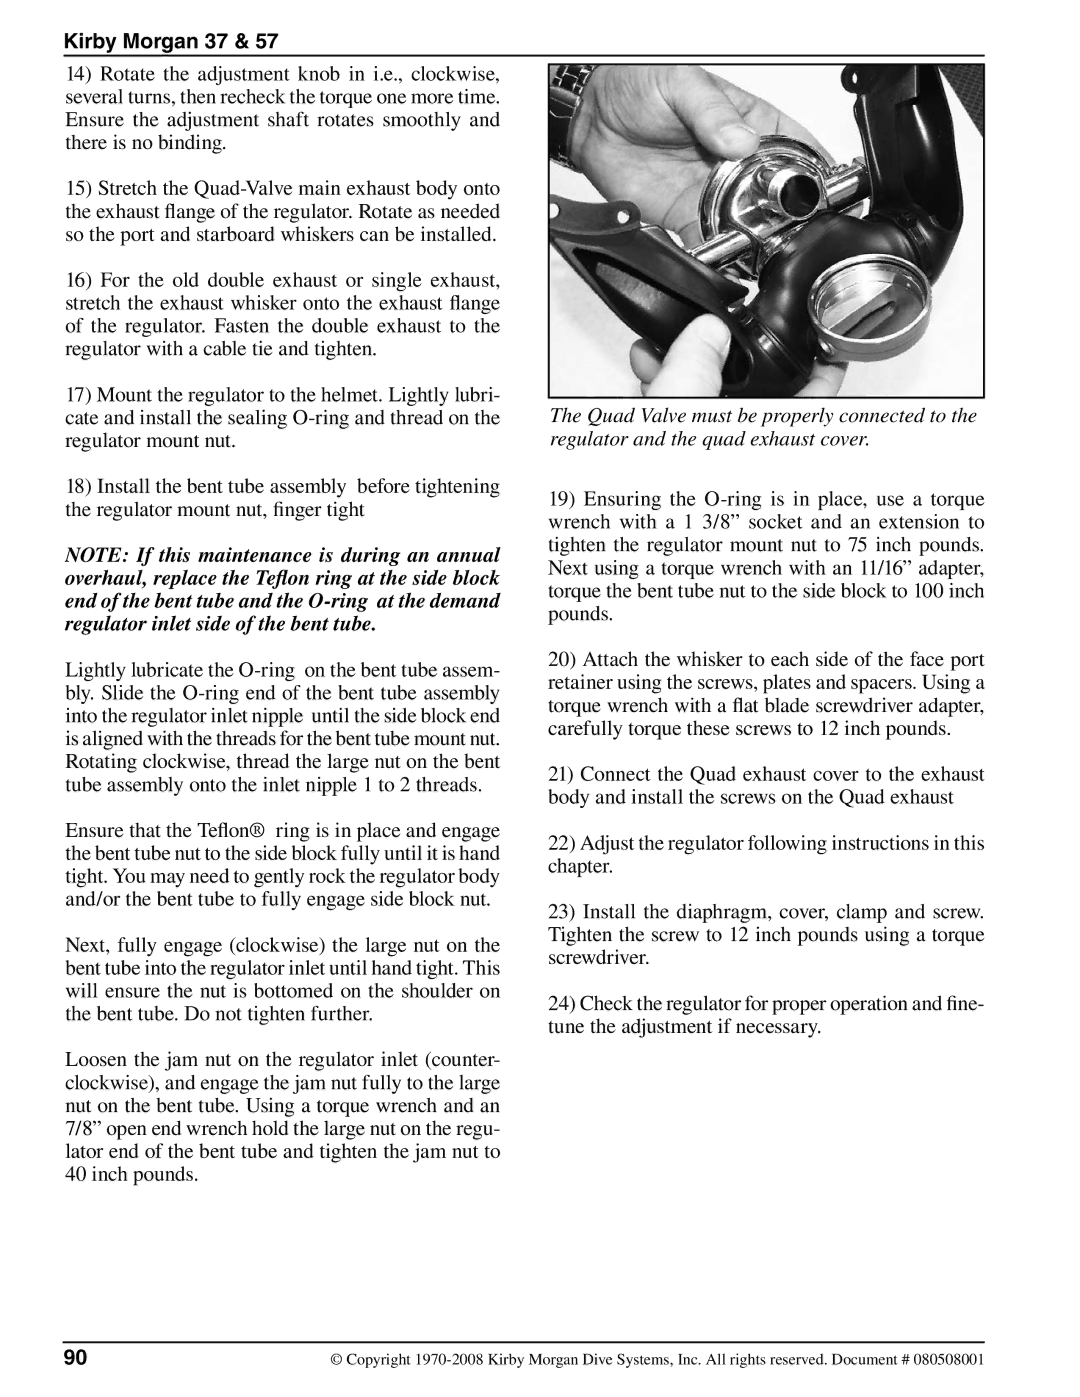
The Quad Valve must be properly connected to the regulator and the quad exhaust cover.
19)Ensuring the
20)Attach the whisker to each side of the face port retainer using the screws, plates and spacers. Using a torque wrench with a flat blade screwdriver adapter, carefully torque these screws to 12 inch pounds.
21)Connect the Quad exhaust cover to the exhaust body and install the screws on the Quad exhaust
22)Adjust the regulator following instructions in this chapter.
23)Install the diaphragm, cover, clamp and screw. Tighten the screw to 12 inch pounds using a torque screwdriver.
24)Check the regulator for proper operation and fine- tune the adjustment if necessary.
90 | © Copyright |