Kirby Morgan 37 & 57
7.5 Emergency Valve Assembly
The Emergency valve control knob is not interchange- able with the defogger valve control knob.
![]() WARNING
WARNING
The control knob for the emergency valve and the defogger knob are not in- terchangeable. Use only the correct knob for the appropriate valve.
7.5.1Disassembly of the Emergency Valve
Tools Required:
11/16 inch Open End Wrench 1 inch
Torque Wrench Attachments & Torque Wrench 3/8 inch Slotted Flat Blade Screwdriver
Soft Jaw Vice Lubricant Teflon Tape
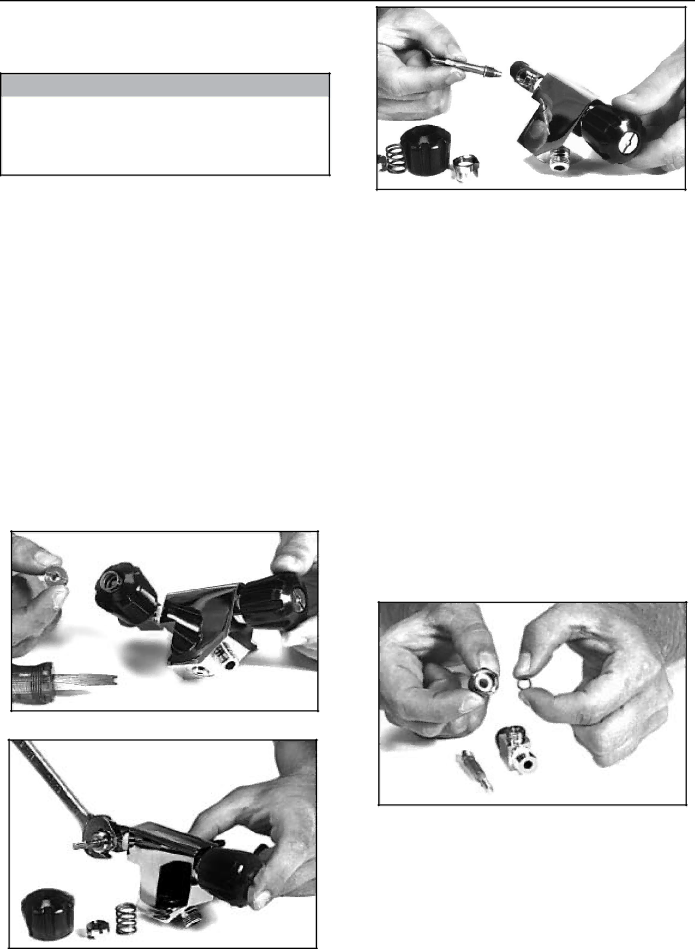
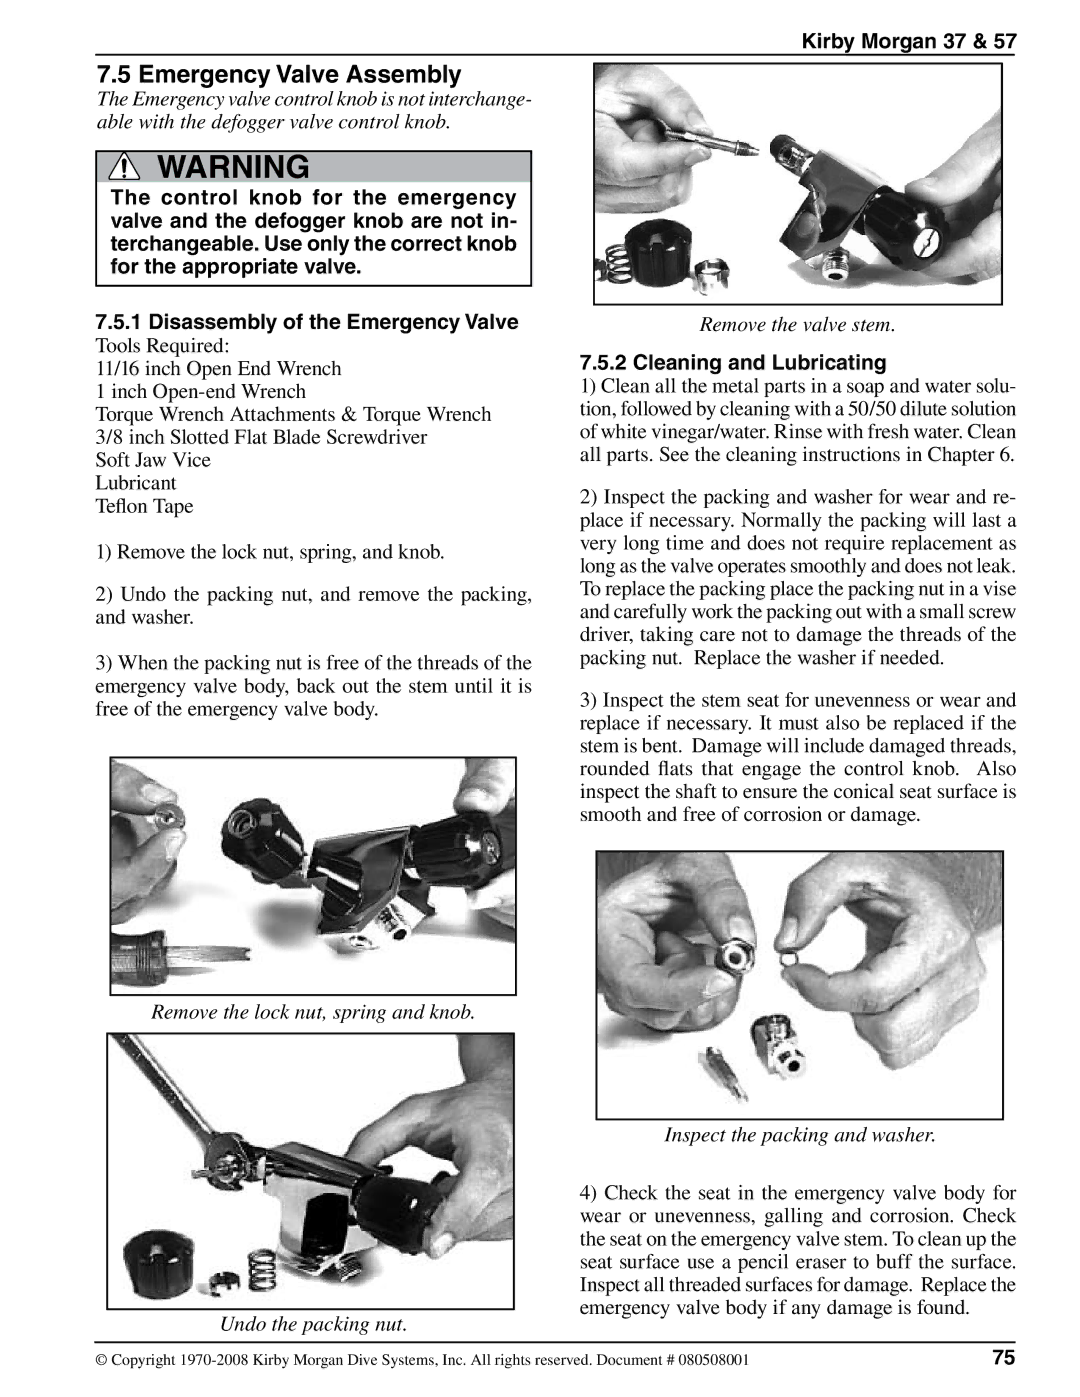
1)Remove the lock nut, spring, and knob.
2)Undo the packing nut, and remove the packing, and washer.
3)When the packing nut is free of the threads of the emergency valve body, back out the stem until it is free of the emergency valve body.
Remove the valve stem.
7.5.2 Cleaning and Lubricating
1)Clean all the metal parts in a soap and water solu- tion, followed by cleaning with a 50/50 dilute solution of white vinegar/water. Rinse with fresh water. Clean all parts. See the cleaning instructions in Chapter 6.
2)Inspect the packing and washer for wear and re- place if necessary. Normally the packing will last a very long time and does not require replacement as long as the valve operates smoothly and does not leak. To replace the packing place the packing nut in a vise and carefully work the packing out with a small screw driver, taking care not to damage the threads of the packing nut. Replace the washer if needed.
3)Inspect the stem seat for unevenness or wear and replace if necessary. It must also be replaced if the stem is bent. Damage will include damaged threads, rounded flats that engage the control knob. Also inspect the shaft to ensure the conical seat surface is smooth and free of corrosion or damage.
Remove the lock nut, spring and knob.
Undo the packing nut.
Inspect the packing and washer.
4)Check the seat in the emergency valve body for wear or unevenness, galling and corrosion. Check the seat on the emergency valve stem. To clean up the seat surface use a pencil eraser to buff the surface. Inspect all threaded surfaces for damage. Replace the emergency valve body if any damage is found.
© Copyright | 75 |
