Kirby Morgan 37 & 57
When you pull the flex knob assembly out, the main tube and related parts will follow.
Separate the flex knob assembly from the main tube.
Remove the
Remove the balance spacer, spring, inlet valve and seat from the main tube.
11)Slide the balance spacer, spring, inlet valve as- sembly out from the main tube.
12)Unscrew the adjustment nipple (turn it “out”) from the main tube. This may require lightly tapping on the tube to dislodge the parts.
13)Inspect all parts for signs of wear or damage and replace if necessary.
14)Clean all parts per chapter 6. Lubricate
15)Install the
16)Install the
17)Install the
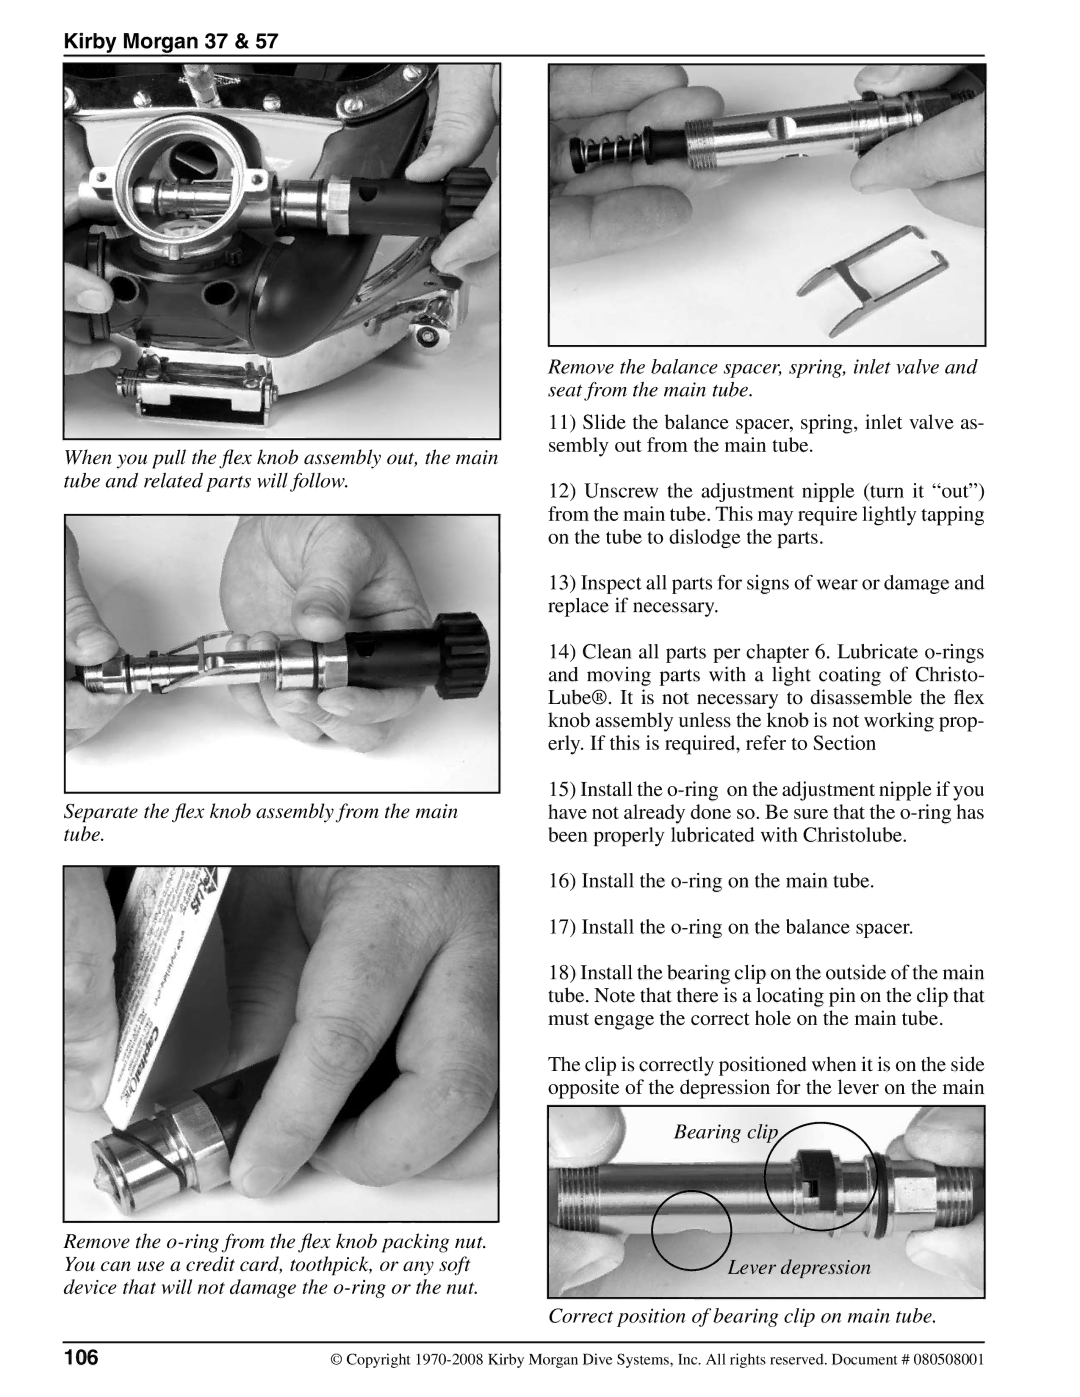
18)Install the bearing clip on the outside of the main tube. Note that there is a locating pin on the clip that must engage the correct hole on the main tube.
The clip is correctly positioned when it is on the side opposite of the depression for the lever on the main
Bearing clip
Lever depression
Correct position of bearing clip on main tube.
106 | © Copyright |