Warming Cookware
Use only cookware approved for oven use. Follow the cookware manufacturer’s instructions.
WarmingPansandPositioning Rack
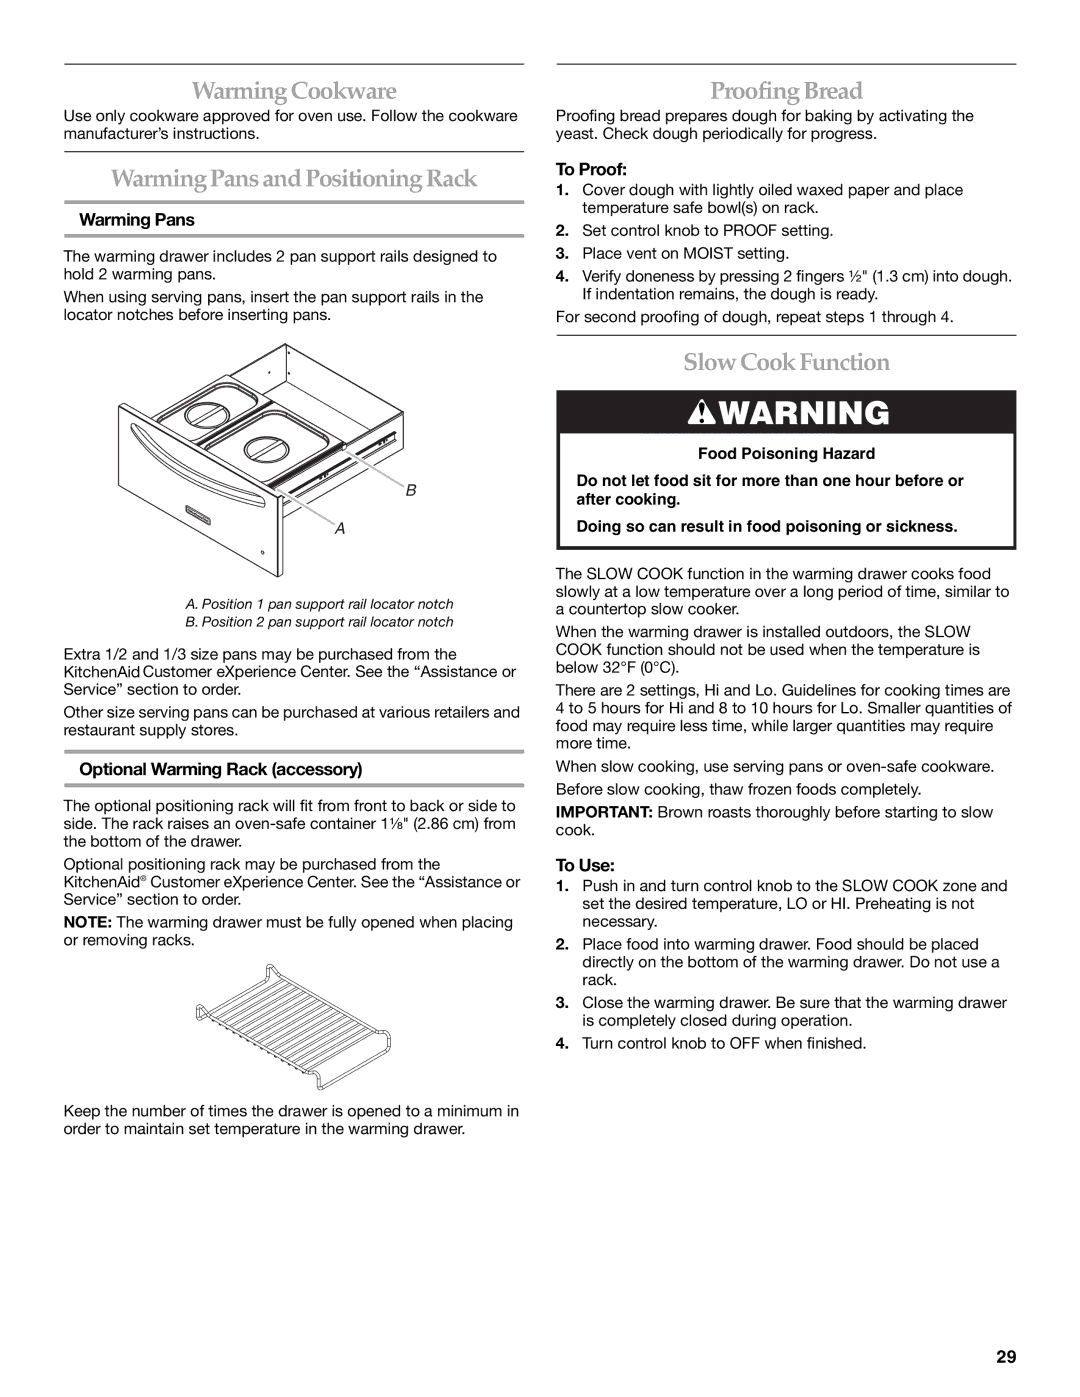
Warming Pans
The warming drawer includes 2 pan support rails designed to hold 2 warming pans.
When using serving pans, insert the pan support rails in the locator notches before inserting pans.
Proofing Bread
Proofing bread prepares dough for baking by activating the yeast. Check dough periodically for progress.
To Proof:
1.Cover dough with lightly oiled waxed paper and place temperature safe bowl(s) on rack.
2.Set control knob to PROOF setting.
3.Place vent on MOIST setting.
4.Verify doneness by pressing 2 fingers ¹⁄₂" (1.3 cm) into dough. If indentation remains, the dough is ready.
For second proofing of dough, repeat steps 1 through 4.
B
A
A. Position 1 pan support rail locator notch
B. Position 2 pan support rail locator notch
Extra 1/2 and 1/3 size pans may be purchased from the KitchenAid Customer eXperience Center. See the “Assistance or Service” section to order.
Other size serving pans can be purchased at various retailers and restaurant supply stores.
Optional Warming Rack (accessory)
The optional positioning rack will fit from front to back or side to side. The rack raises an
Optional positioning rack may be purchased from the KitchenAid® Customer eXperience Center. See the “Assistance or Service” section to order.
NOTE: The warming drawer must be fully opened when placing or removing racks.
Keep the number of times the drawer is opened to a minimum in order to maintain set temperature in the warming drawer.
Slow Cook Function
![]() WARNING
WARNING
Food Poisoning Hazard
Do not let food sit for more than one hour before or after cooking.
Doing so can result in food poisoning or sickness.
The SLOW COOK function in the warming drawer cooks food slowly at a low temperature over a long period of time, similar to a countertop slow cooker.
When the warming drawer is installed outdoors, the SLOW COOK function should not be used when the temperature is below 32°F (0°C).
There are 2 settings, Hi and Lo. Guidelines for cooking times are 4 to 5 hours for Hi and 8 to 10 hours for Lo. Smaller quantities of food may require less time, while larger quantities may require more time.
When slow cooking, use serving pans or
Before slow cooking, thaw frozen foods completely.
IMPORTANT: Brown roasts thoroughly before starting to slow cook.
To Use:
1.Push in and turn control knob to the SLOW COOK zone and set the desired temperature, LO or HI. Preheating is not necessary.
2.Place food into warming drawer. Food should be placed directly on the bottom of the warming drawer. Do not use a rack.
3.Close the warming drawer. Be sure that the warming drawer is completely closed during operation.
4.Turn control knob to OFF when finished.
29