5
Assigning an IP Address
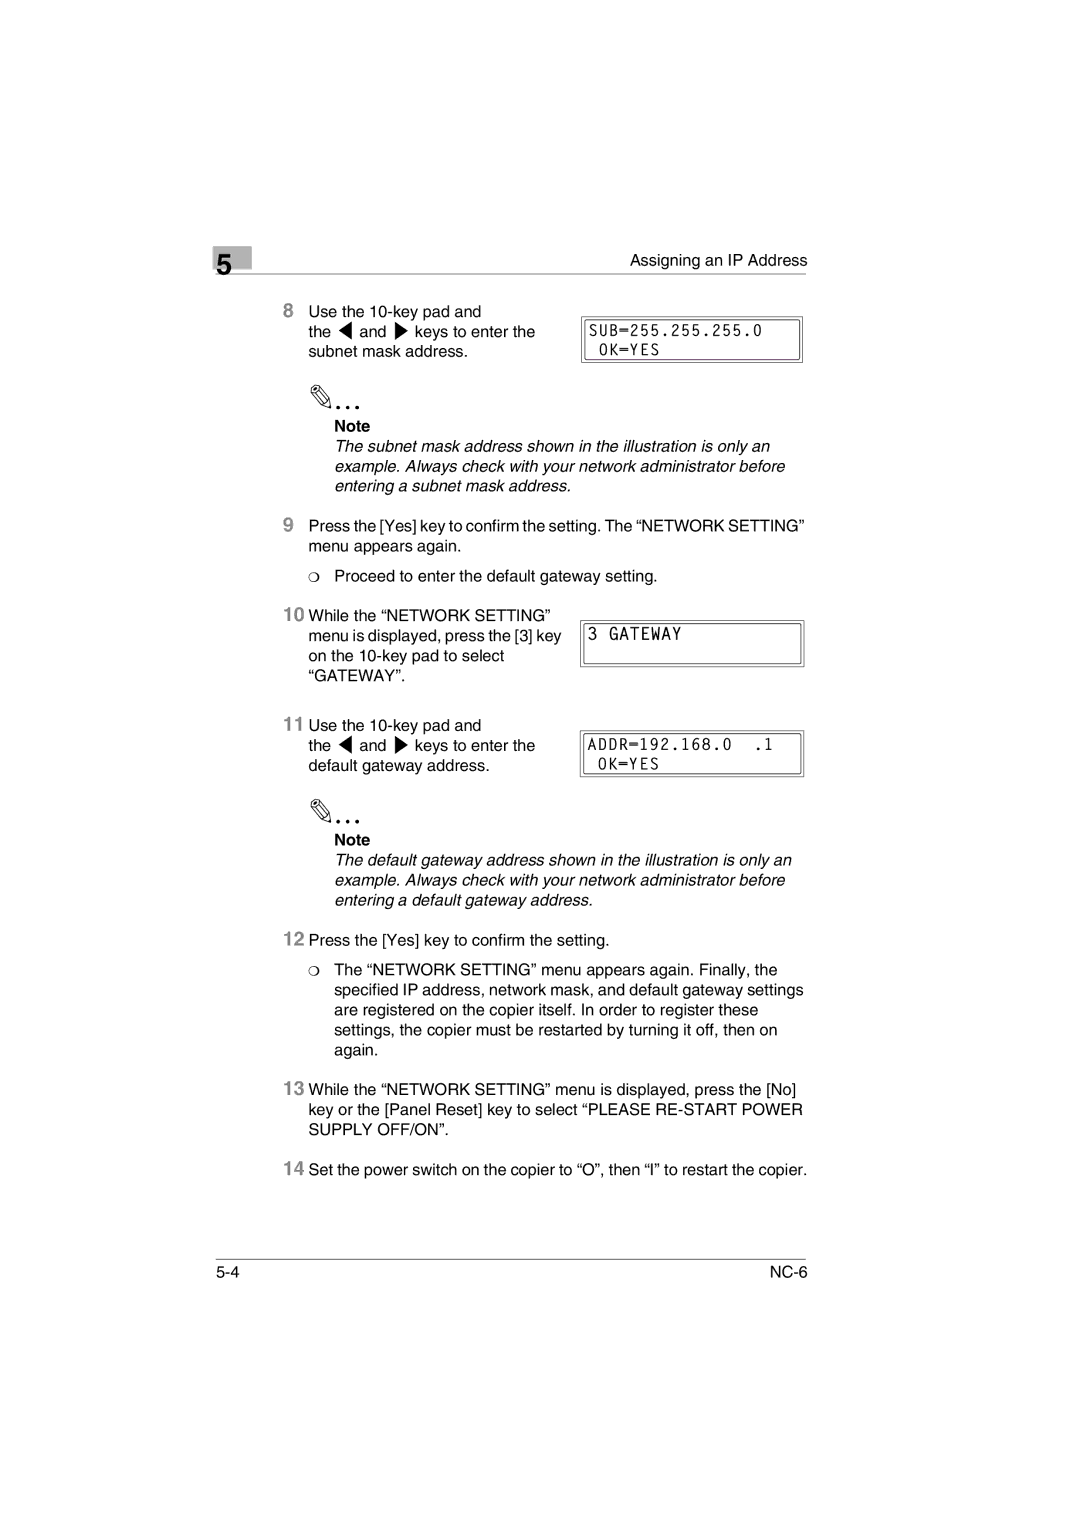
8Use the
the ![]() and
and ![]() keys to enter the subnet mask address.
keys to enter the subnet mask address.
✎
Note
The subnet mask address shown in the illustration is only an example. Always check with your network administrator before entering a subnet mask address.
9Press the [Yes] key to confirm the setting. The “NETWORK SETTING” menu appears again.
❍ Proceed to enter the default gateway setting.
10While the “NETWORK SETTING”
menu is displayed, press the [3] key ![]()
![]()
![]()
![]()
![]()
![]()
![]()
![]() on the
on the
“GATEWAY”.
11Use the
the ![]() and
and ![]() keys to enter the default gateway address.
keys to enter the default gateway address.
✎
Note
The default gateway address shown in the illustration is only an example. Always check with your network administrator before entering a default gateway address.
12 Press the [Yes] key to confirm the setting.
❍The “NETWORK SETTING” menu appears again. Finally, the specified IP address, network mask, and default gateway settings are registered on the copier itself. In order to register these settings, the copier must be restarted by turning it off, then on again.
13 While the “NETWORK SETTING” menu is displayed, press the [No] key or the [Panel Reset] key to select “PLEASE
14 Set the power switch on the copier to “O”, then “I” to restart the copier.