Using the ETS
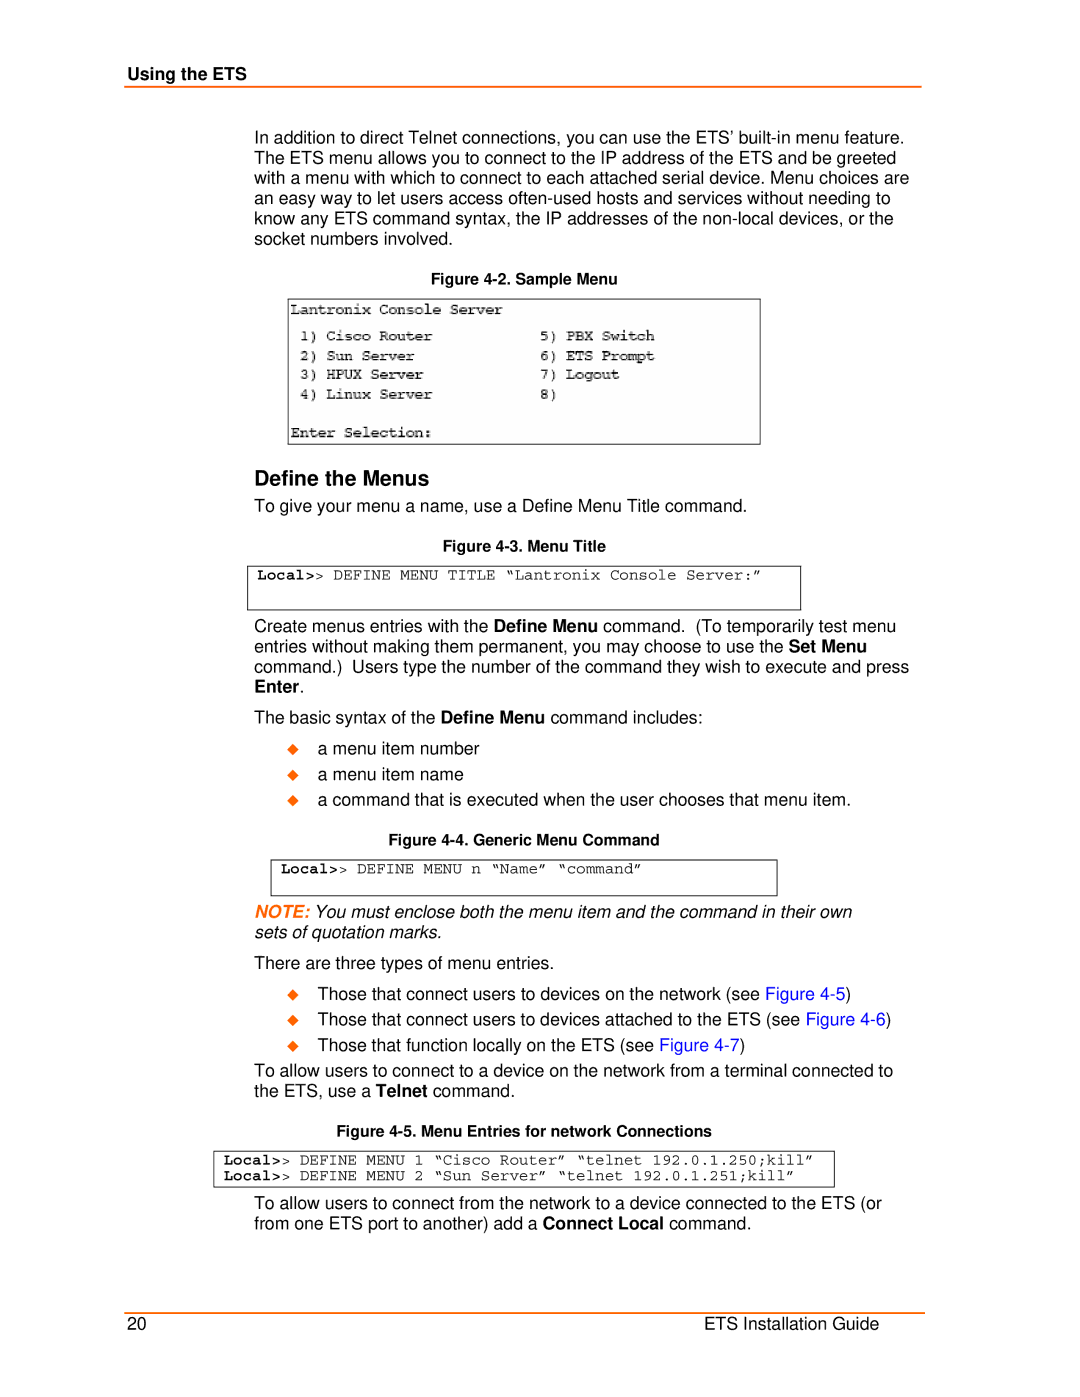
In addition to direct Telnet connections, you can use the ETS’
Figure 4-2. Sample Menu
Define the Menus
To give your menu a name, use a Define Menu Title command.
Figure 4-3. Menu Title
Local>> DEFINE MENU TITLE “Lantronix Console Server:”
Create menus entries with the Define Menu command. (To temporarily test menu entries without making them permanent, you may choose to use the Set Menu command.) Users type the number of the command they wish to execute and press Enter.
The basic syntax of the Define Menu command includes:
a menu item number
a menu item name
a command that is executed when the user chooses that menu item.
Figure 4-4. Generic Menu Command
Local>> DEFINE MENU n “Name” “command”
NOTE: You must enclose both the menu item and the command in their own sets of quotation marks.
There are three types of menu entries.
Those that connect users to devices on the network (see Figure
Those that connect users to devices attached to the ETS (see Figure
Those that function locally on the ETS (see Figure
To allow users to connect to a device on the network from a terminal connected to the ETS, use a Telnet command.
Figure 4-5. Menu Entries for network Connections
Local>> DEFINE MENU 1 “Cisco Router” “telnet 192.0.1.250;kill” Local>> DEFINE MENU 2 “Sun Server” “telnet 192.0.1.251;kill”
To allow users to connect from the network to a device connected to the ETS (or from one ETS port to another) add a Connect Local command.
20 | ETS Installation Guide |