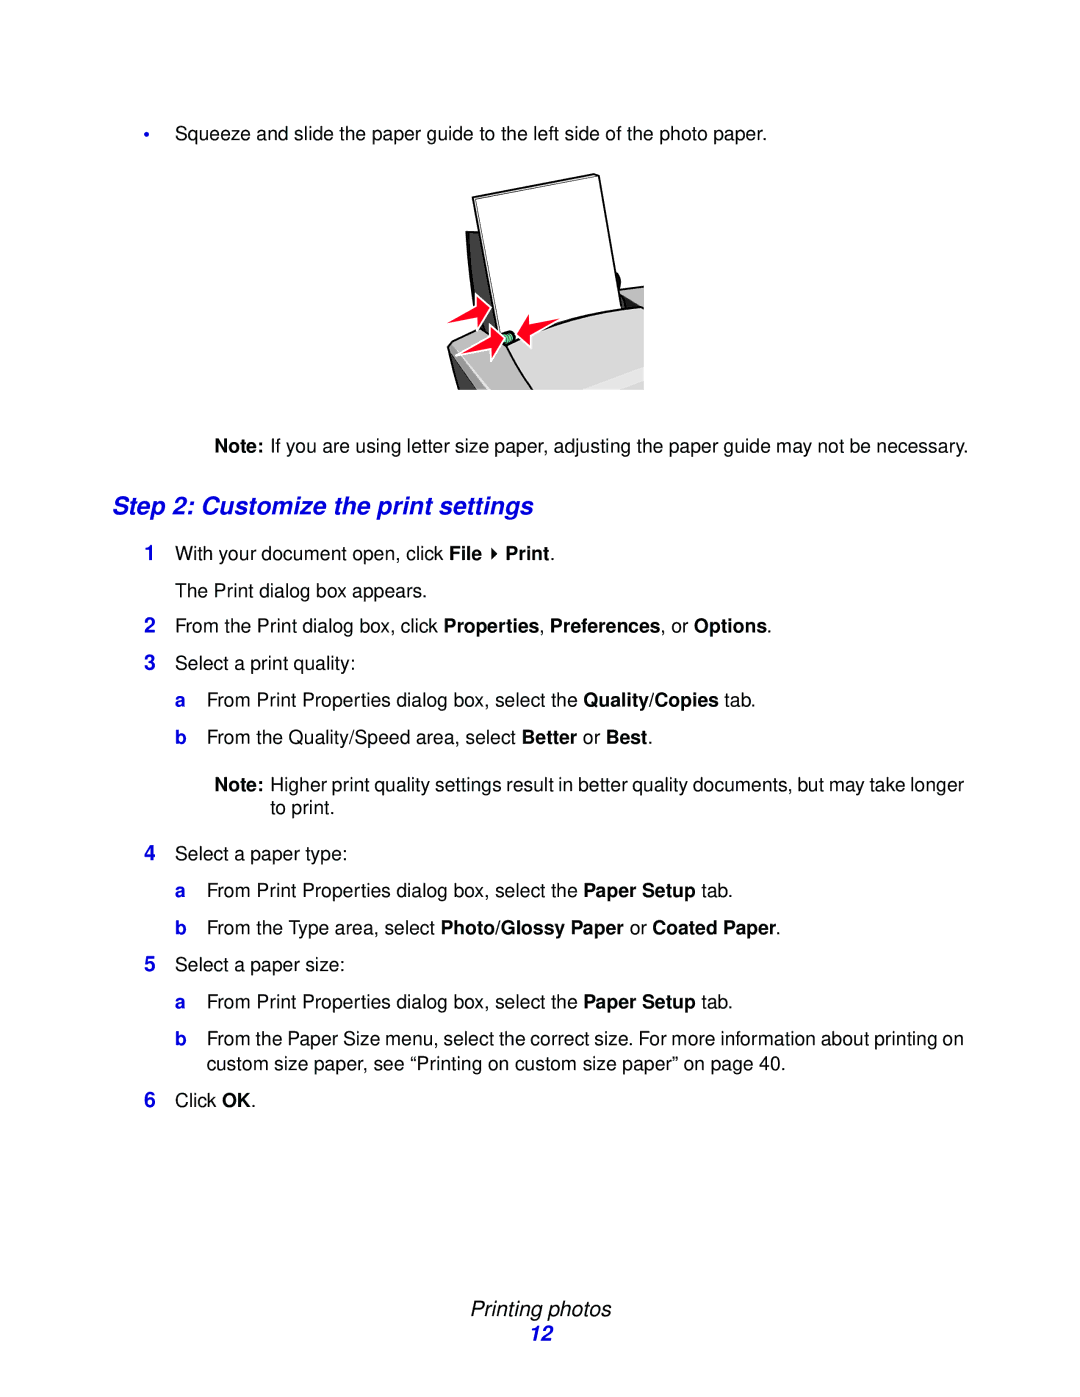
•Squeeze and slide the paper guide to the left side of the photo paper.
Note: If you are using letter size paper, adjusting the paper guide may not be necessary.
Step 2: Customize the print settings
1With your document open, click File ![]() Print. The Print dialog box appears.
Print. The Print dialog box appears.
2From the Print dialog box, click Properties, Preferences, or Options.
3Select a print quality:
a From Print Properties dialog box, select the Quality/Copies tab. b From the Quality/Speed area, select Better or Best.
Note: Higher print quality settings result in better quality documents, but may take longer to print.
4Select a paper type:
a From Print Properties dialog box, select the Paper Setup tab.
b From the Type area, select Photo/Glossy Paper or Coated Paper.
5Select a paper size:
a From Print Properties dialog box, select the Paper Setup tab.
b From the Paper Size menu, select the correct size. For more information about printing on custom size paper, see “Printing on custom size paper” on page 40.
6Click OK.
Printing photos
12