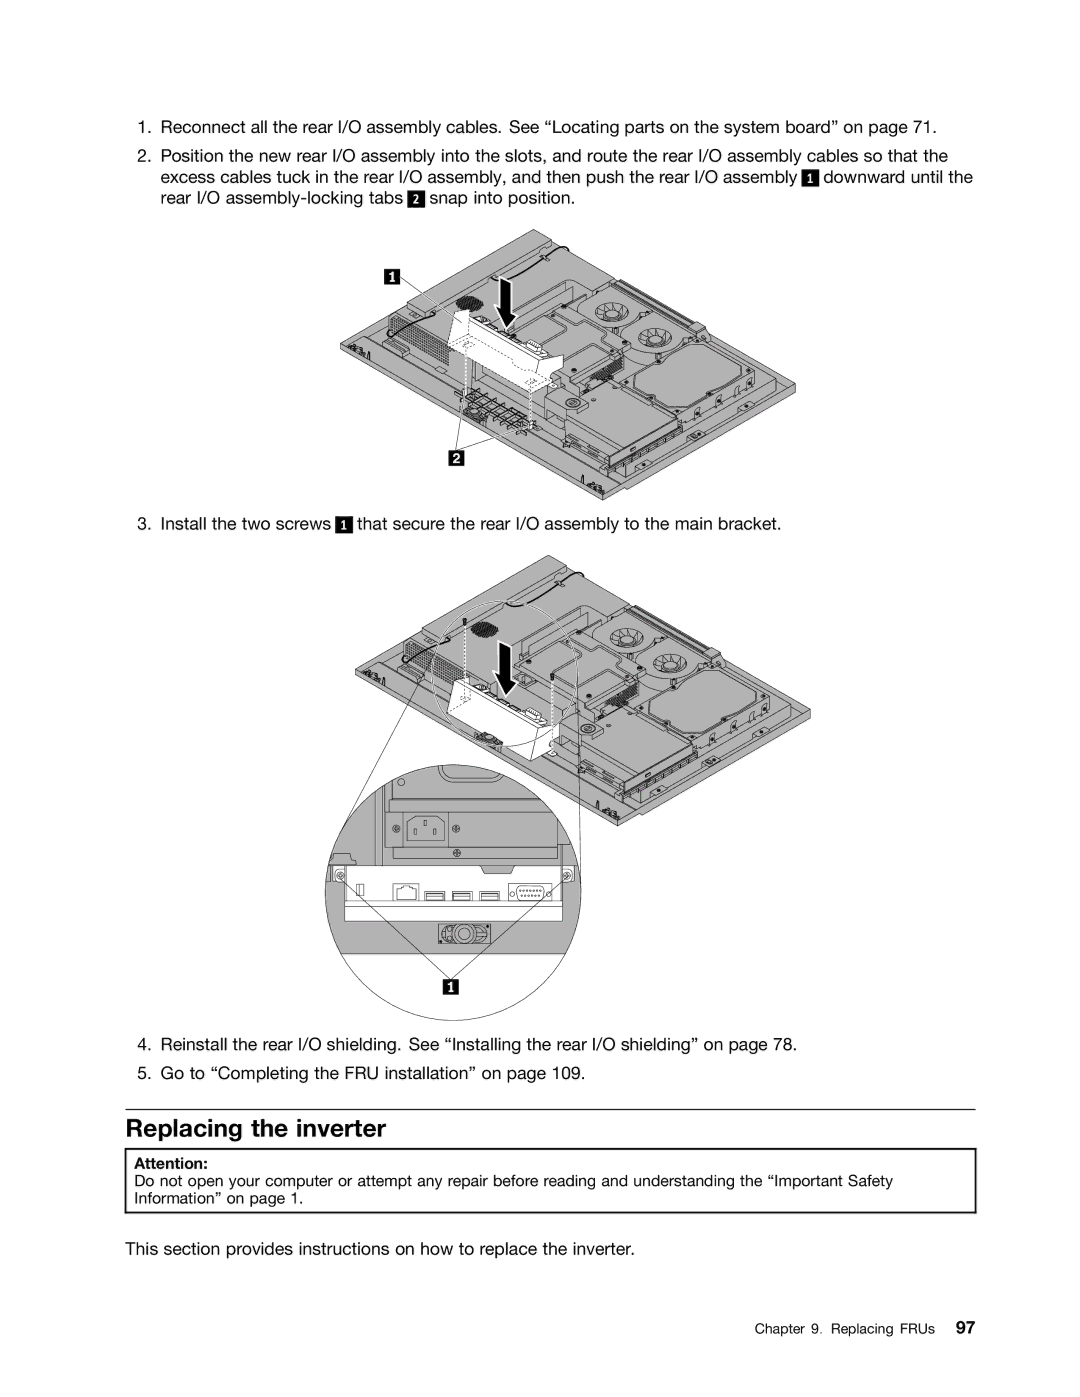
1.Reconnect all the rear I/O assembly cables. See “Locating parts on the system board” on page 71.
2.Position the new rear I/O assembly into the slots, and route the rear I/O assembly cables so that the excess cables tuck in the rear I/O assembly, and then push the rear I/O assembly 1 downward until the rear I/O
3. Install the two screws
1
that secure the rear I/O assembly to the main bracket.
4.Reinstall the rear I/O shielding. See “Installing the rear I/O shielding” on page 78.
5.Go to “Completing the FRU installation” on page 109.
Replacing the inverter
Attention:
Do not open your computer or attempt any repair before reading and understanding the “Important Safety Information” on page 1.
This section provides instructions on how to replace the inverter.