Basic Installation & Setup
The following section instructs you on how to physically connect the NAS to the network, and how to configure the NAS for basic operation in your Windows environment. Everything you need to do to get your NAS up and running is covered here.
Installation
Requirements
•Windows 98SE, ME, 2000 or XP.
•Ethernet Network employing 10BaseT or 100BaseTX.
•TCP/IP protocol.
Procedure
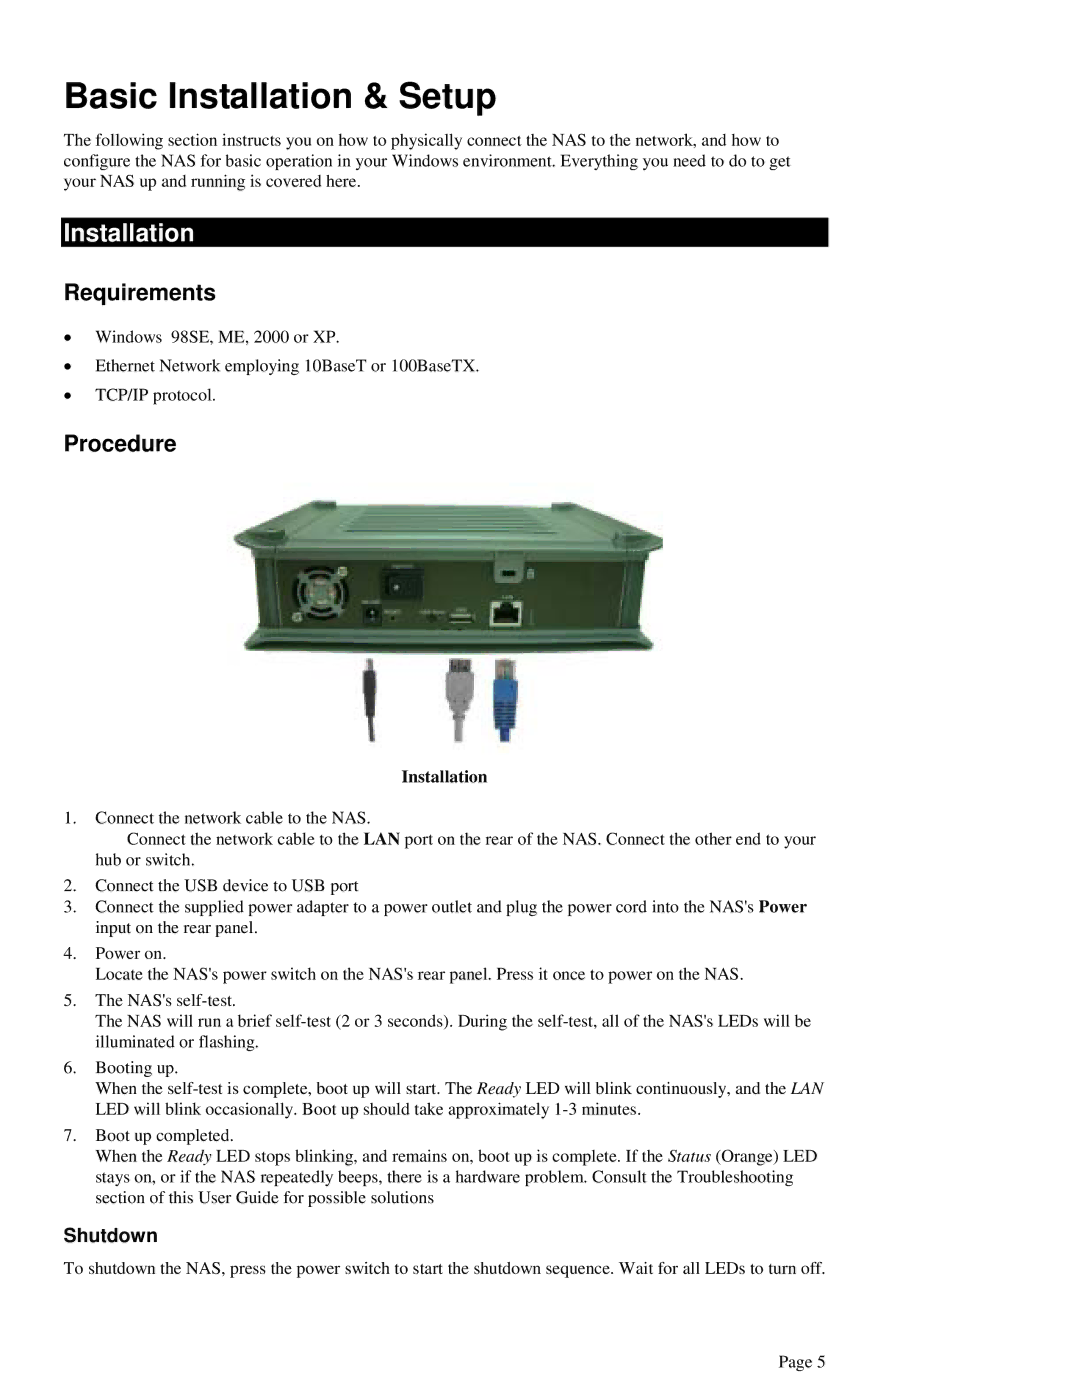
Installation
1.Connect the network cable to the NAS.
Connect the network cable to the LAN port on the rear of the NAS. Connect the other end to your hub or switch.
2.Connect the USB device to USB port
3.Connect the supplied power adapter to a power outlet and plug the power cord into the NAS's Power input on the rear panel.
4.Power on.
Locate the NAS's power switch on the NAS's rear panel. Press it once to power on the NAS.
5.The NAS's
The NAS will run a brief
6.Booting up.
When the
7.Boot up completed.
When the Ready LED stops blinking, and remains on, boot up is complete. If the Status (Orange) LED stays on, or if the NAS repeatedly beeps, there is a hardware problem. Consult the Troubleshooting section of this User Guide for possible solutions
Shutdown
To shutdown the NAS, press the power switch to start the shutdown sequence. Wait for all LEDs to turn off.
Page 5