1.2SETUP

Read the Operation Manual before setting up the Life Fitness cross-trainer.

WHERE TO PLACE THE LIFE FITNESS® CROSS-TRAINER

Following all safety instructions in Section 1.1, move the Life Fitness cross-trainer to the location in which it will be used. See Section 7, titled Specifications, for the dimensions of the footprint. Allow one foot of clearance in front of the Life Fitness cross-trainer to allow for movement of the pedal levers. It should be easy to mount the Life Fitness cross-trainer from the side.

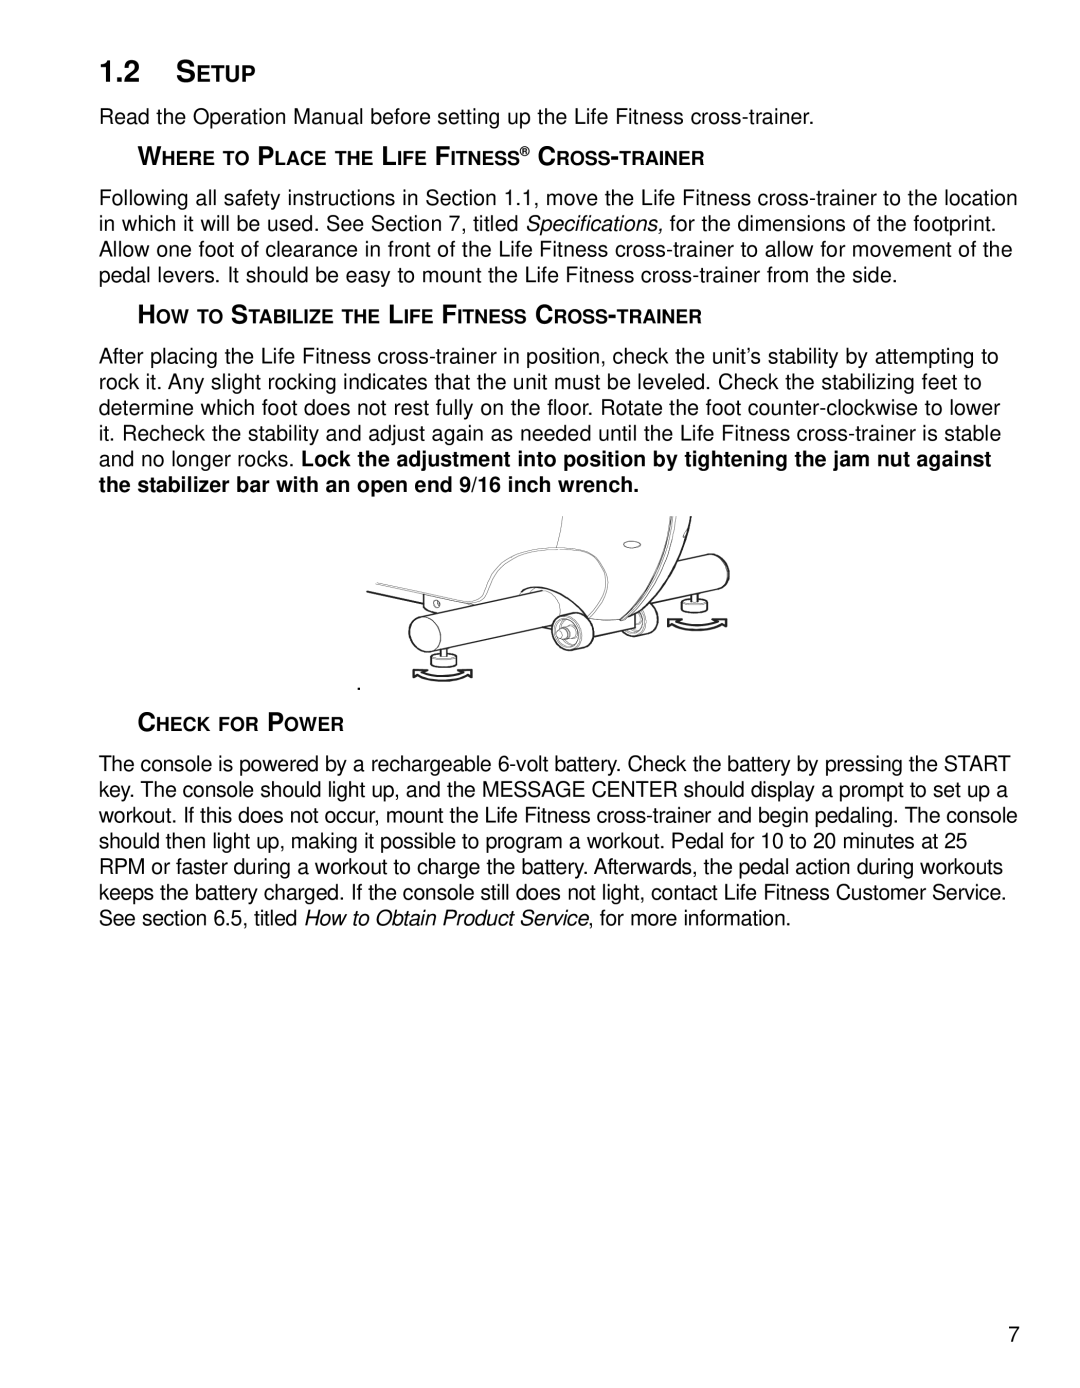
HOW TO STABILIZE THE LIFE FITNESS CROSS-TRAINER

After placing the Life Fitness cross-trainer in position, check the unit’s stability by attempting to rock it. Any slight rocking indicates that the unit must be leveled. Check the stabilizing feet to determine which foot does not rest fully on the floor. Rotate the foot counter-clockwise to lower it. Recheck the stability and adjust again as needed until the Life Fitness cross-trainer is stable and no longer rocks. Lock the adjustment into position by tightening the jam nut against the stabilizer bar with an open end 9/16 inch wrench.

.

CHECK FOR POWER

The console is powered by a rechargeable 6-volt battery. Check the battery by pressing the START key. The console should light up, and the MESSAGE CENTER should display a prompt to set up a workout. If this does not occur, mount the Life Fitness cross-trainer and begin pedaling. The console should then light up, making it possible to program a workout. Pedal for 10 to 20 minutes at 25 RPM or faster during a workout to charge the battery. Afterwards, the pedal action during workouts keeps the battery charged. If the console still does not light, contact Life Fitness Customer Service. See section 6.5, titled How to Obtain Product Service, for more information.

7

Page 8
Image 8
Life Fitness 91X Setup, Where to Place the Life Fitness CROSS-TRAINER, HOW to Stabilize the Life Fitness CROSS-TRAINER